Project Summary (Technical Overview):
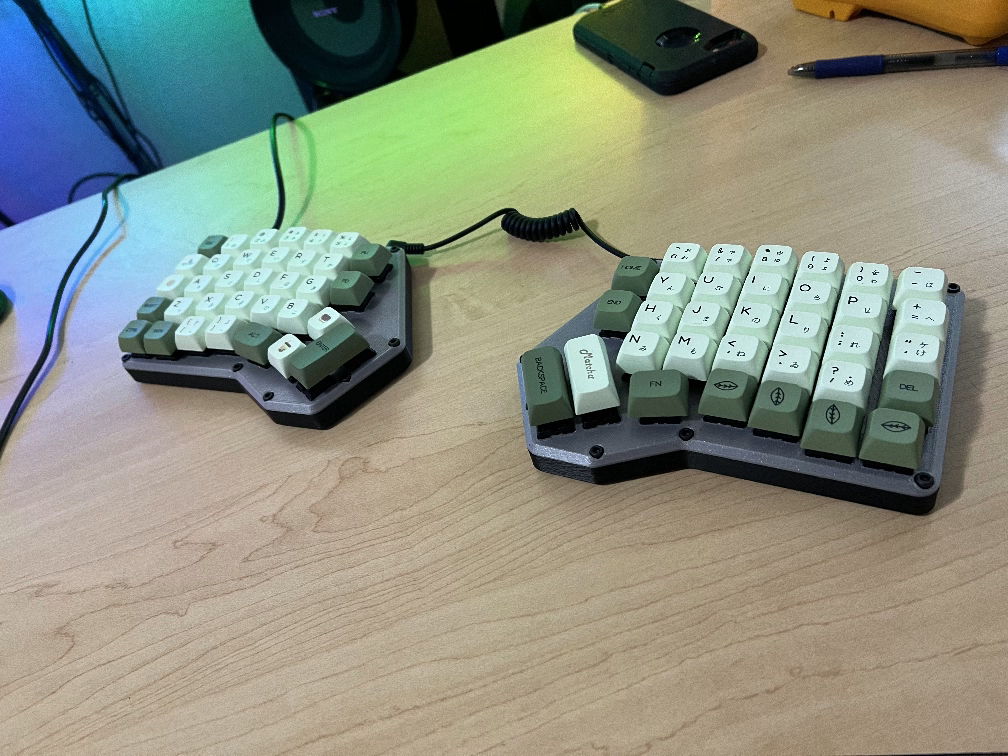
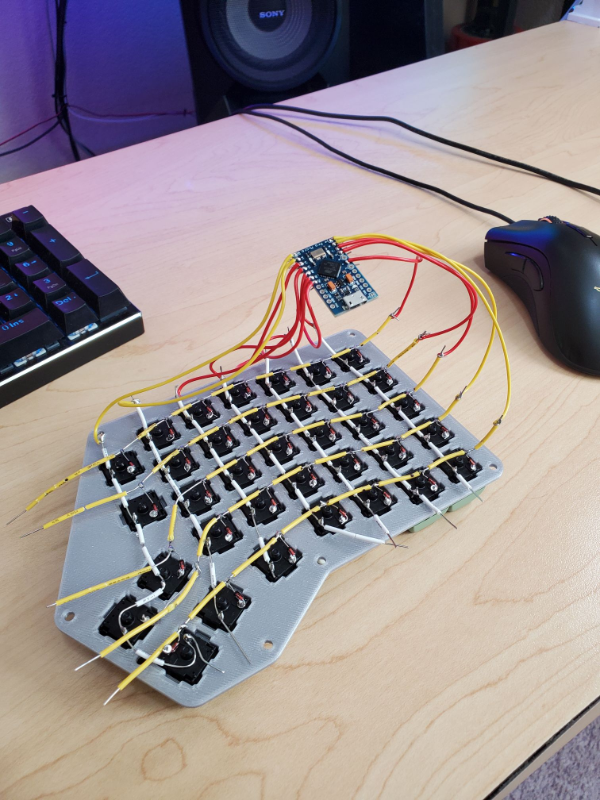
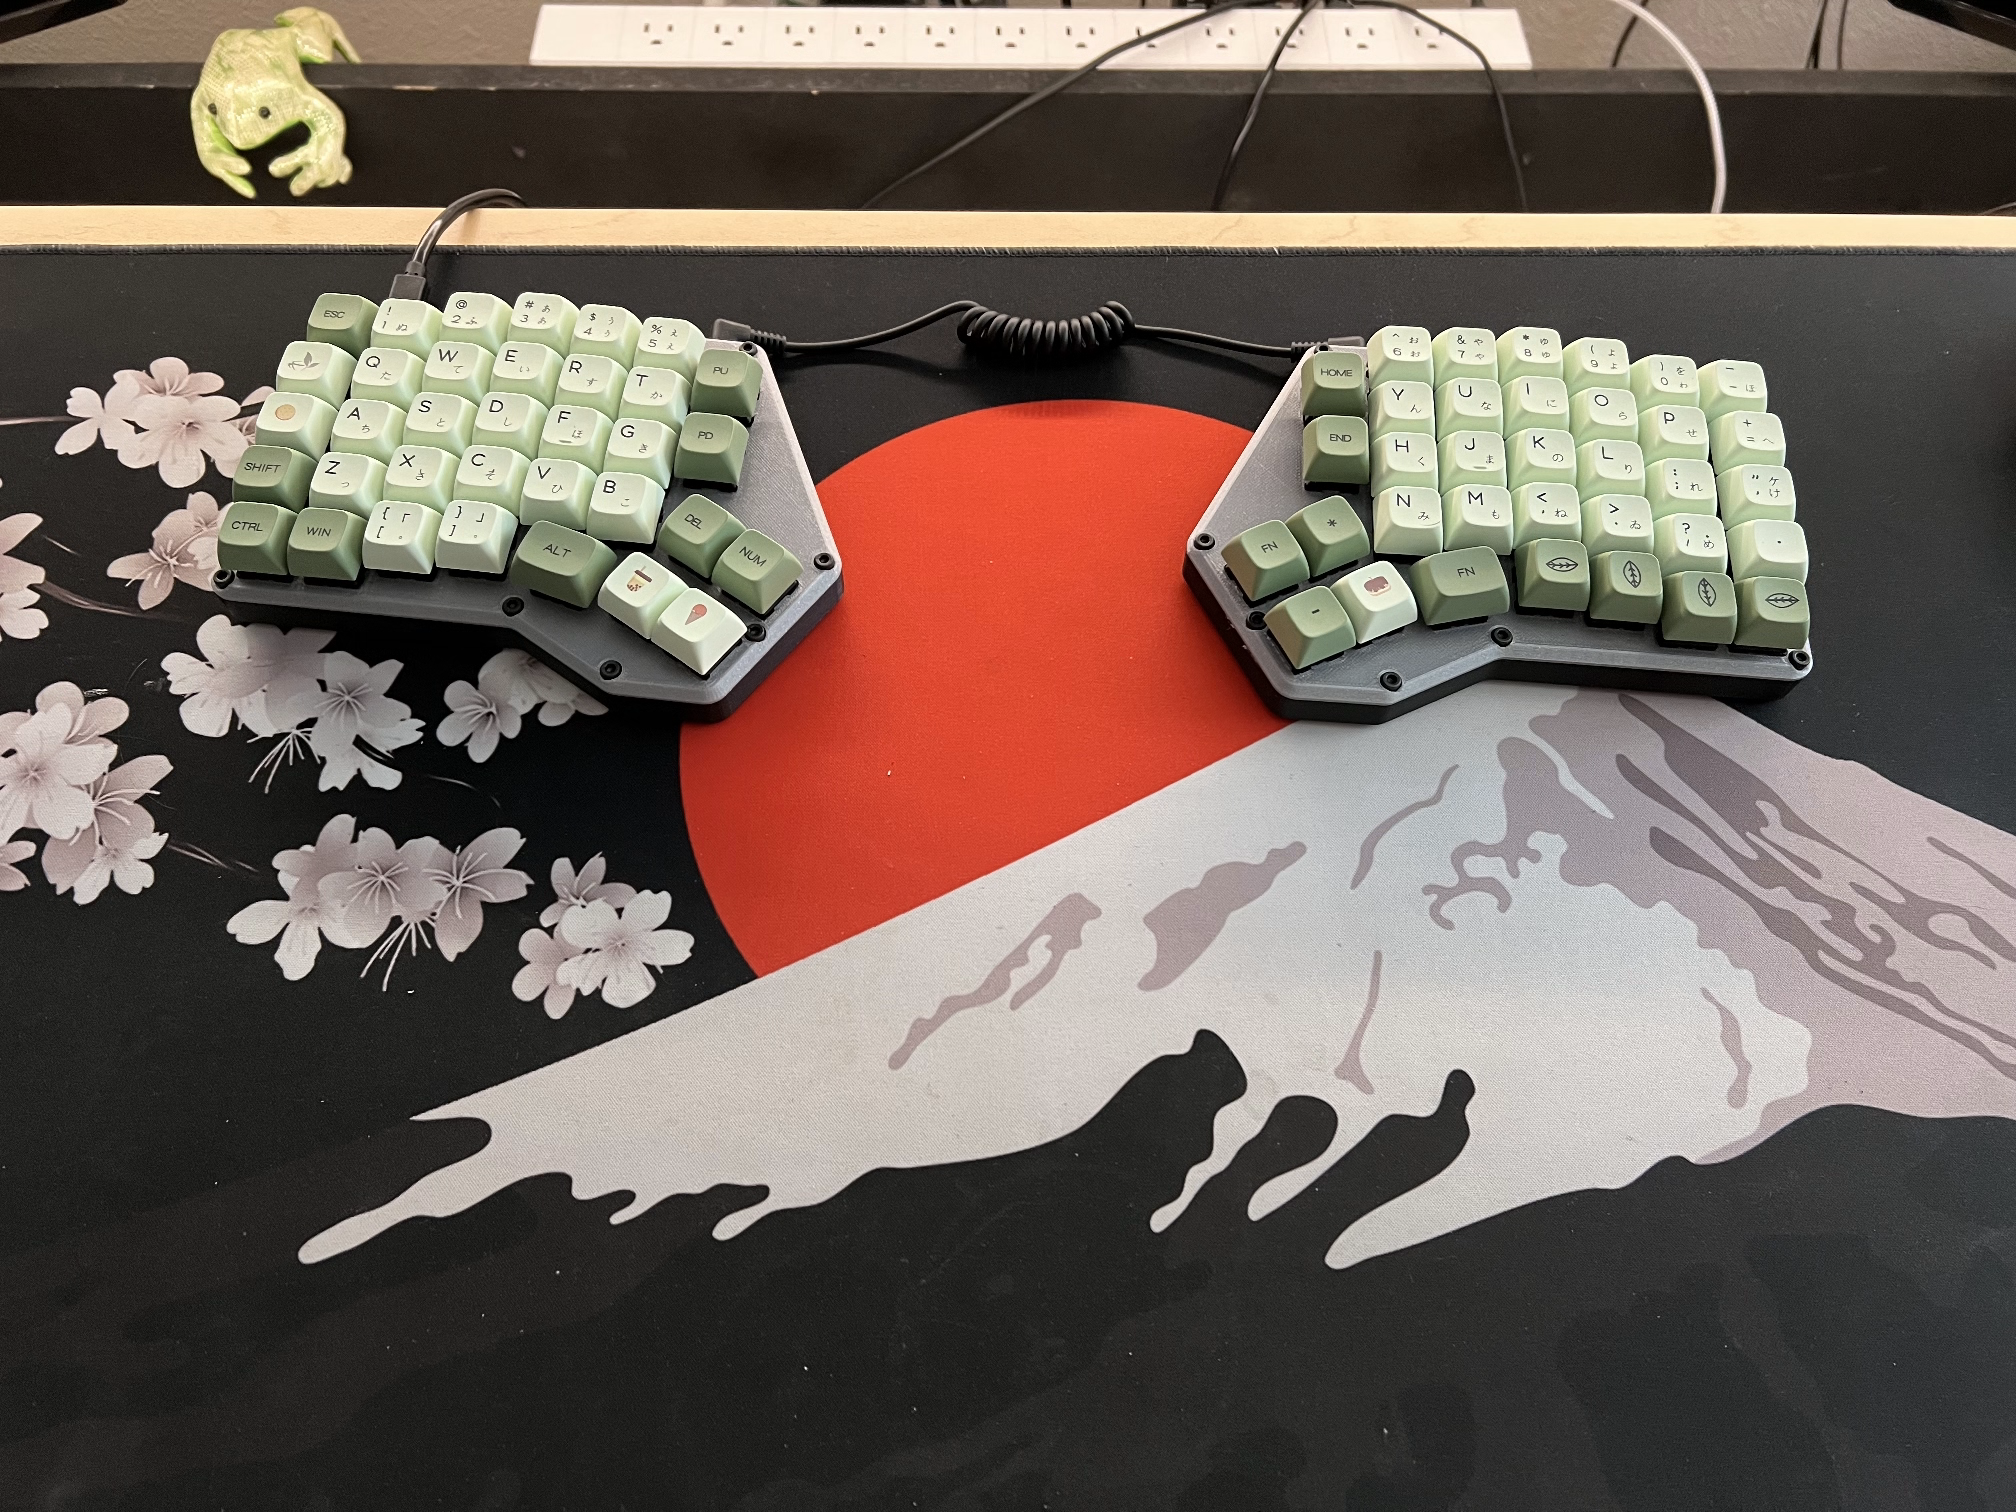
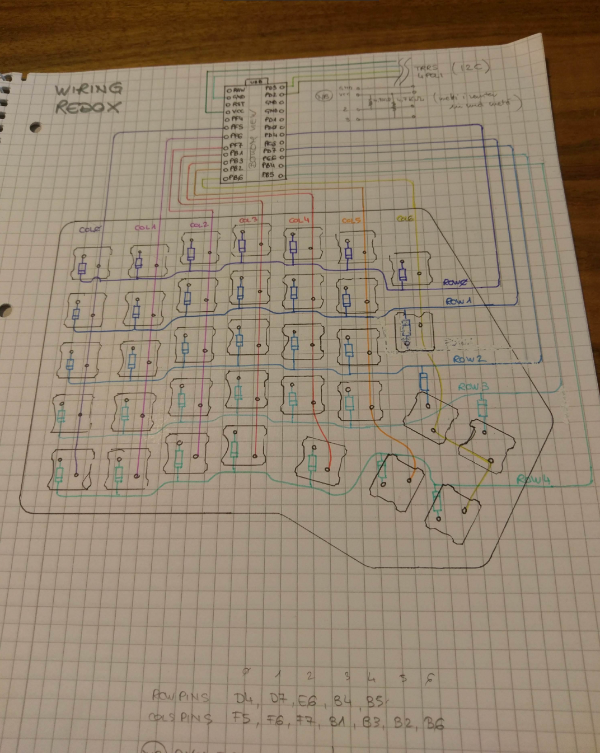
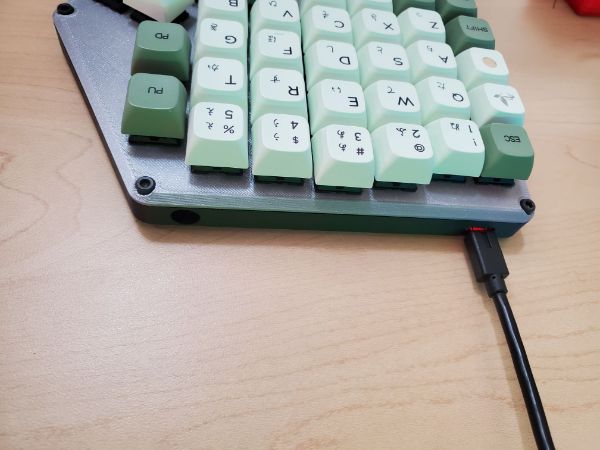
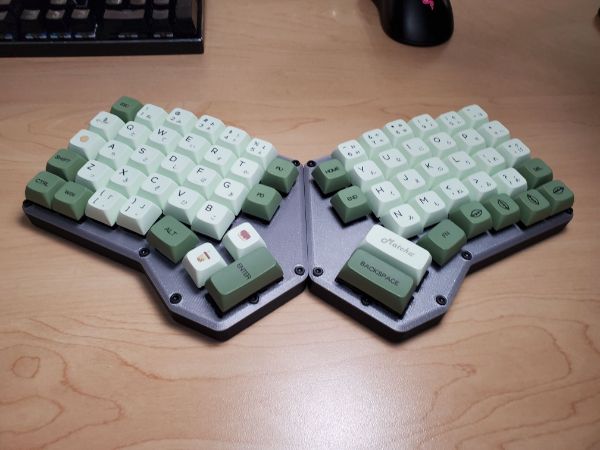
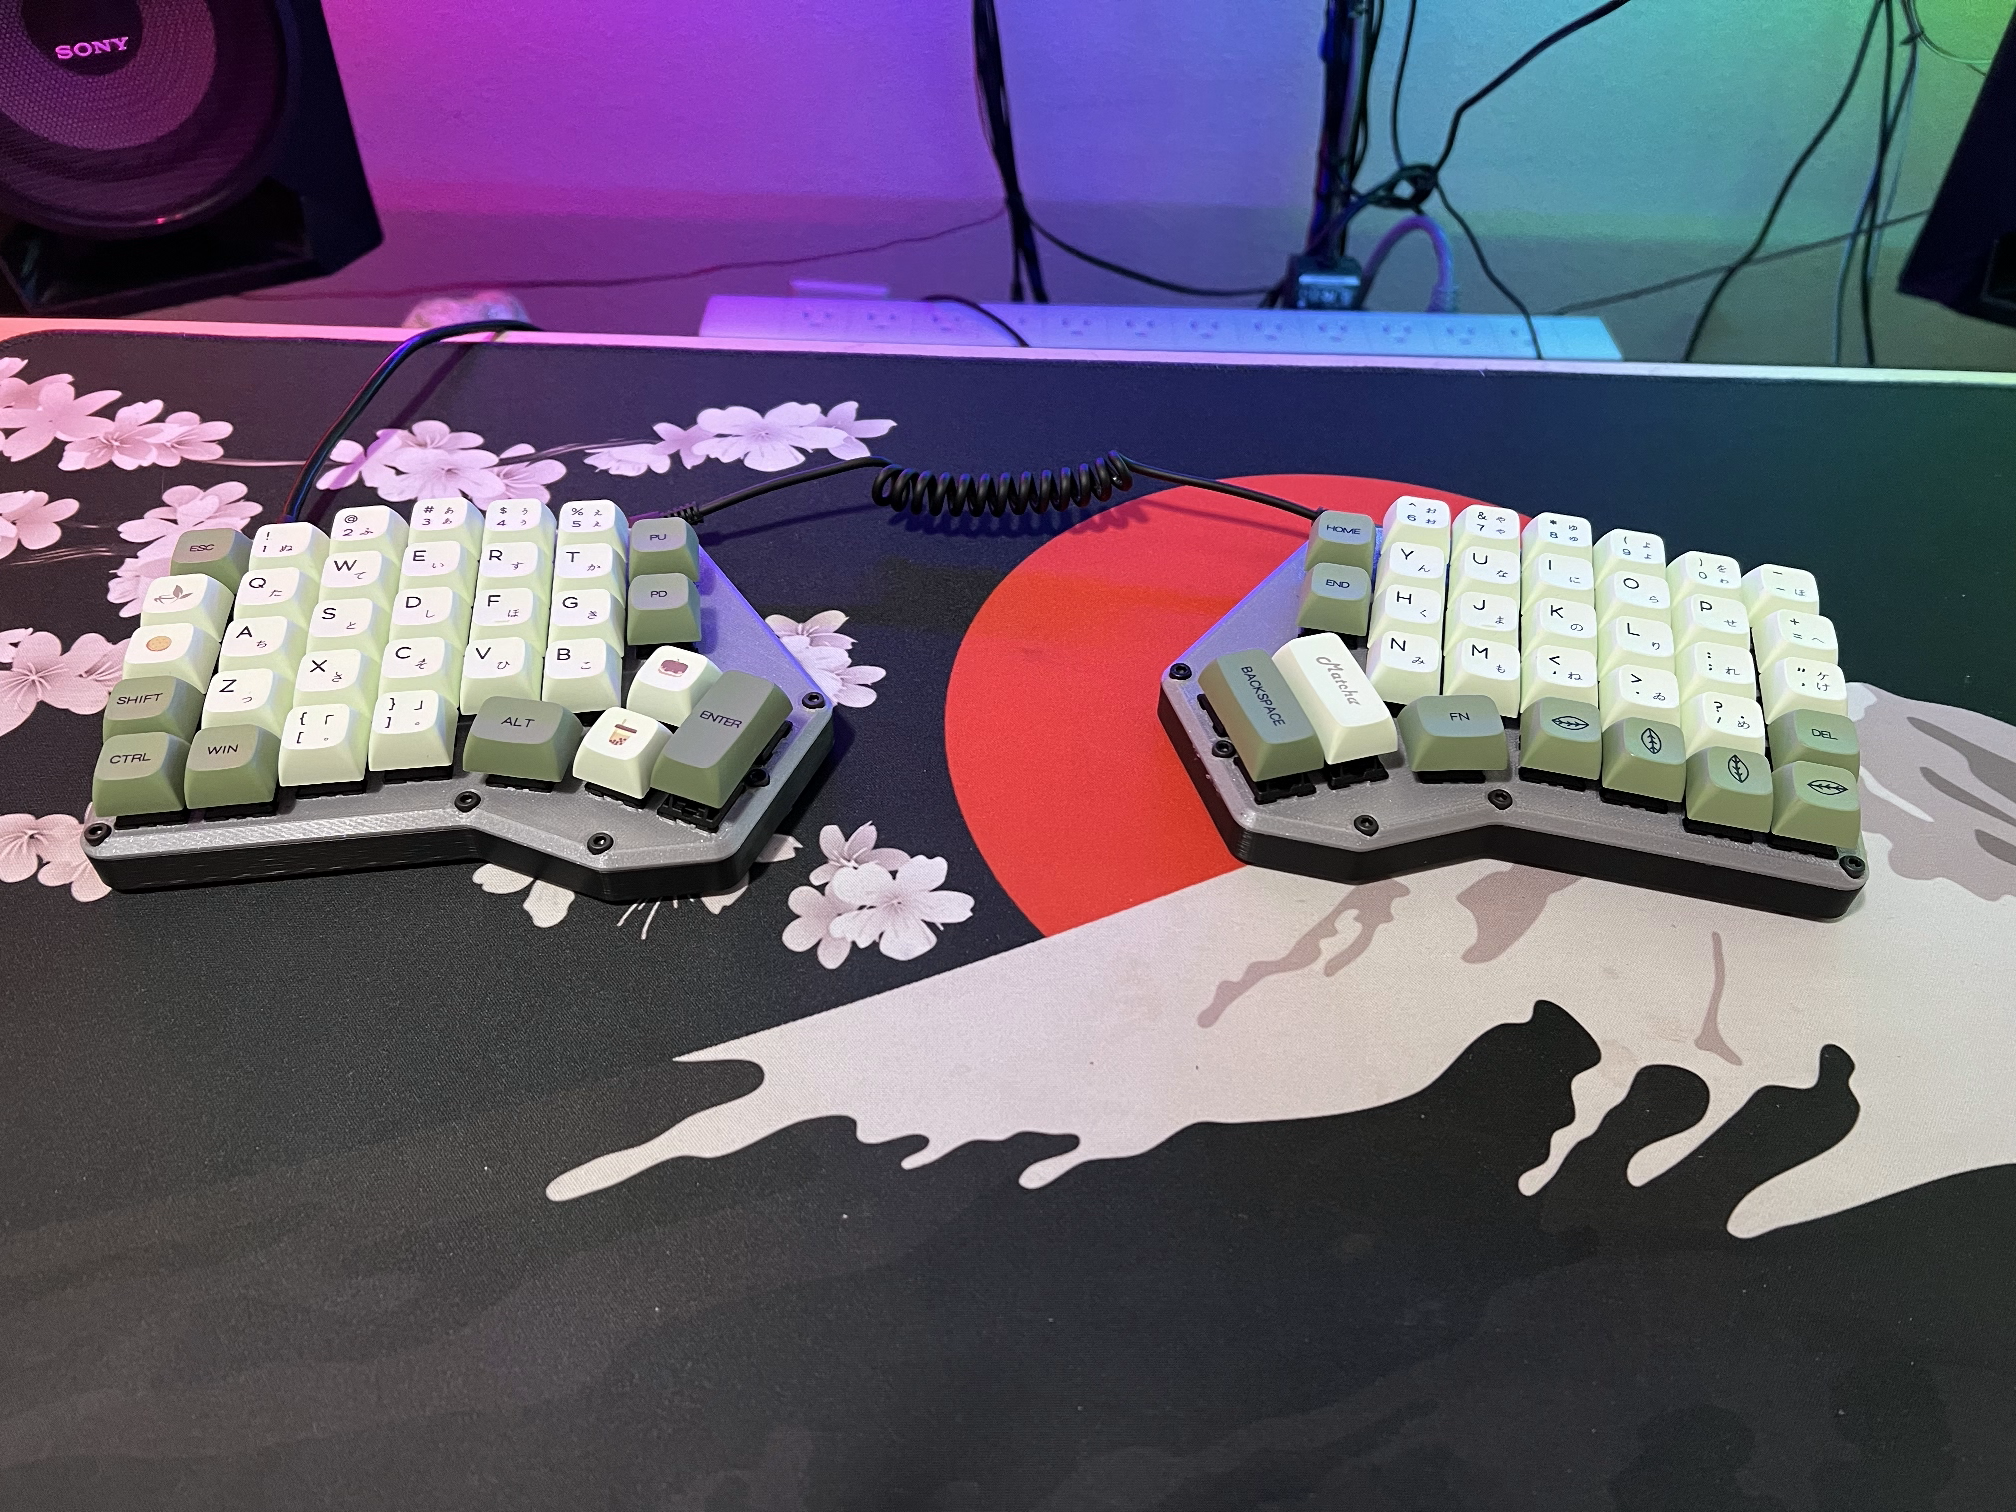
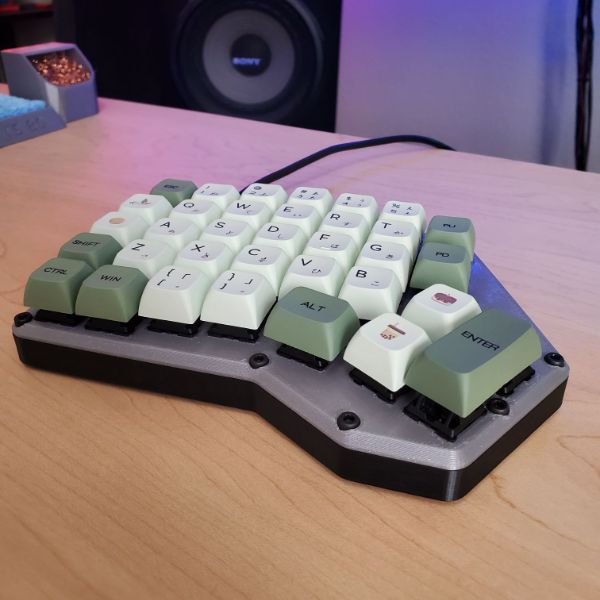
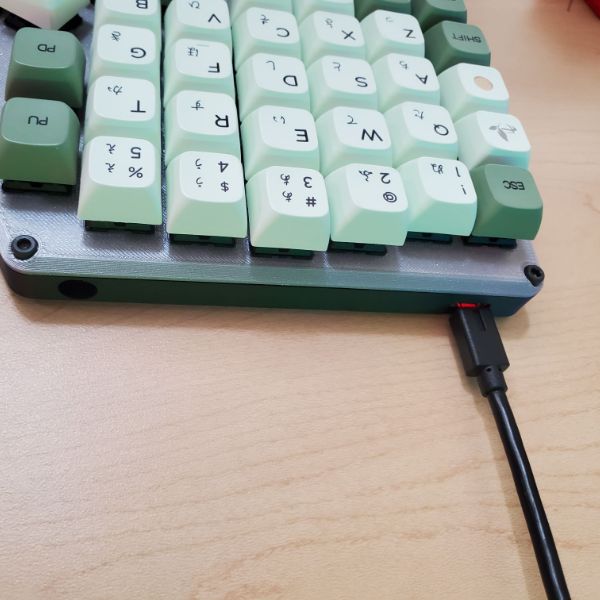
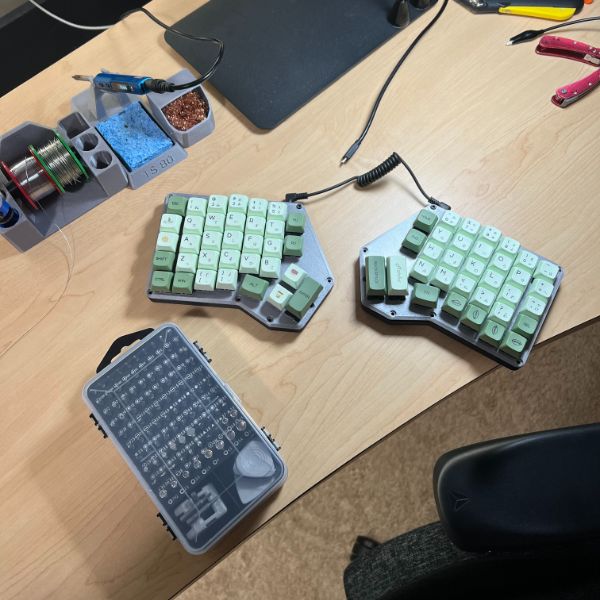
Matcha Keycaps on a 3D printed Redox body with Cherry Black switches. Arduino Pro Micro on the inside running the show. There’s one in each of the keyboards. The left is the master and they communicate using Serial. I handwired the whole thing which was HARD! Will definitely do PCBs in the future. Added a reset button post-print to flash the firmware without unbuttoning the case. Works great, but I can’t touch type so it’s actually really hard to use for me.
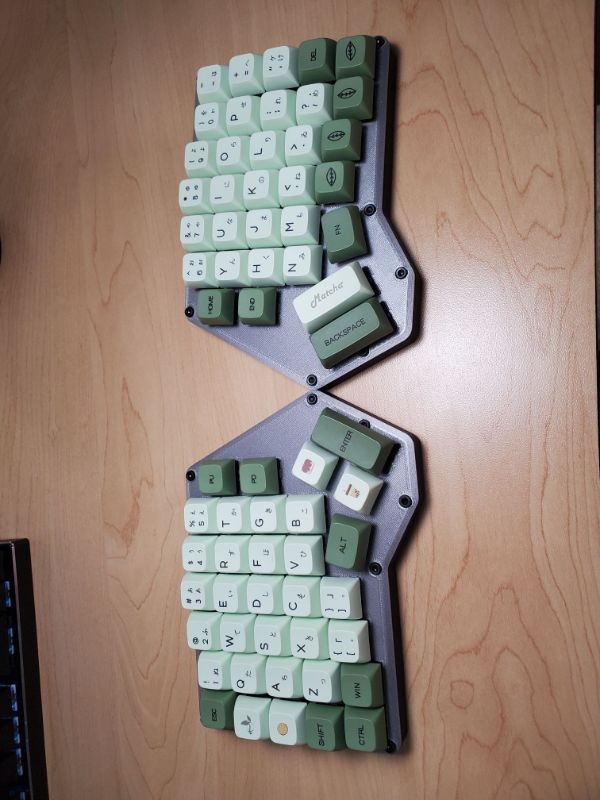
Final Project Pics
Project Summary (Personal Overview):
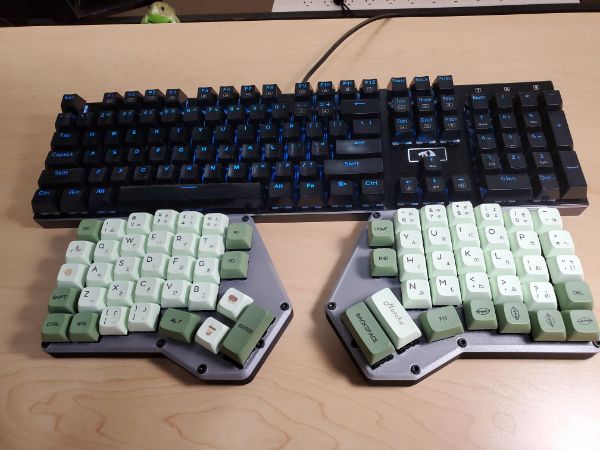
Fun first experience with Mechanical Keyboards. This started because my old keyboard is too loud, brown switches, and some of the switches started dying and missing inputs. Angel bought me black switches but they didn’t fit into the frame of the keyboard… so I just decided to try and make my own. I figured it would be easy enough and it was. It turns out that most of the skills I use on my other projects translate pretty directly to making keyboards, so I didn’t really have to learn anything new for this project, other than how to flash a new microcontroller.
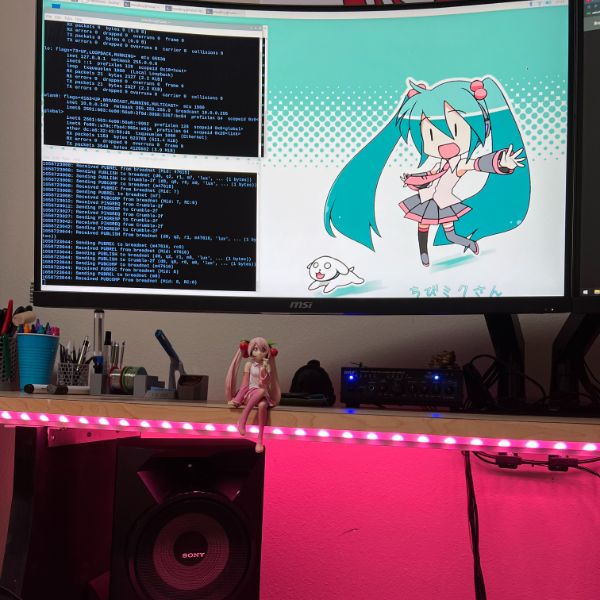
And even then, there’s a ton of tools and software to help the process of setting up custom keyboards. The most frustrating part was having to compile on linux on the Pi that runs Breadnet. The keyboard works well and I like using it, but it’s taking me a couple days to type even 25% speed my normal. It’s definitely more rewarding though and I look forward to getting to the point where I don’t need to switch back after an hour and getting frustrated lol.
Project Cost Breakdown: $125
Bag of switches was like $70. Arduinos were $15. Diodes $10. Keycaps about $30
Project Timeline Breakdown: 1 Month
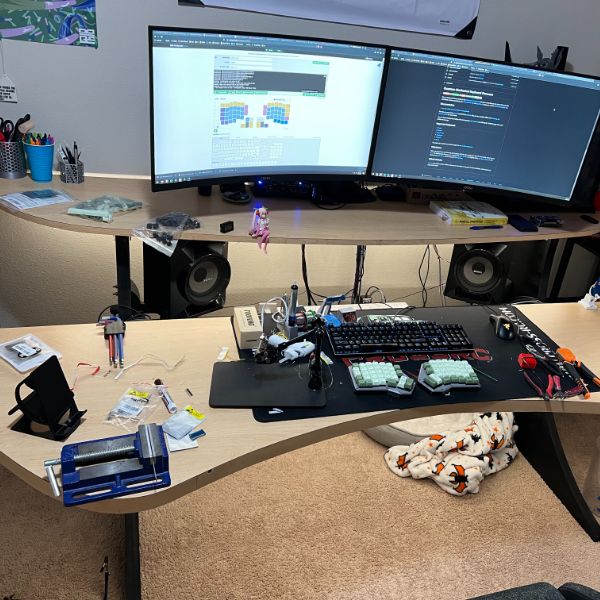
Project Gallery

Project Notes
2022-K,L
MKB – Mechanical Keyboard
Mechanical Keyboard
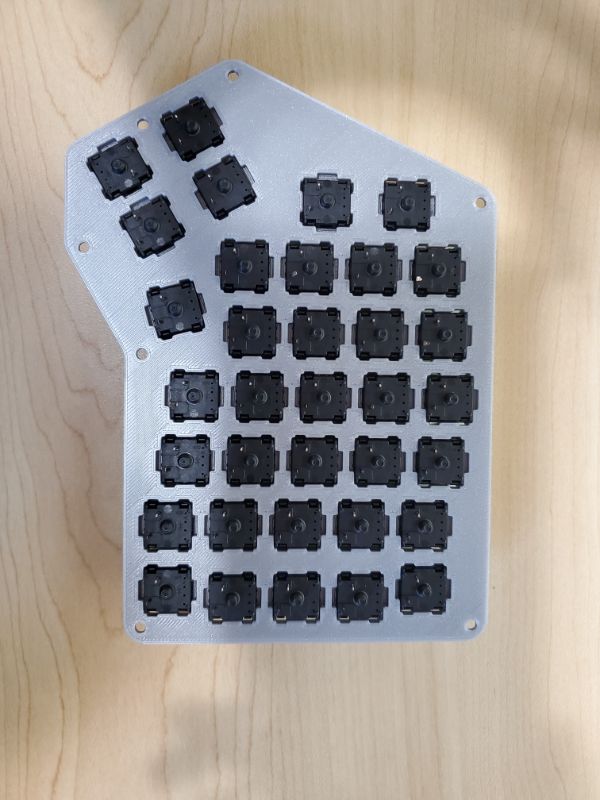
Printed out both sides of a two-piece mechanical keyboard. It came out nicely and is pretty satisfying to handle.
Angel got me a pack of 120 black switches a while back and they don’t fit into my current keyboard but fit nicely into the printed frame
keycaps are arriving today, but I don’t have a microcontroller ready for it, nor have I really looked into the wiring yet.
Resources
Wiring Guide+Other Resources
https://www.crackedthecode.co/a-complete-guide-to-building-a-hand-wired-keyboard/
https://geekhack.org/index.php?topic=87689.0
Teensy Official
https://www.pjrc.com/store/teensy.html
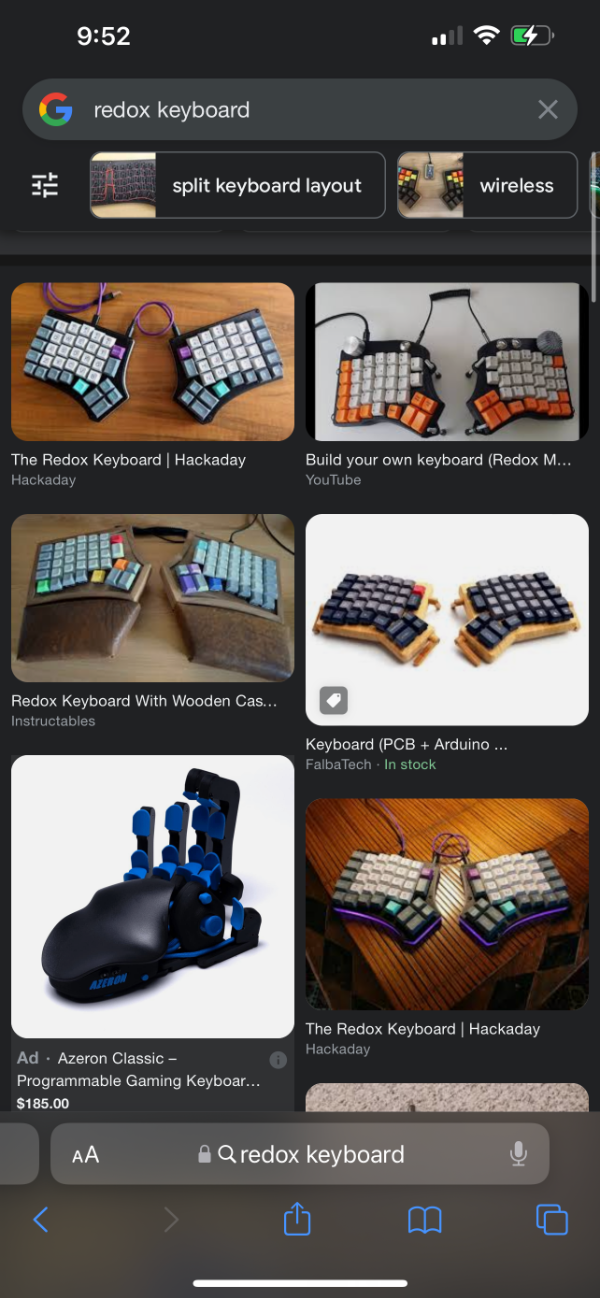
Redox Layout Official
https://thangs.com/designer/ZackFreedman/3d-model/Redox%20Handwire%20Mechanical%20Keyboard-10464
https://www.thingiverse.com/thing:2704567
QMK Official Wiring Guide
https://github.com/qmk/qmk_firmware/blob/master/docs/hand_wire.md
TRRS
https://www.cablechick.com.au/blog/understanding-trrs-and-audio-jacks/
Keyboard Test
2022-M,N,O
MKB
Worked on the keyboard for about 4 hours today
Didn’t finish, got pretty close
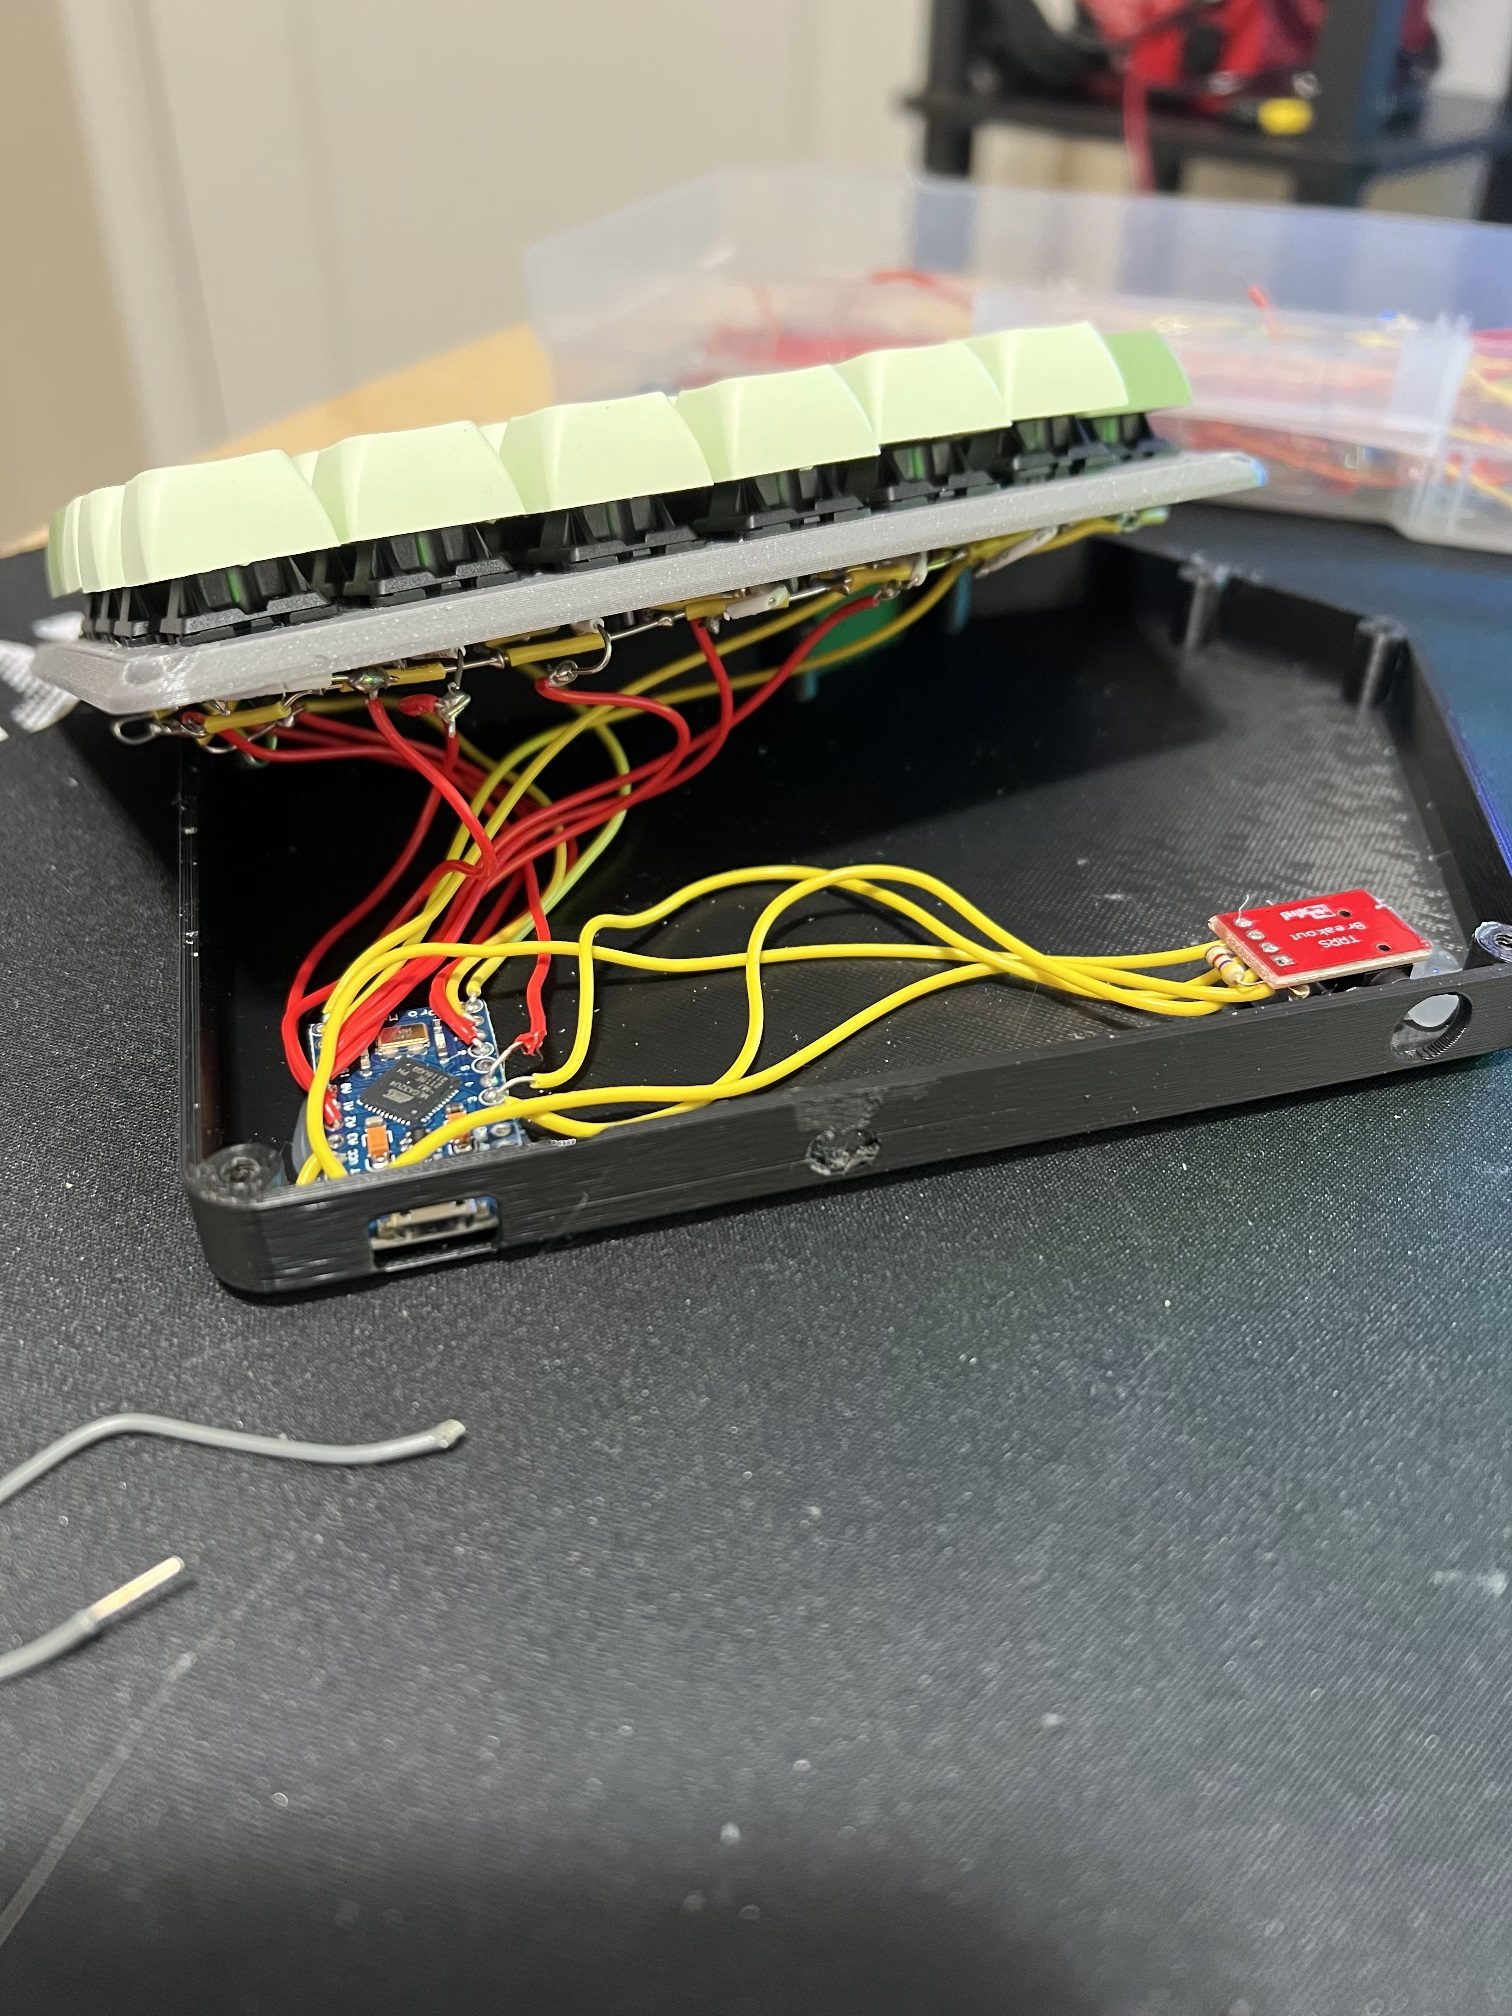
Wired the entire right side including the jack
Realized at the very end I don’t have the second jack anymore, it must’ve got lost
So I have to wait a few days for that to show up
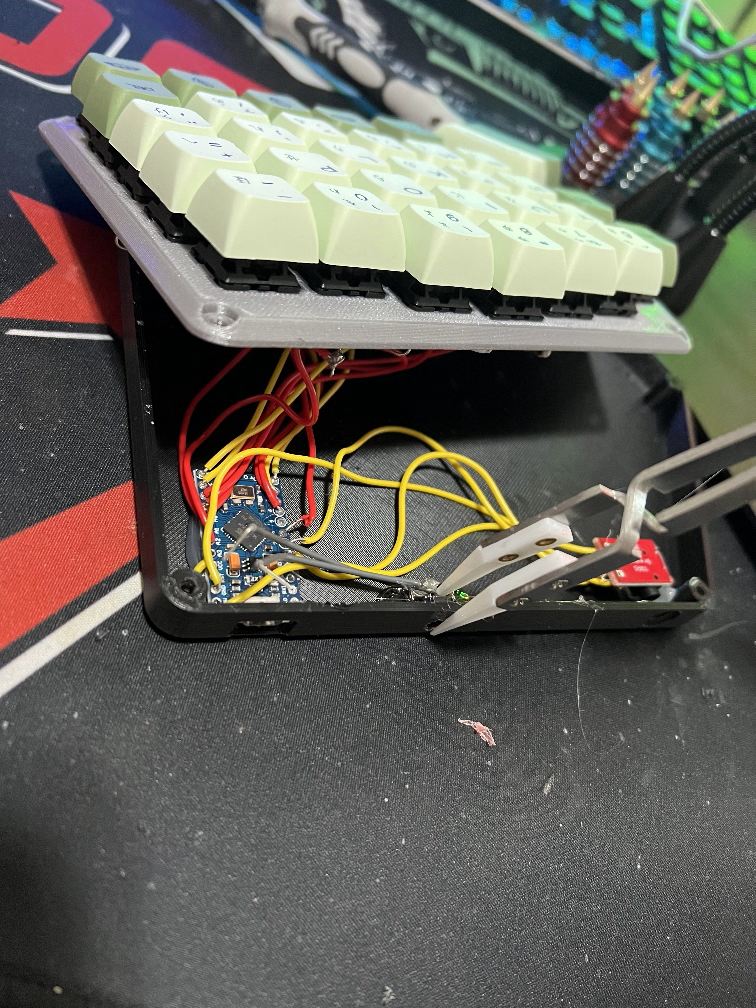
I also hot glued the uC down before I flashed the firmware, so I think that might be a little difficult to get into
I also realized I’m going to have to reflash both uCs anyway, so it doesn’t really matter that they’re pinned already
I’m worried the wires are going to clip or short while they’re in there still
I’m a little anxious about it mostly because my brain is tired, but I’m guessing I can approach the firmware side of things slowly and carefully in a few days once I’m feeling a little more refreshed and I’ll be ready for whatever nonsense it decides to throw at me
I was really cautious and patient the first time I flashed the firmware and it worked first try, so we’ll see I guess
Saved the Firmware under the MKB folder
https://config.qmk.fm/#/redox/rev1/LAYOUT
for reference
Last session I wired up the entire right half of the keyboard, and then realized I didn’t have the aux ports
Also need the RX and TX lines swapped on the two aux ports
I don’t think I even need the board for the aux port
I also need to get the reset feature again, I think it’s tapping ground and reset together two times to get it into boot mode
I also need to program both of them over again with a new firmware that indicates that they’re the left and right sides
Arduino Pro Micro: Reset & Restore Bootloader
https://www.shellhacks.com/arduino-pro-micro-reset-restore-bootloader/
Reset Arduino Pro Micro
The process of resetting of the Arduino Pro Micro is a bit tricky as it doesn’t have a hardware RESET button.
Nevertheless it still can be put in a bootloader reset mode by wiring twice the RST (reset) and GND (ground) pins – use for this a piece of a wire or create a temporary button.
Verbose guide to Split Keyboards
https://github.com/nicinabox/lets-split-guide/blob/master/assembly.md
Ponoko Metal Cutting for MKB Cases
https://www.ponoko.com/
2022-P
Finish Mechanical Keyboard
Mechanical Keyboard
Printed out both sides of a two-piece mechanical keyboard. It came out nicely and is pretty satisfying to handle.
Angel got me a pack of 120 black switches a while back and they don’t fit into my current keyboard but fit nicely into the printed frame
keycaps are arriving today, but I don’t have a microcontroller ready for it, nor have I really looked into the wiring yet.
Resources
Wiring Guide+Other Resources
https://www.crackedthecode.co/a-complete-guide-to-building-a-hand-wired-keyboard/
https://geekhack.org/index.php?topic=87689.0
Teensy Official
https://www.pjrc.com/store/teensy.html
Redox Layout Official
https://thangs.com/designer/ZackFreedman/3d-model/Redox%20Handwire%20Mechanical%20Keyboard-10464
https://www.thingiverse.com/thing:2704567
QMK Official Wiring Guide
https://github.com/qmk/qmk_firmware/blob/master/docs/hand_wire.md
TRRS
https://www.cablechick.com.au/blog/understanding-trrs-and-audio-jacks/
Keyboard Test
Worked on the keyboard for about 4 hours today
Didn’t finish, got pretty close
Wired the entire right side including the jack
Realized at the very end I don’t have the second jack anymore, it must’ve got lost
So I have to wait a few days for that to show up
I also hot glued the uC down before I flashed the firmware, so I think that might be a little difficult to get into
I also realized I’m going to have to reflash both uCs anyway, so it doesn’t really matter that they’re pinned already
I’m worried the wires are going to clip or short while they’re in there still
I’m a little anxious about it mostly because my brain is tired, but I’m guessing I can approach the firmware side of things slowly and carefully in a few days once I’m feeling a little more refreshed and I’ll be ready for whatever nonsense it decides to throw at me
I was really cautious and patient the first time I flashed the firmware and it worked first try, so we’ll see I guess
Saved the Firmware under the MKB folder
https://config.qmk.fm/#/redox/rev1/LAYOUT
for reference
Last session I wired up the entire right half of the keyboard, and then realized I didn’t have the aux ports
Also need the RX and TX lines swapped on the two aux ports
I don’t think I even need the board for the aux port
I also need to get the reset feature again, I think it’s tapping ground and reset together two times to get it into boot mode
I also need to program both of them over again with a new firmware that indicates that they’re the left and right sides
Arduino Pro Micro: Reset & Restore Bootloader
https://www.shellhacks.com/arduino-pro-micro-reset-restore-bootloader/
Reset Arduino Pro Micro
The process of resetting of the Arduino Pro Micro is a bit tricky as it doesn’t have a hardware RESET button.
Nevertheless it still can be put in a bootloader reset mode by wiring twice the RST (reset) and GND (ground) pins – use for this a piece of a wire or create a temporary button.
Verbose guide to Split Keyboards
https://github.com/nicinabox/lets-split-guide/blob/master/assembly.md
Ponoko Metal Cutting for MKB Cases
https://www.ponoko.com/