O/Hiatus Ending 7/31/2022 Up Next – P: 8/1/2022 – 8/14/2022
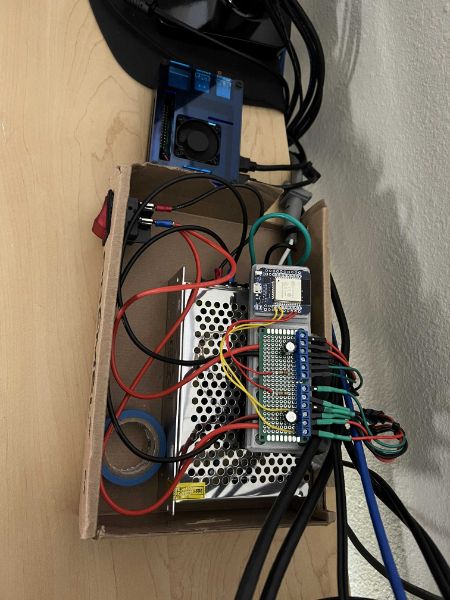
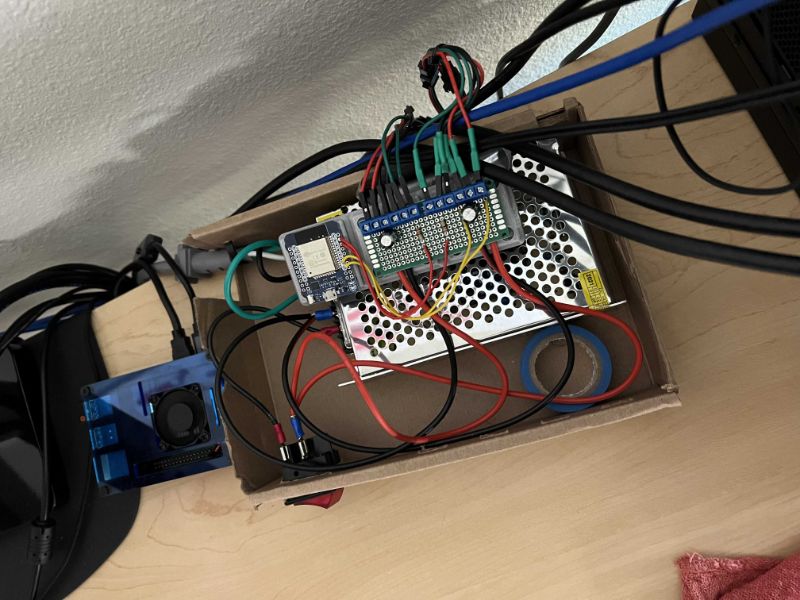
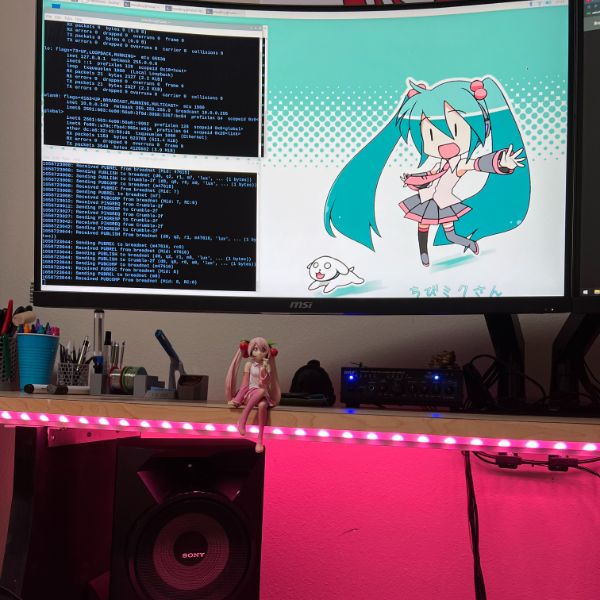
Summary: Now off Hiatus!I have moved to Washington and set my lab back up. I rebuilt the breadboard for the Mega Lights on a more permanent (and fire safe) protoboard with some screw terminals. I also modified the code so that the desk’s lights can be controlled independently of eachother for top and bottom.
Along with those changes, I rebuilt the relay driver circuit for our Fairy Lights, and created the first complete version of the Standard Breadnet Module code, which will streamline a lot of the process of getting more stuff online without worrying about fragile code.
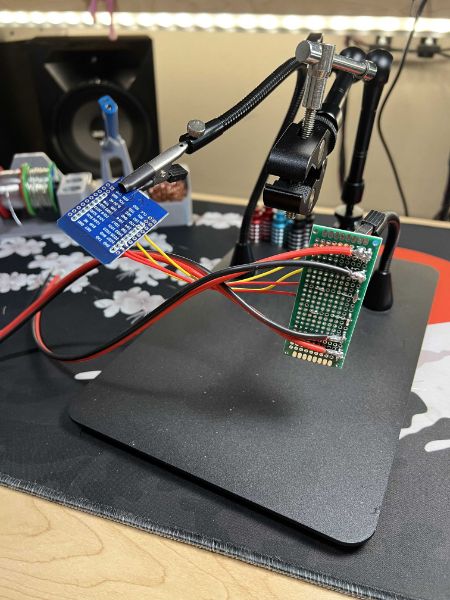
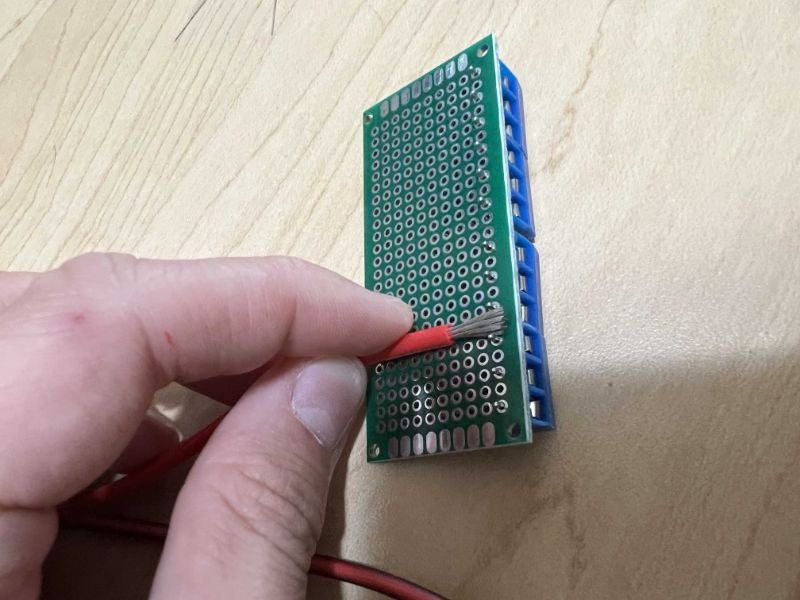
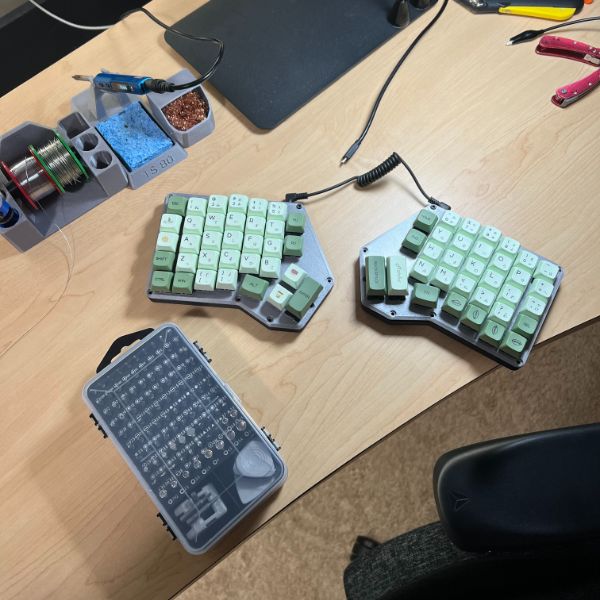
I finished the Matcha Keyboard and it works exactly as intended now. I’m pretty happy with it, but I don’t see myself handwiring another keyboard. I had to come up with some innovative procedures and it’s so unstable I’d rather just make PCBs for it, even if it means I have to order a few to get it just right. Figuring out how to compile the firmware with the right config to get the split keyboard to work right was by far the hardest part. The documentation is thorough but the tutorials are not clear. I was going to do 2 wire I2C but I wound up just doing 1-Wire Serial after I had already soldered in pullup resistors. I am familiar with the process now but I wouldn’t say I understand it comprehensively. I think I’d have to build about 3 more keyboards to feel confident throwing together a keyboard that’s high enough quality to sell at a reasonable time/cost investment.
New Mega Lights Control
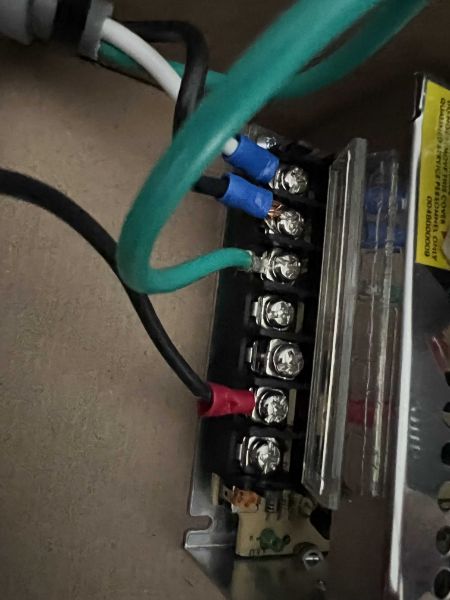
PSU Rails
Old vs New
New Layout
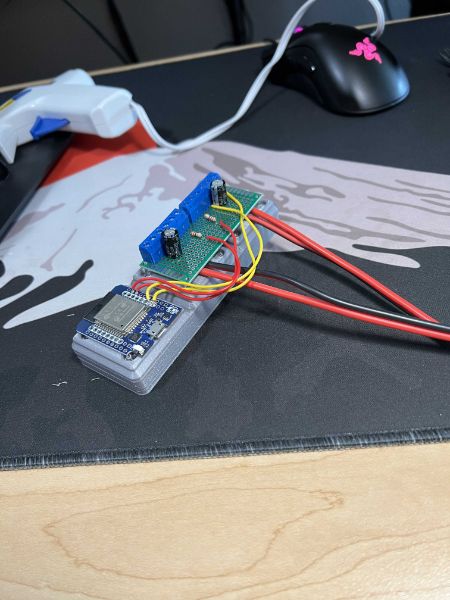
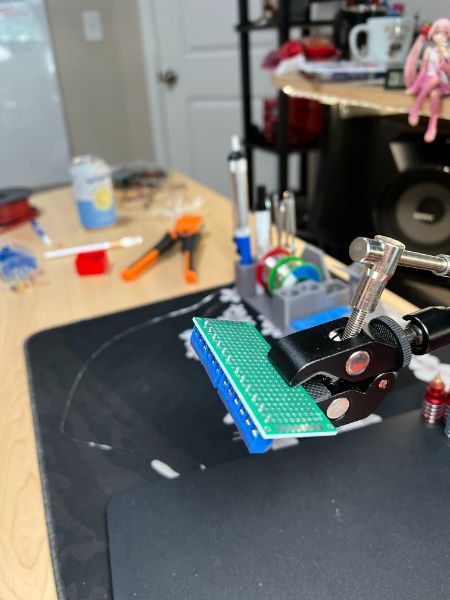
Creating new Controller
Creating new Controller
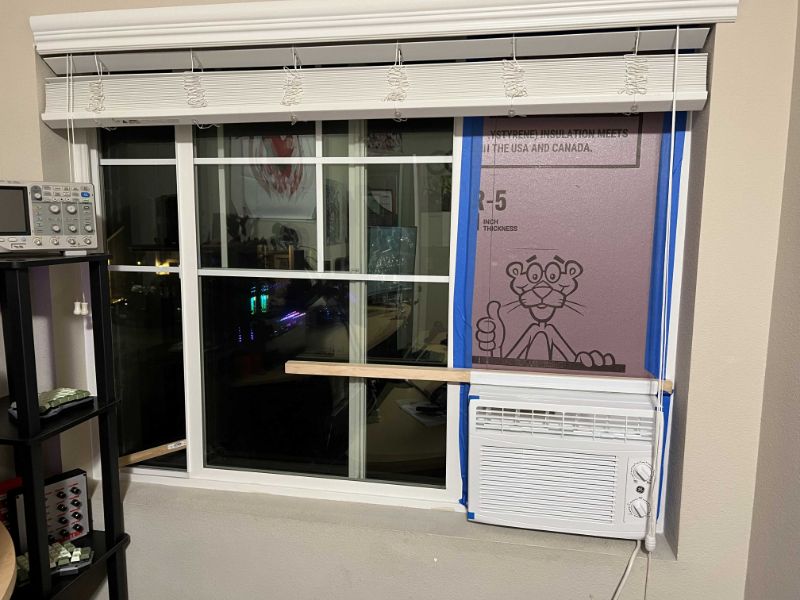
AC Unit
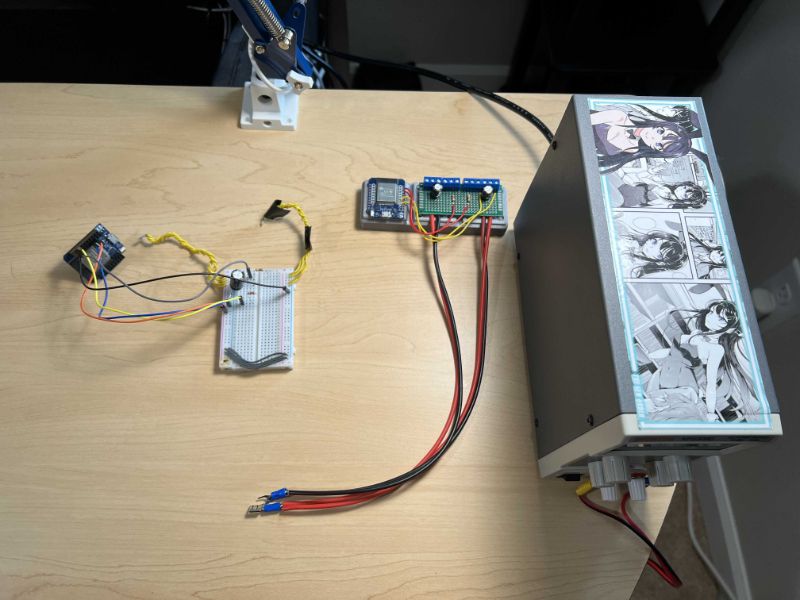
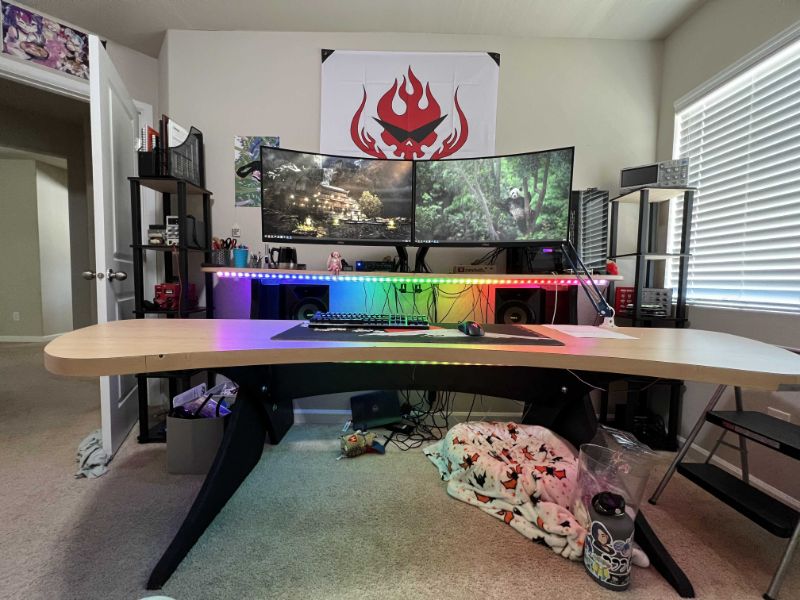
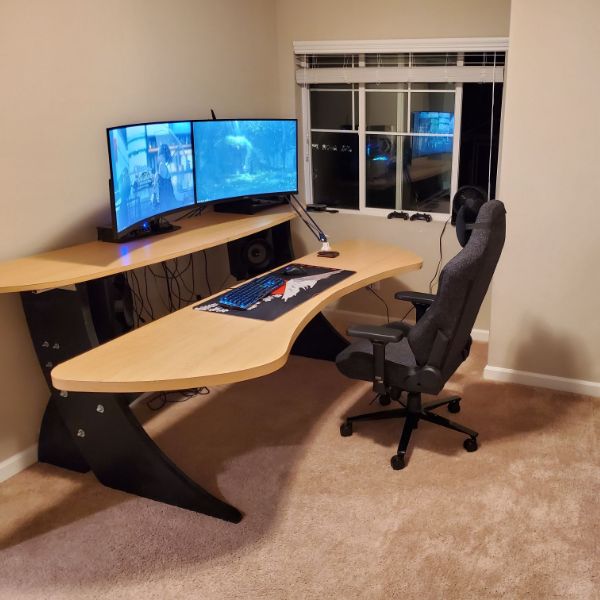
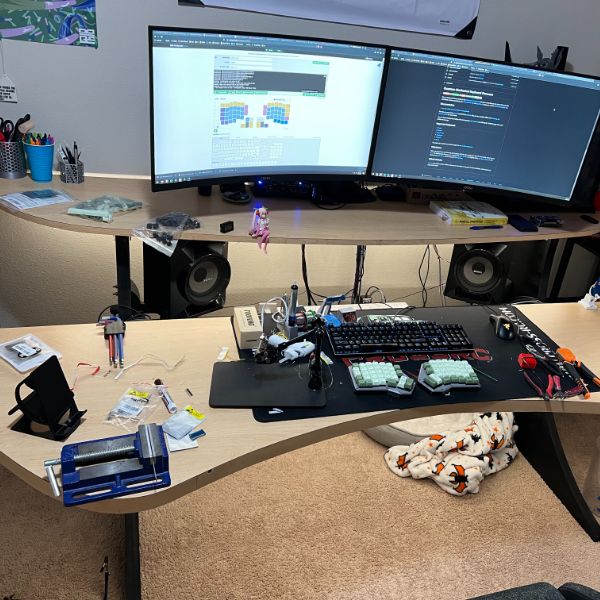
New Desk Setup
Creating new Controller
New Mega Lights Control
Creating new Controller
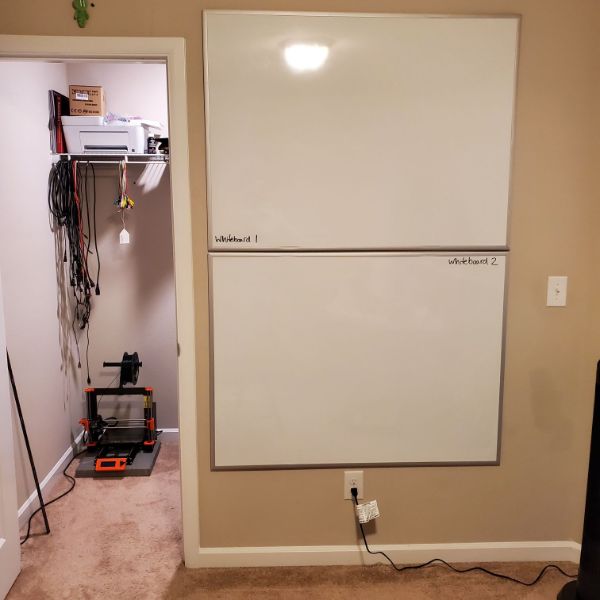
HUGE WHITEBOARDS
New Desk Setup
Firmware Flashing
Keyboard WorkWorkshop
Keyboard Work
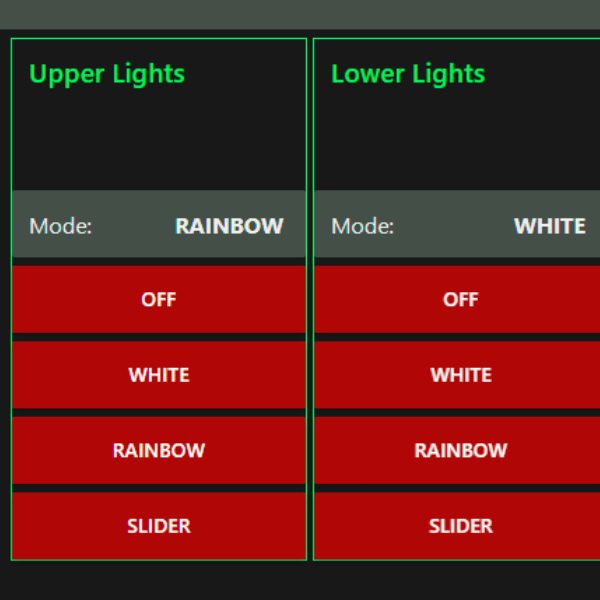
New Mega Lights UI
LMNO! Freezey Squeezey State of Freeze MKB – Mechanical Keyboard 1/2 Handwired and Functional NT – Noise Toaster 1 fully furnished noise toaster complete, need to make one more so I can send it out to itvlo ML2 – Lightsbox Will probably break during the move. Worth designing a pcb for in the future. Should be easy enough to put back together after the move. Not sweating it Future Project Ideas Flashfire Chamber Smash Briefcase Sell Mechanical Keyboards Read AoE Repair Electric Guitar Electric Horn w MK Switches Claw Machine Automatic Boba Machine Plasma Bluetooth Speaker Unity Mario Party Engine Combot – CV Robot Arm with Boxing Pad Orb of Pondering Garage Sized CNC for Megadesk Production CRAB ROBOT Slaughterhouse Day 2 Heating elements from Rice Cooker Deconstructed the whole treadmill Got a 3HP 120V DC Motor and control board Cool new Ideas Crab Robot Ball Throwing Machine Claw Machine Plasma Speaker Hanger Filament Spool Hermetic Seal on the hanger like in the closet and its hanging O-Week Two Finally checking back into lab 7/25, which is day 1 of week 2 of O P Starts on August 1st, making for a Convenient Comback Time Lab Tickets Finish Empty Breadnet Template Finish Mega Lights Code Code for split PWM signals for top and bottom No need for four individual signals This will also allow the current draw to be distributed across 2 pins, which has been stressing the ESP Update ESP Module Code for split signal Update Breadnet Backend for split signal Re-arrange breadboard move around signal wires and light channels potentially add new resistors to limit current Confirm system works as intended Design Protoboard for system including newer high AWG wire running from switch Sketch out 3D Printed box based on current cable management and UI Include 2 back ports for upper and lower desk signaling Mounting Slots for PSU Include Female AC Socket, Order Part Double check connection integrity at strip Fix shitty power switch terminal connectors Include USB port and pin header exposure for ESP32 Finish Mechanical Keyboard Worked on the keyboard for about 4 hours today Didn’t finish, got pretty close Wired the entire right side including the jack Realized at the very end I don’t have the second jack anymore, it must’ve got lost So I have to wait a few days for that to show up I also hot glued the uC down before I flashed the firmware, so I think that might be a little difficult to get into I also realized I’m going to have to reflash both uCs anyway, so it doesn’t really matter that they’re pinned already I’m worried the wires are going to clip or short while they’re in there still I’m a little anxious about it mostly because my brain is tired, but I’m guessing I can approach the firmware side of things slowly and carefully in a few days once I’m feeling a little more refreshed and I’ll be ready for whatever nonsense it decides to throw at me I was really cautious and patient the first time I flashed the firmware and it worked first try, so we’ll see I guess
Saved the Firmware under the MKB folder https://config.qmk.fm/#/redox/rev1/LAYOUT for reference
Last session I wired up the entire right half of the keyboard, and then realized I didn’t have the aux ports
Also need the RX and TX lines swapped on the two aux ports I don’t think I even need the board for the aux port I also need to get the reset feature again, I think it’s tapping ground and reset together two times to get it into boot mode I also need to program both of them over again with a new firmware that indicates that they’re the left and right sides
Arduino Pro Micro: Reset & Restore Bootloader https://www.shellhacks.com/arduino-pro-micro-reset-restore-bootloader/ Reset Arduino Pro Micro The process of resetting of the Arduino Pro Micro is a bit tricky as it doesn’t have a hardware RESET button. Nevertheless it still can be put in a bootloader reset mode by wiring twice the RST (reset) and GND (ground) pins – use for this a piece of a wire or create a temporary button.
Verbose guide to Split Keyboards https://github.com/nicinabox/lets-split-guide/blob/master/assembly.md Ponoko Metal Cutting for MKB Cases https://www.ponoko.com/ Print a Ring Stand for my Orb Work on XXX Laser Diode Test Works as low as 2.2V, high as 9.1V, didn’t test any higher than that Draws about 30 mA either way, does get slightly warm Not sure if warmth is from overvolting or now


n