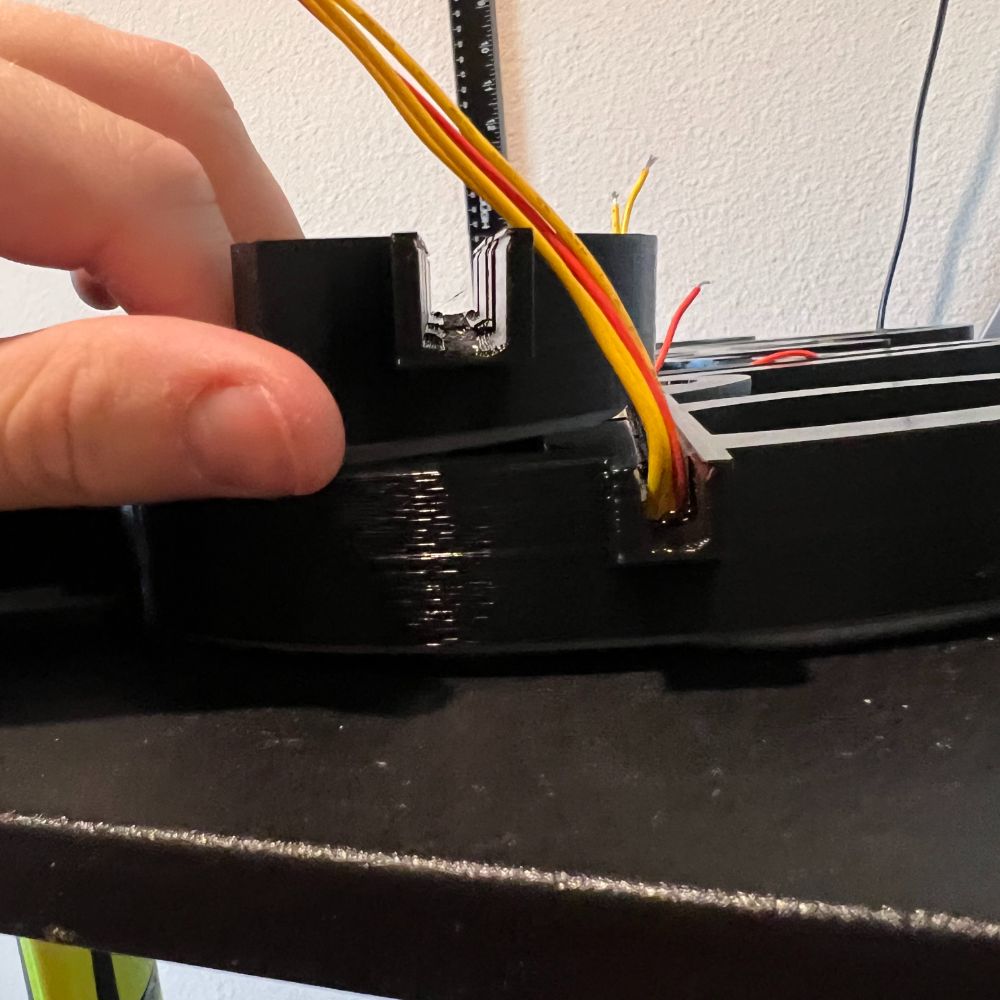
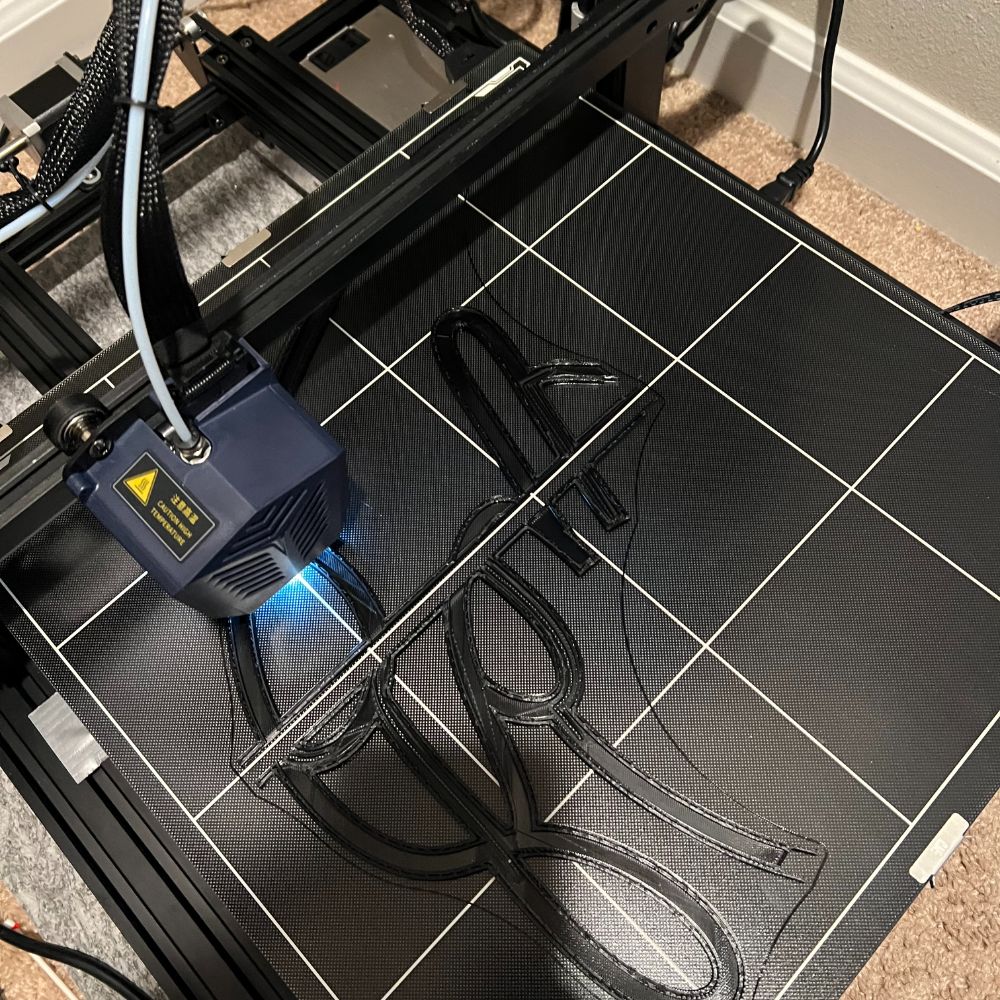
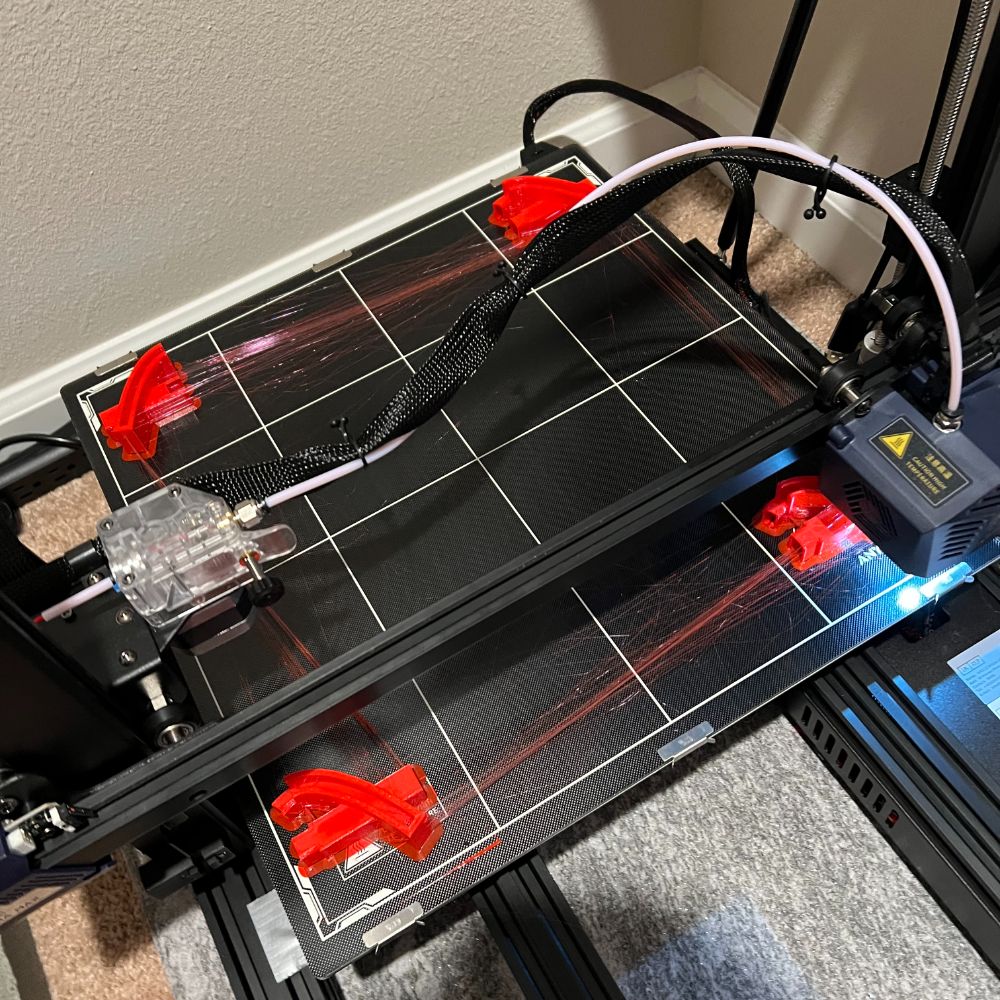
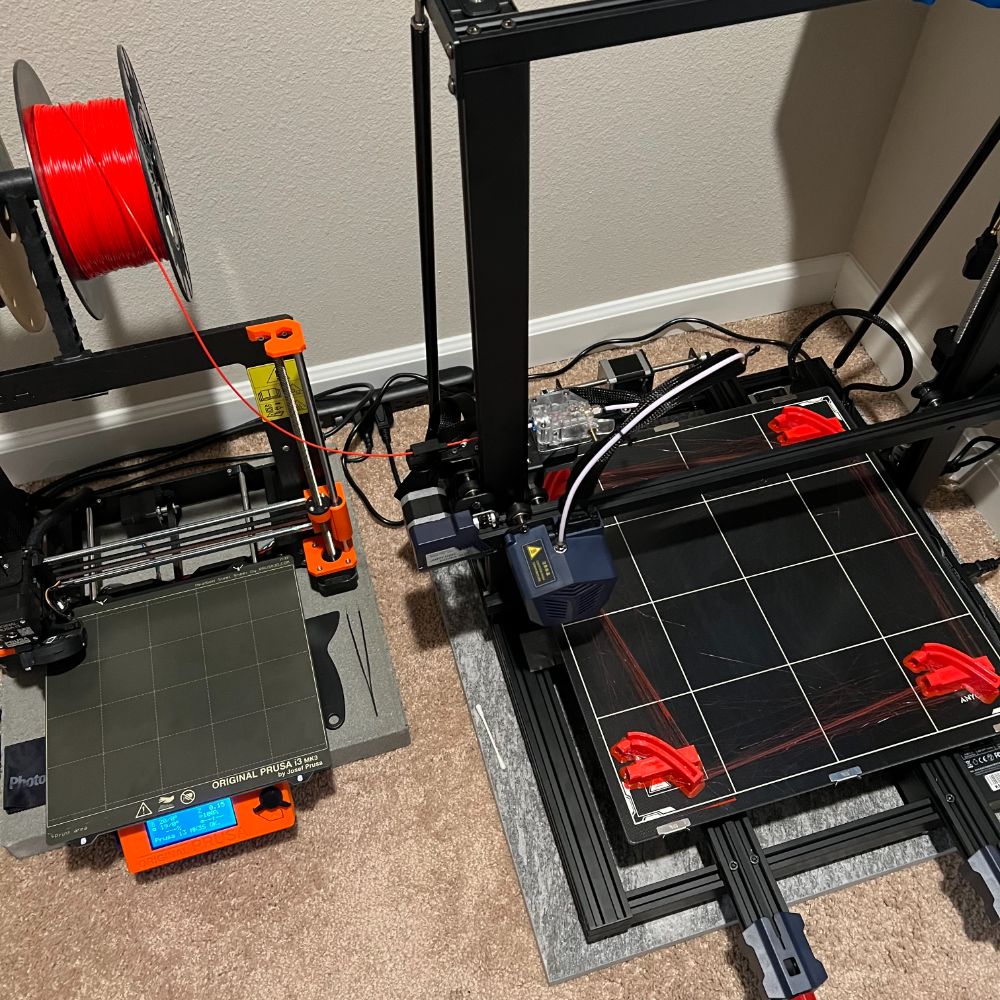
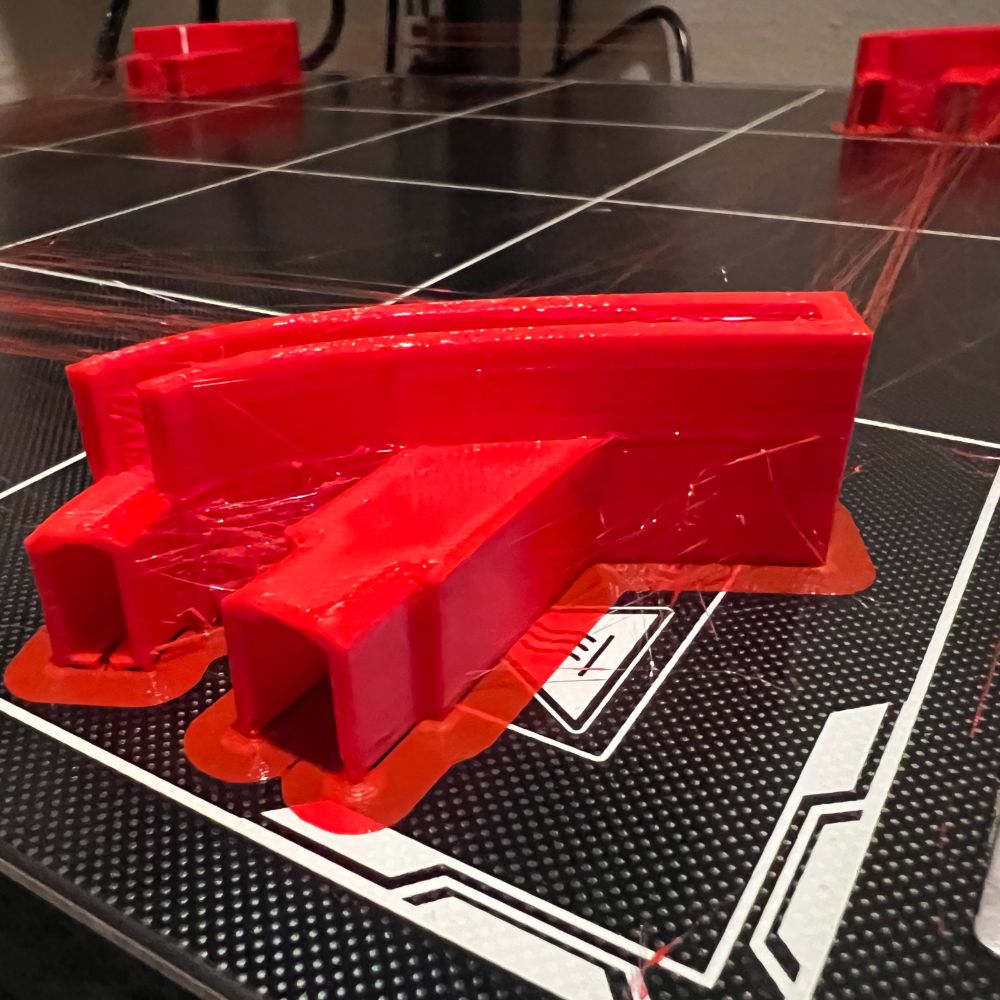
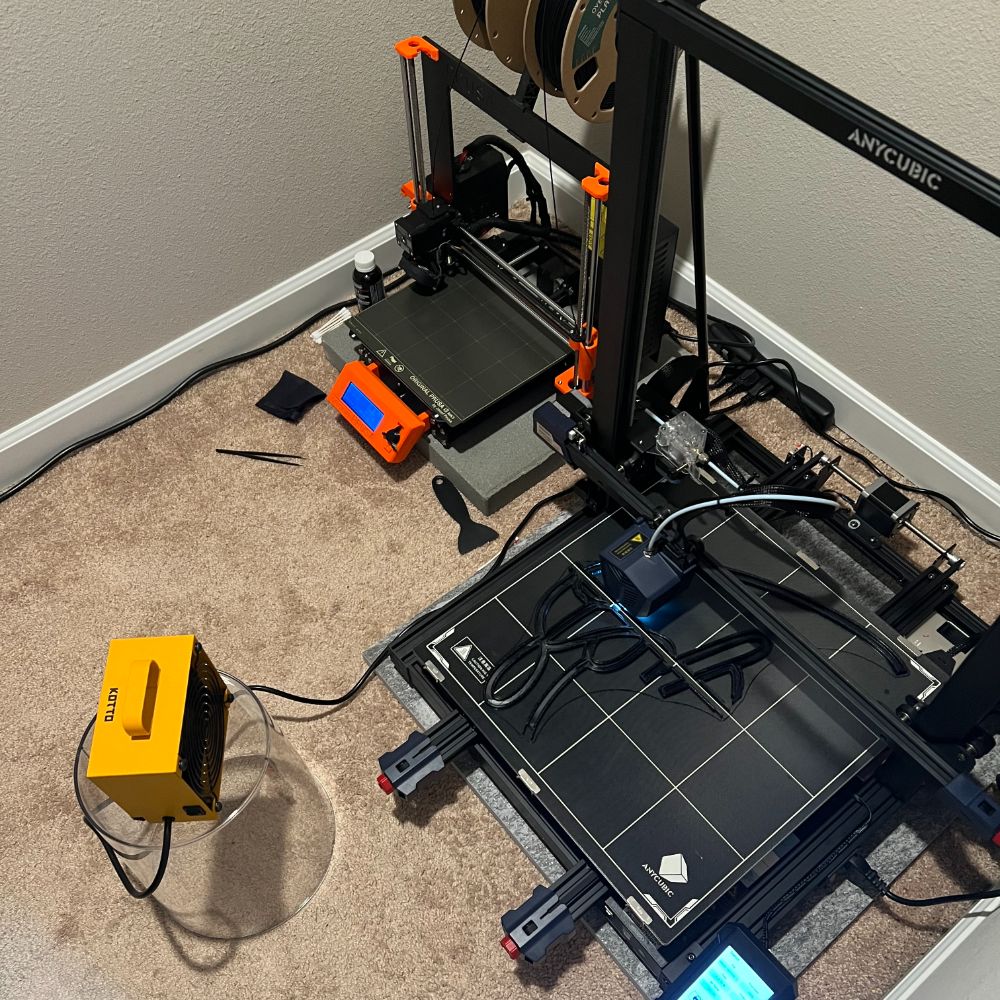
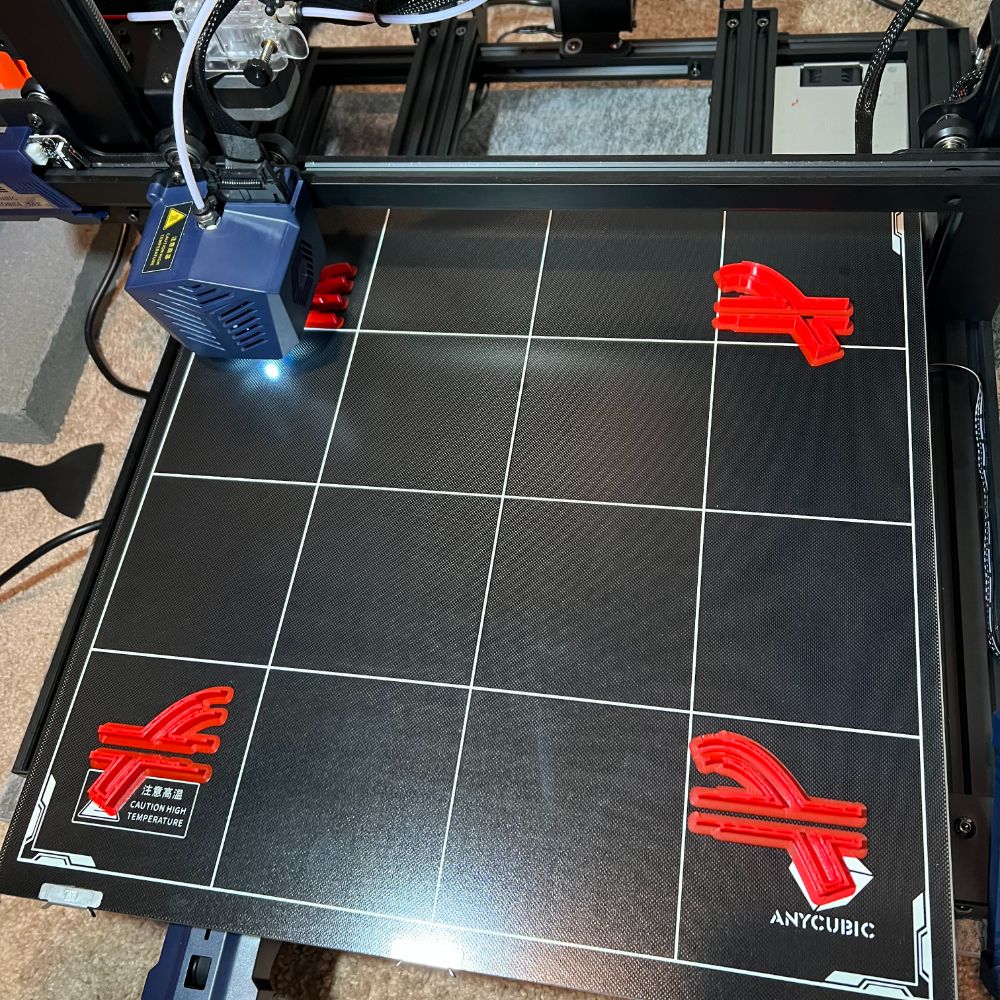
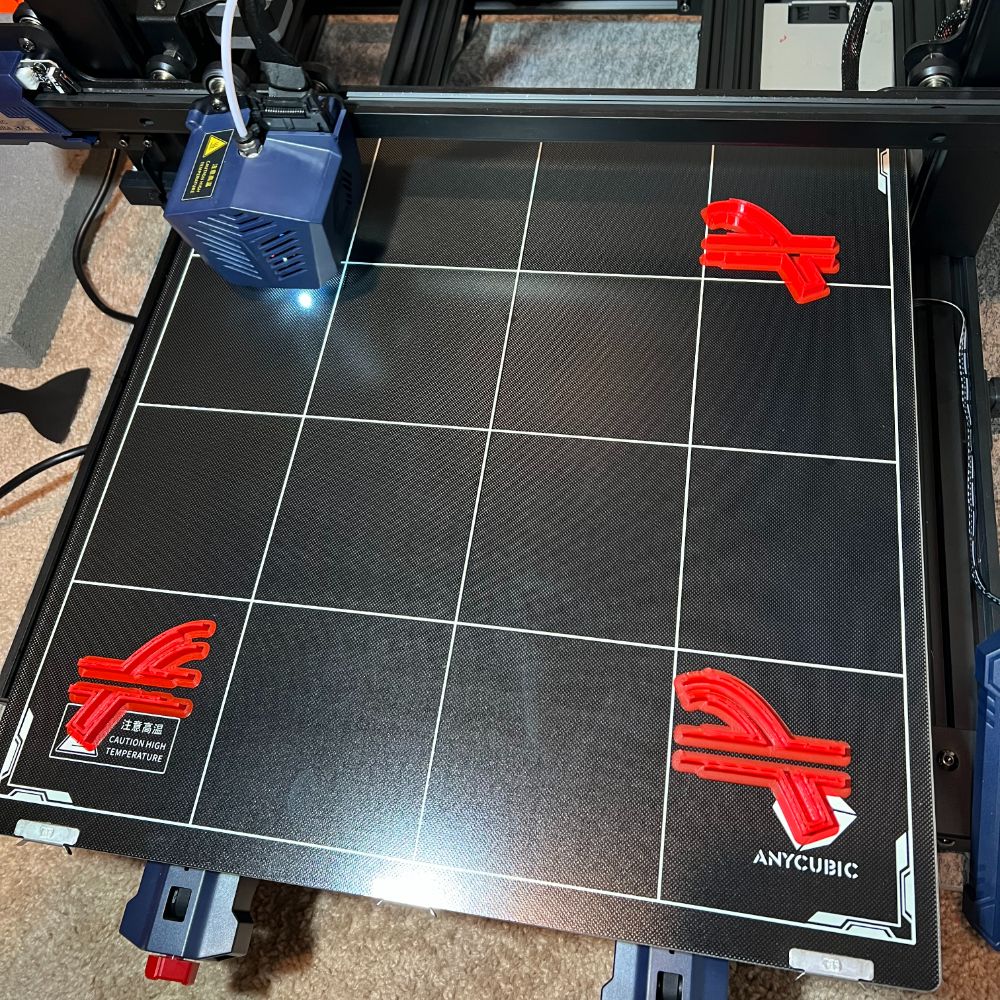
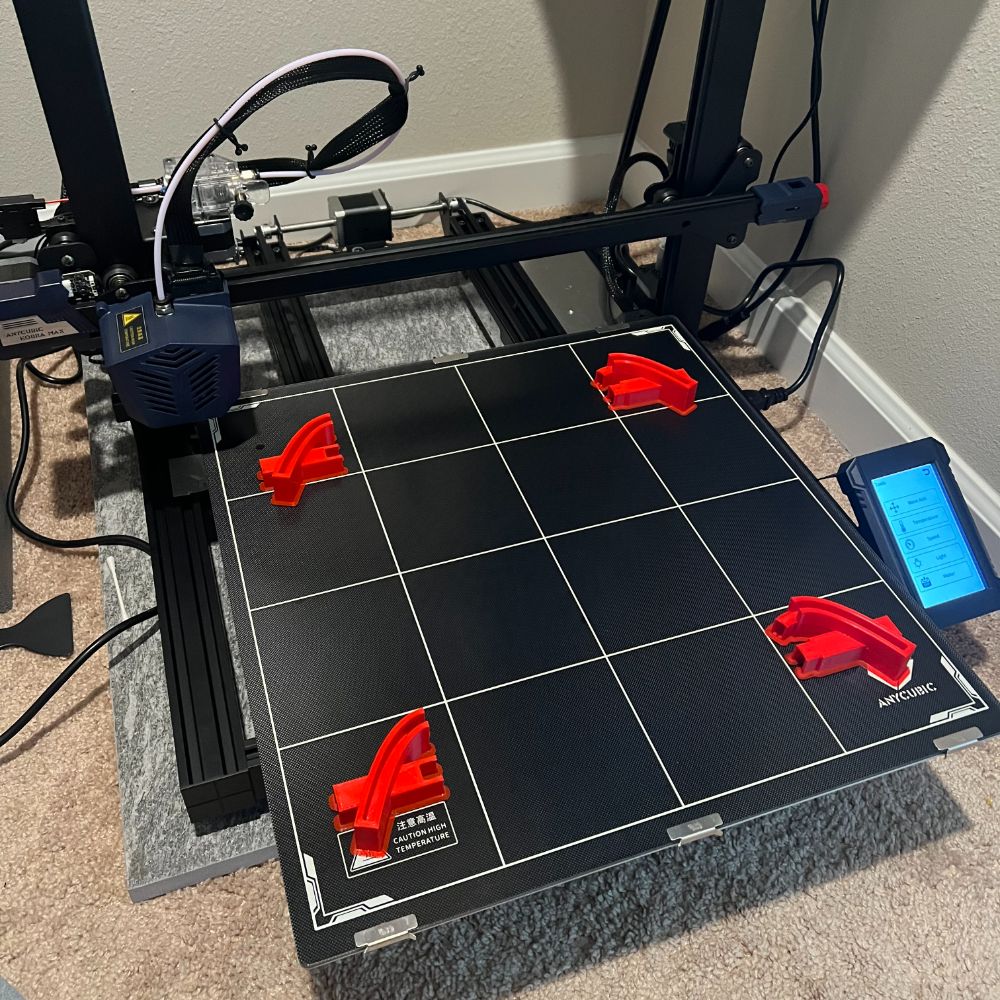
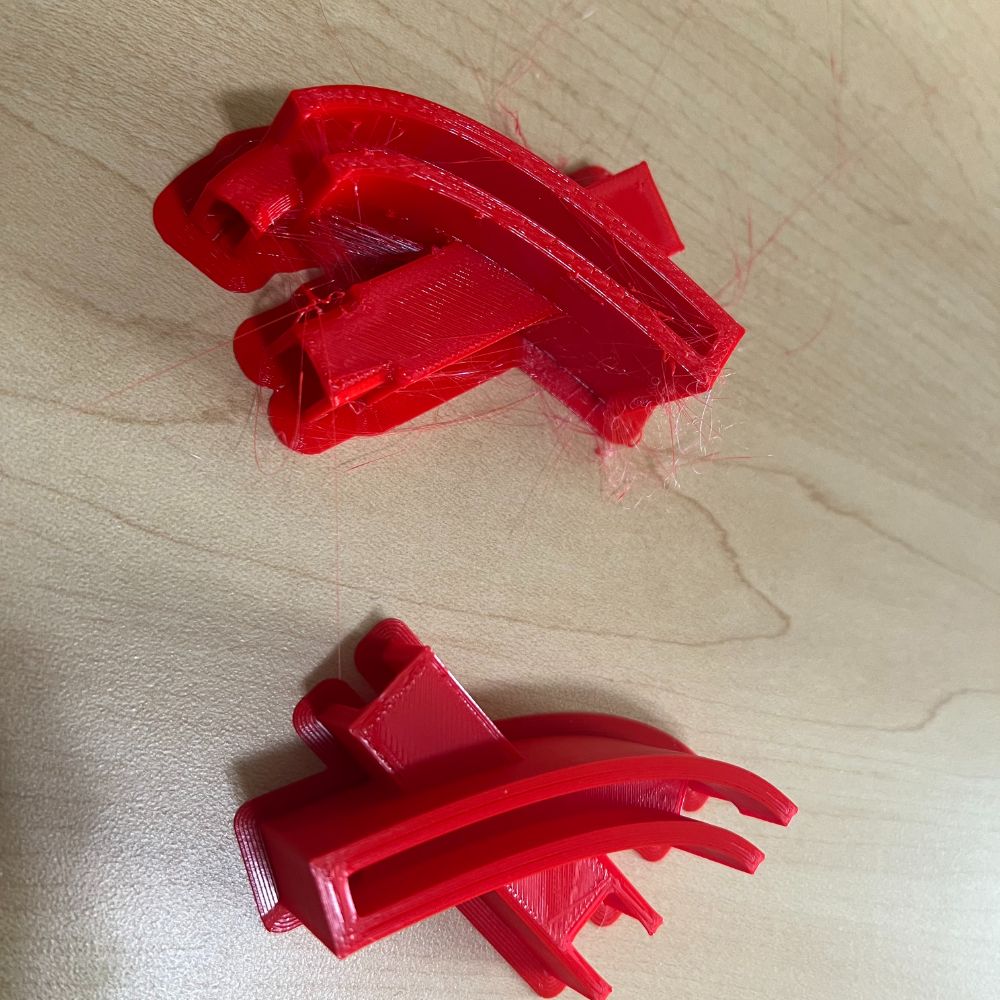
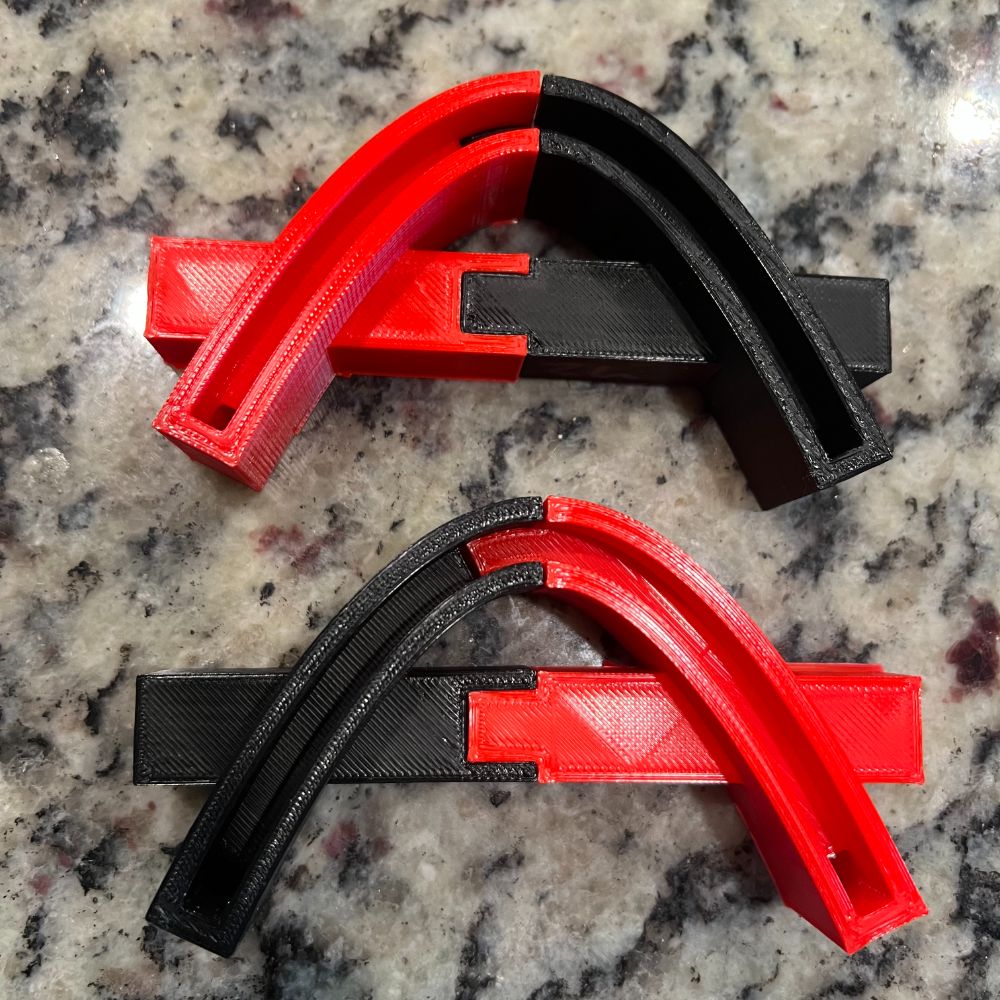
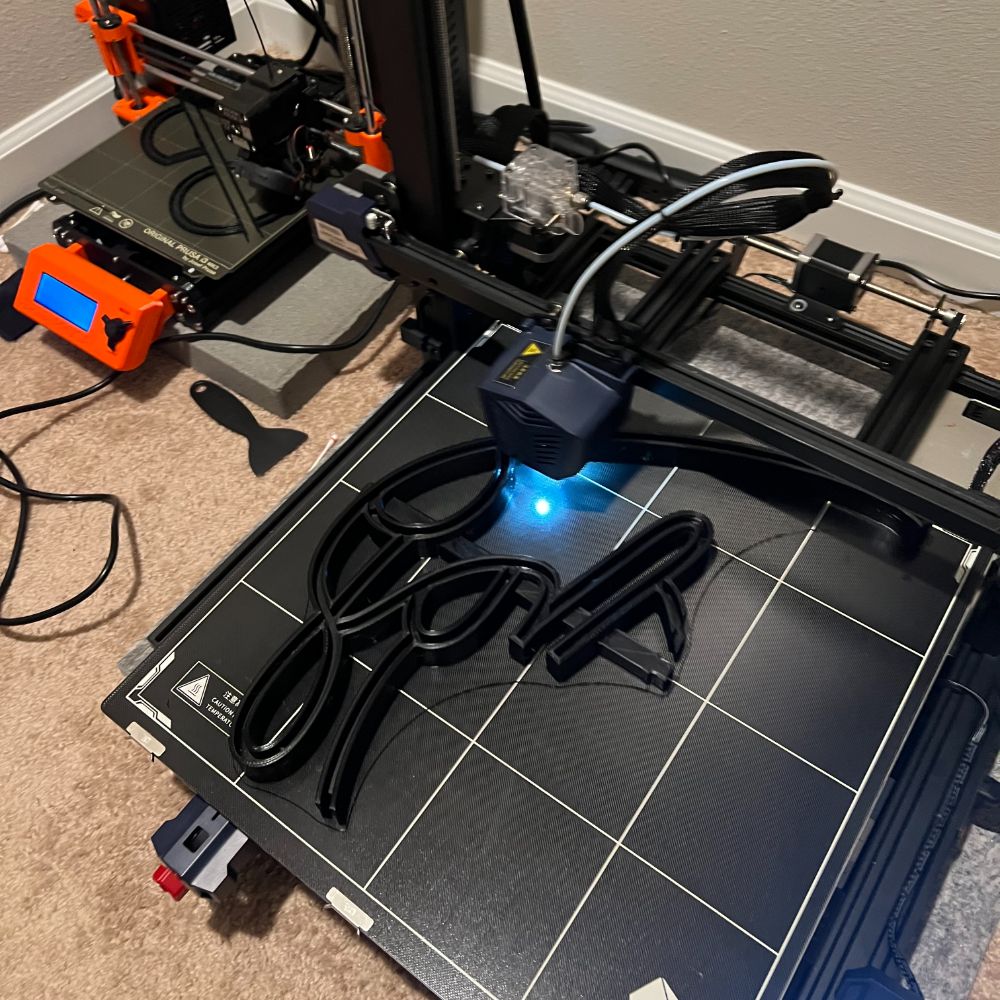
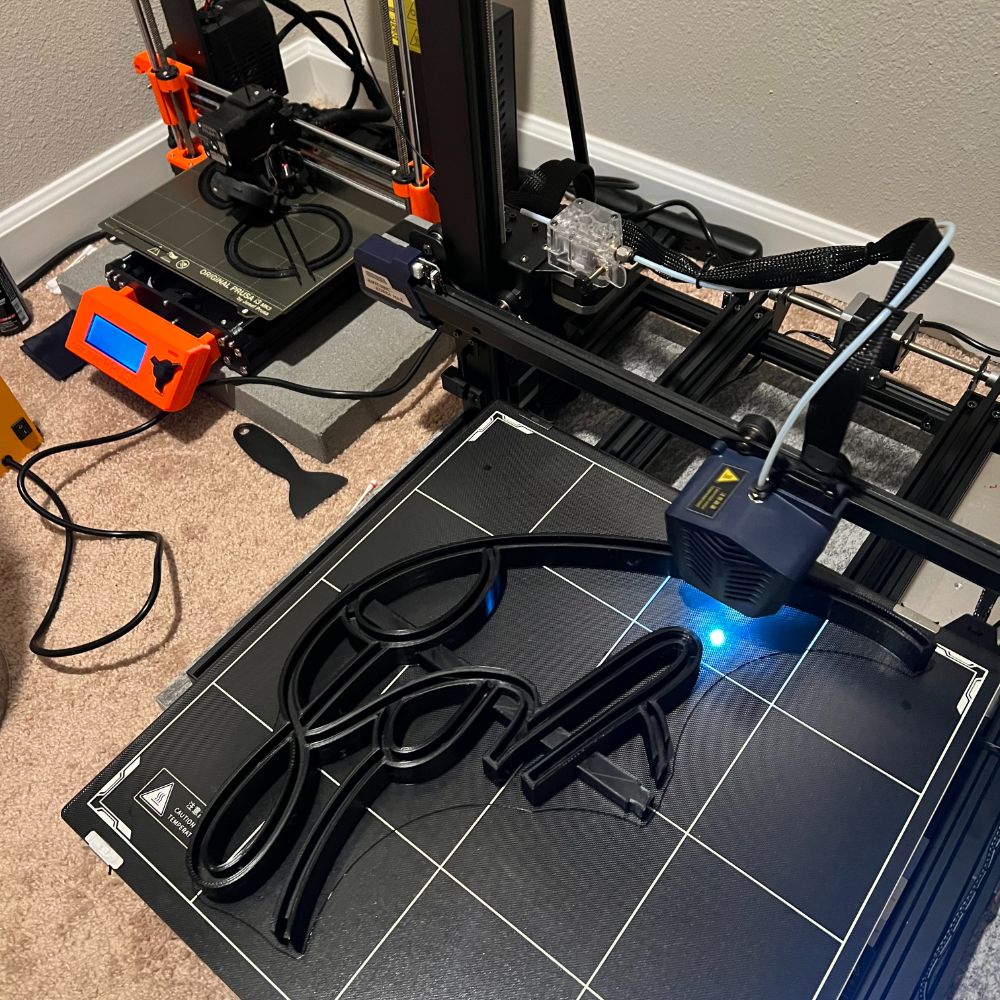
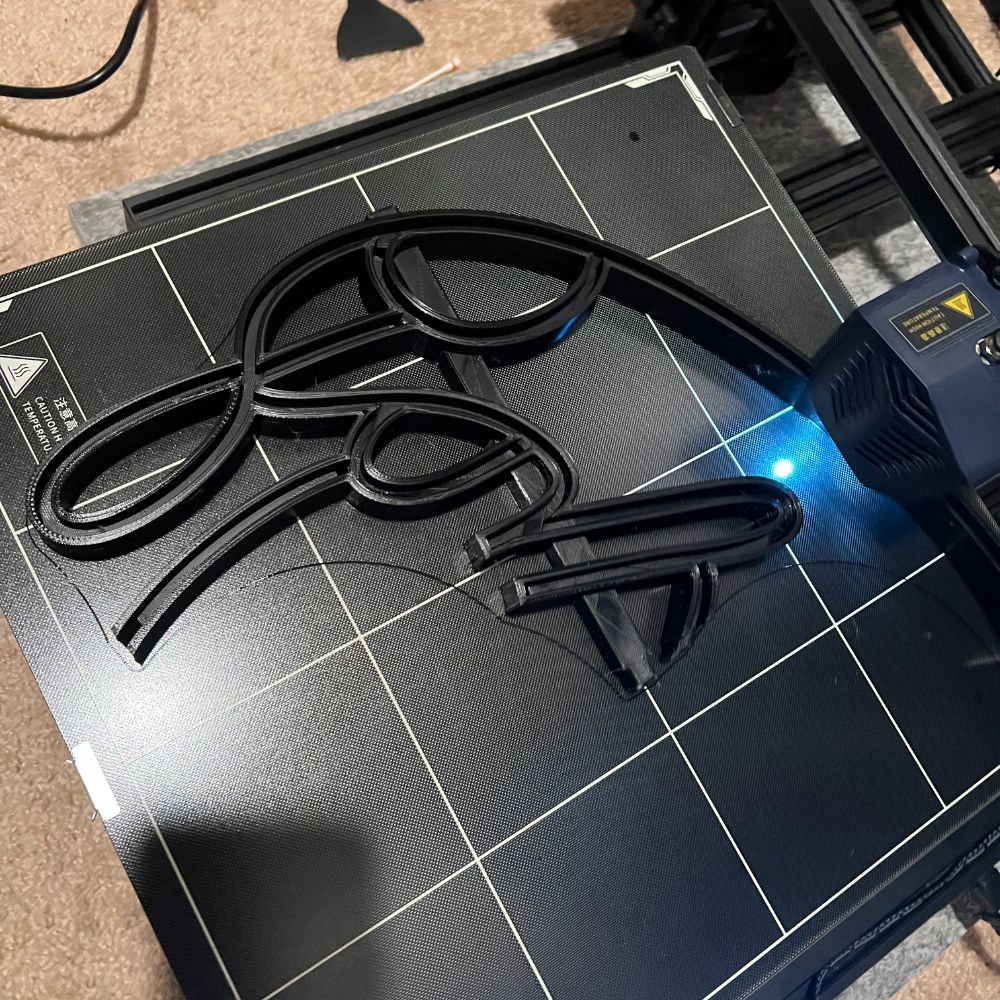
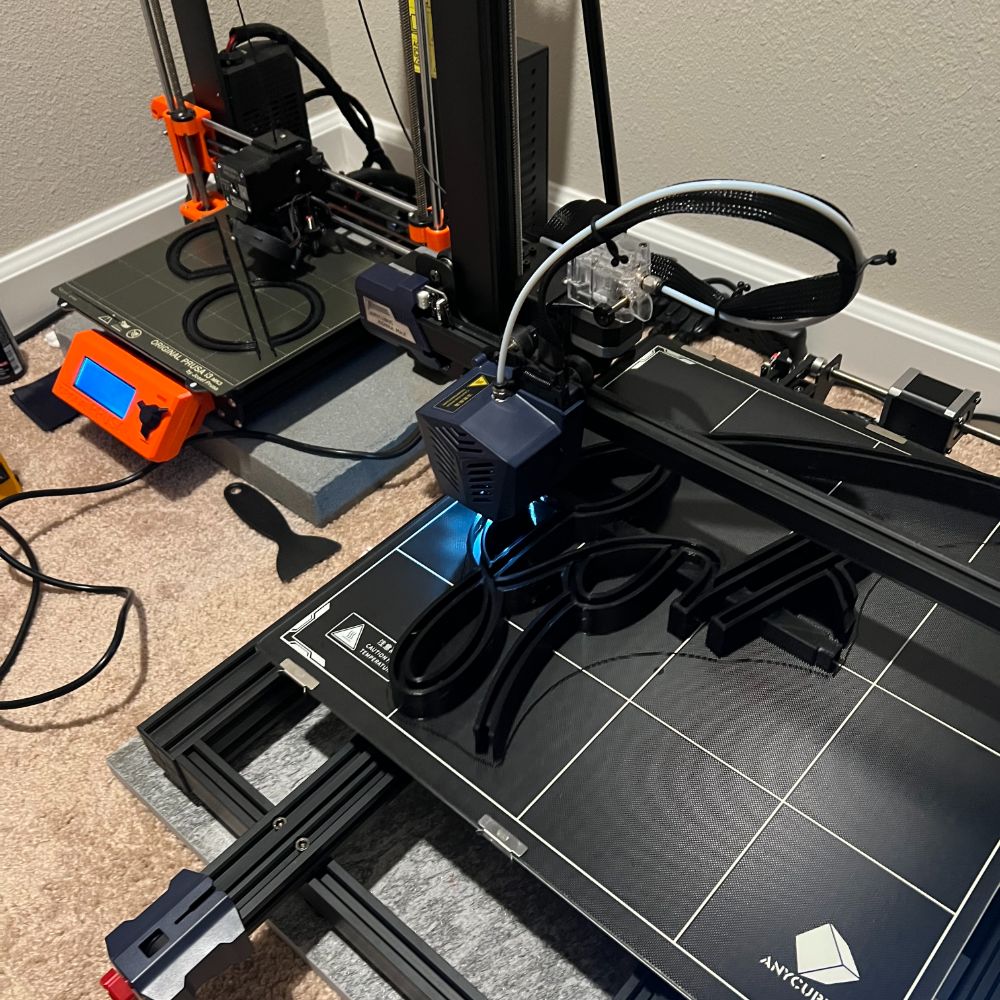
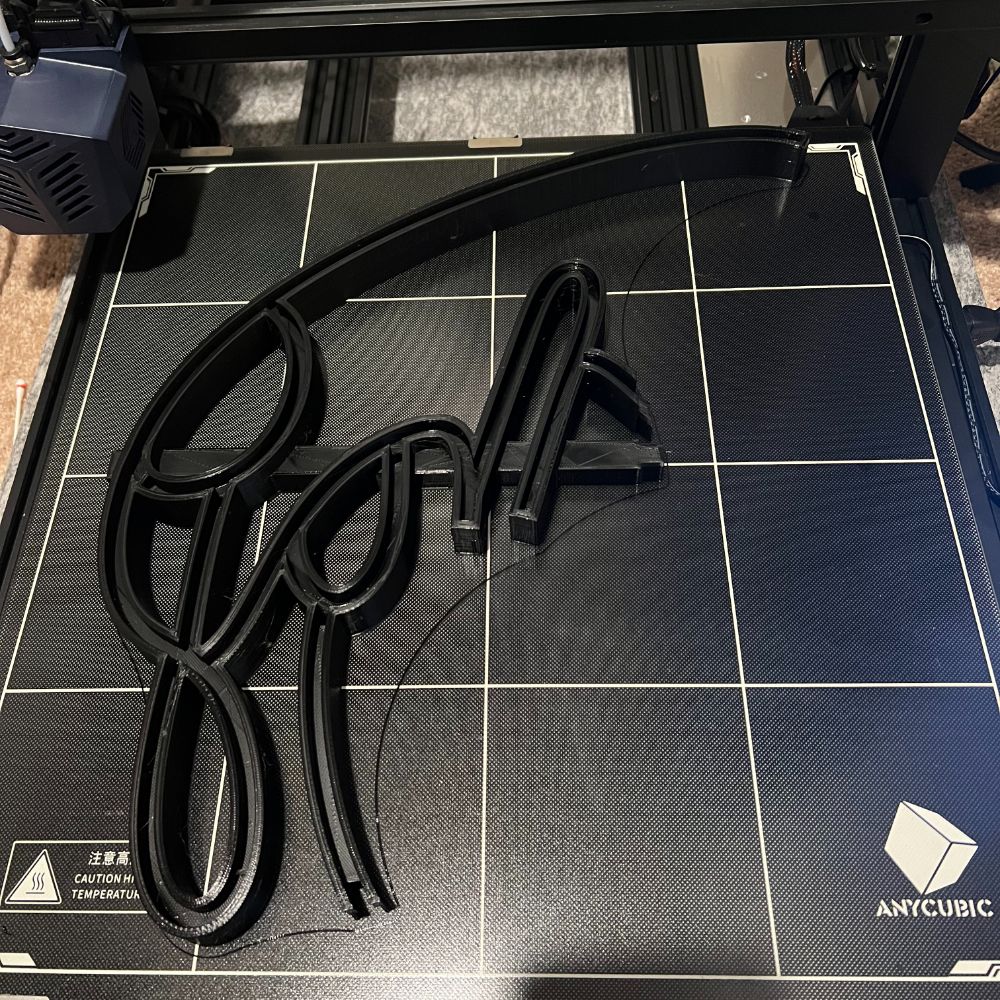
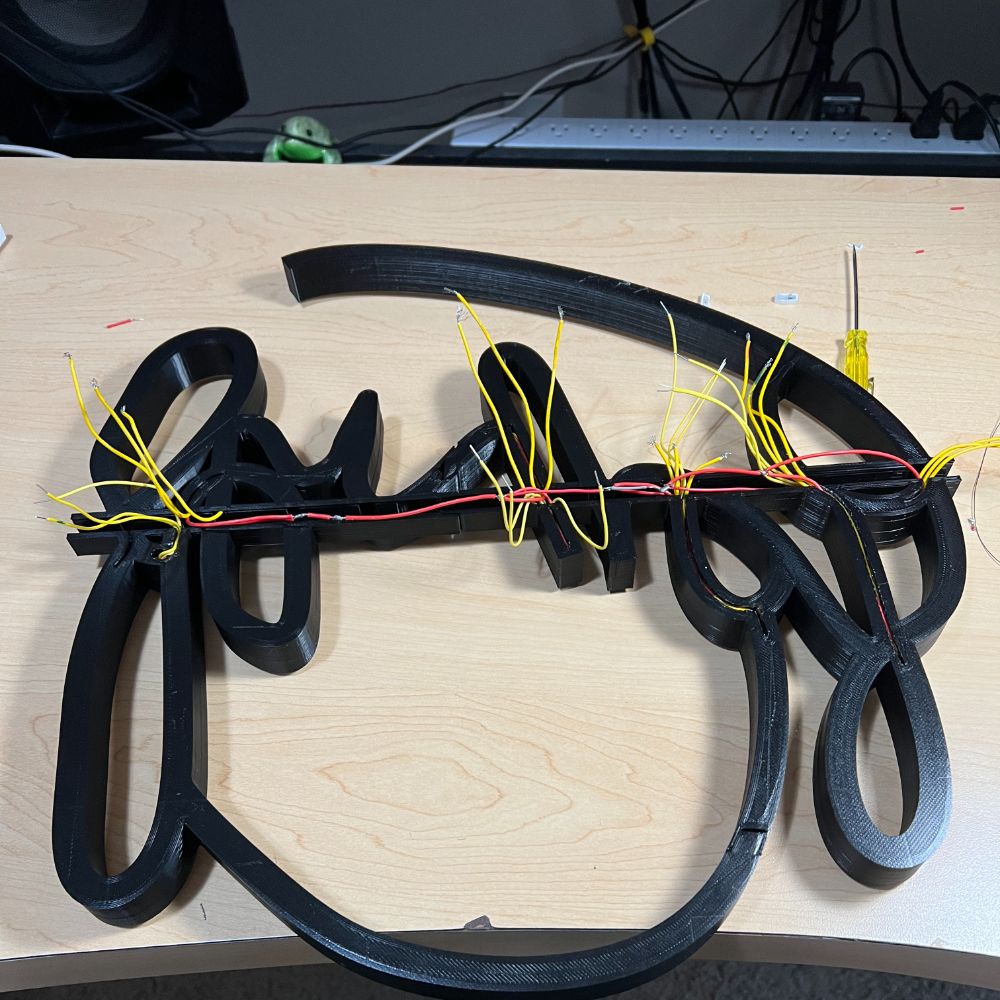
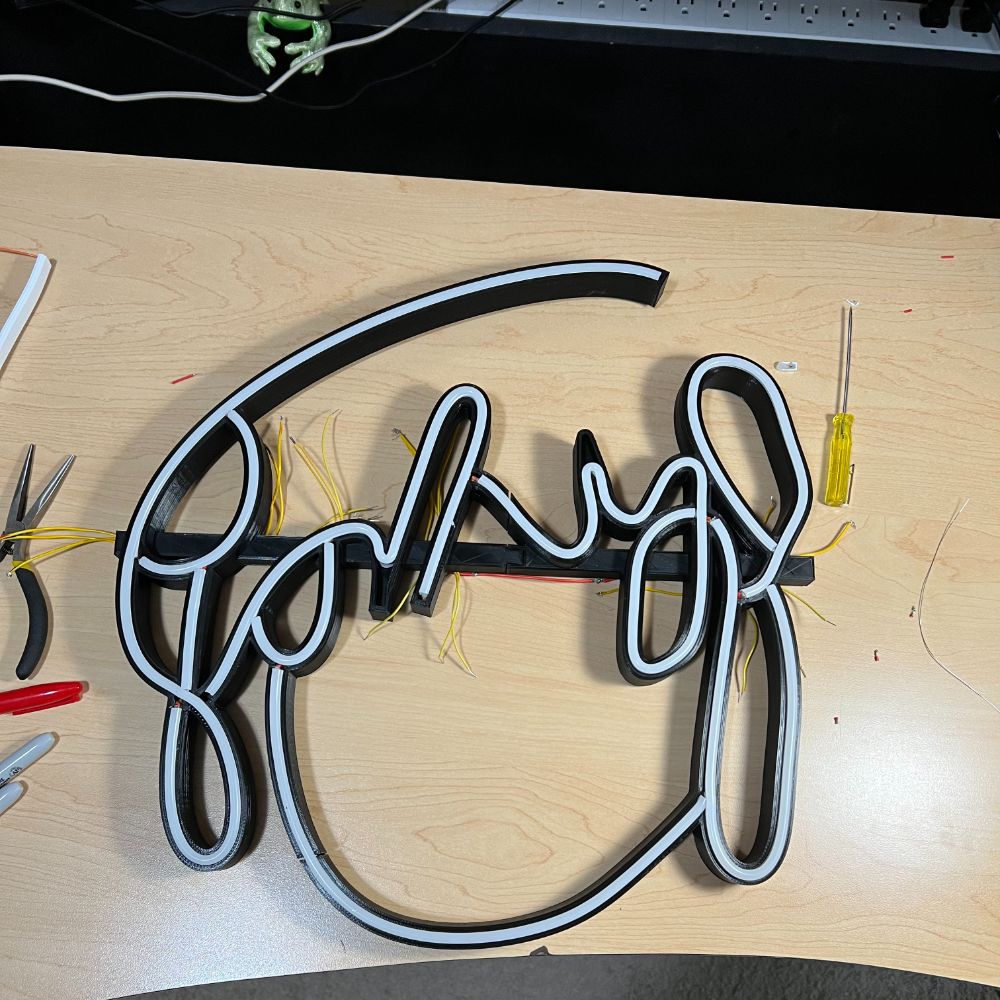
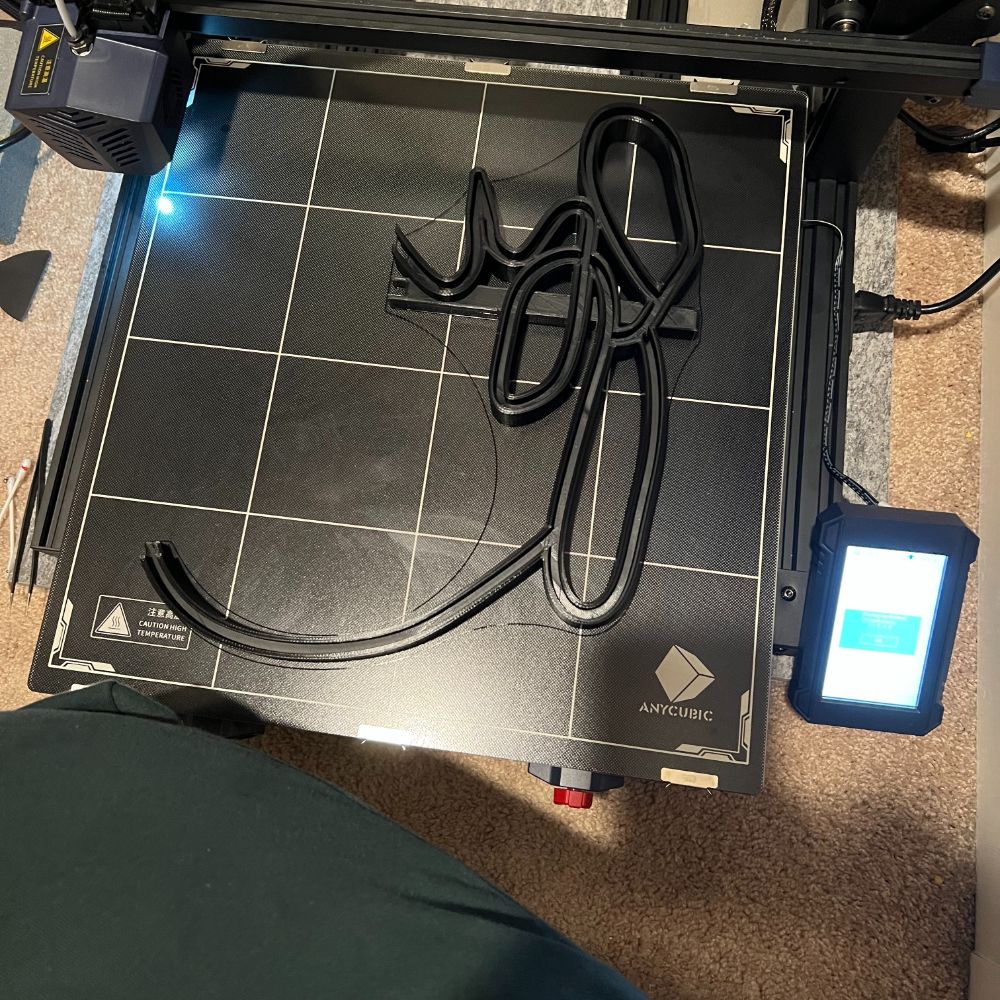
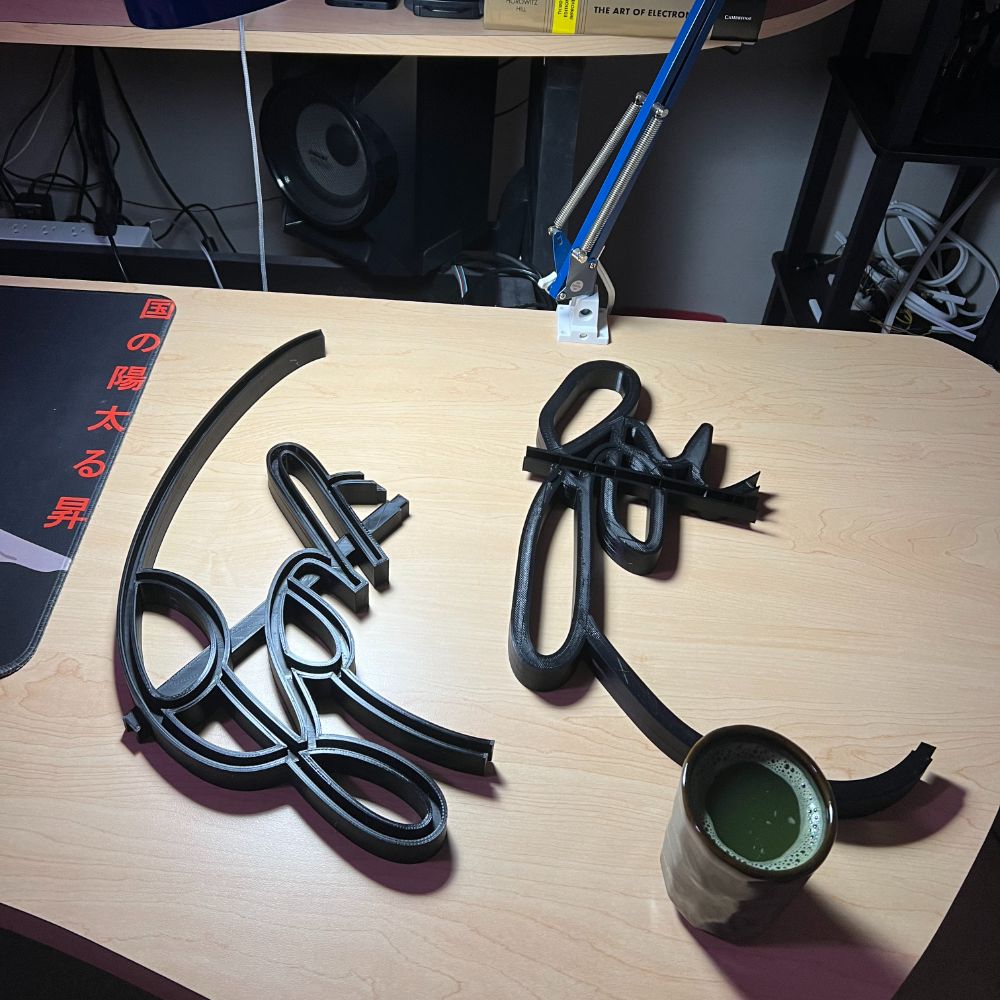
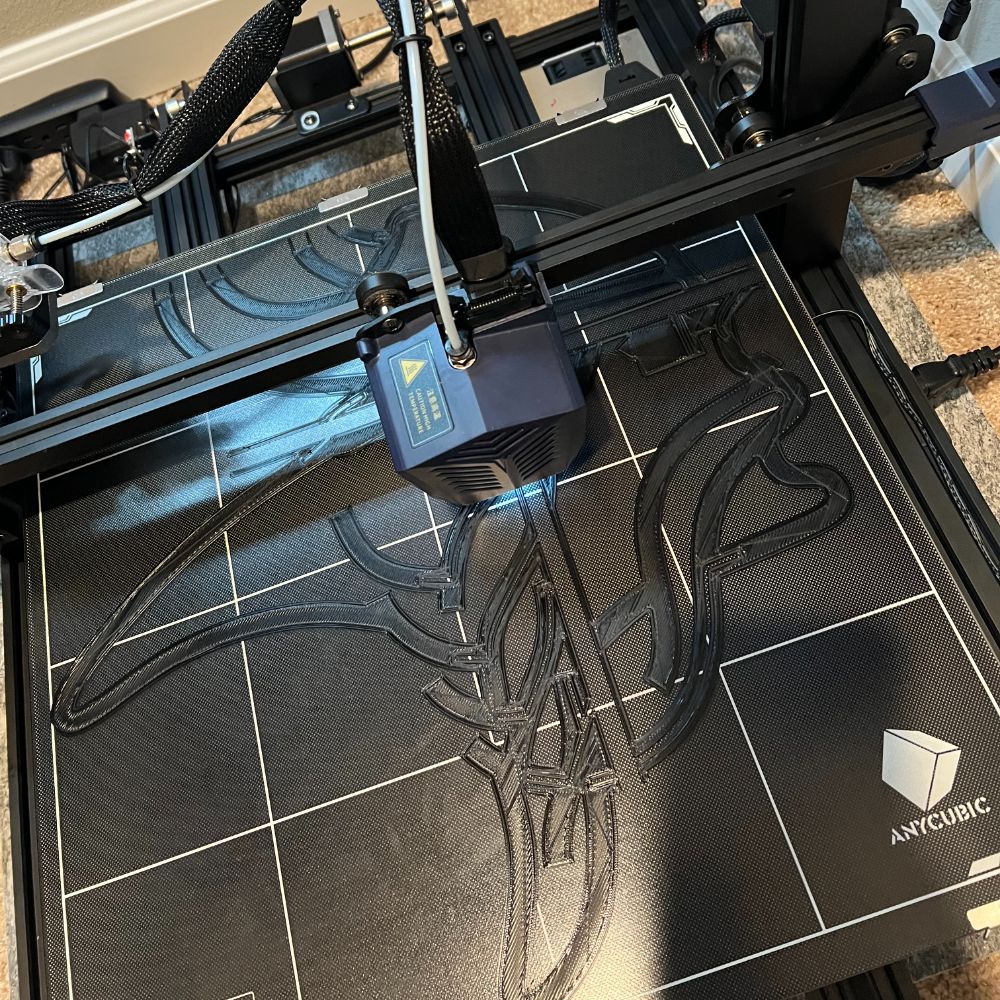
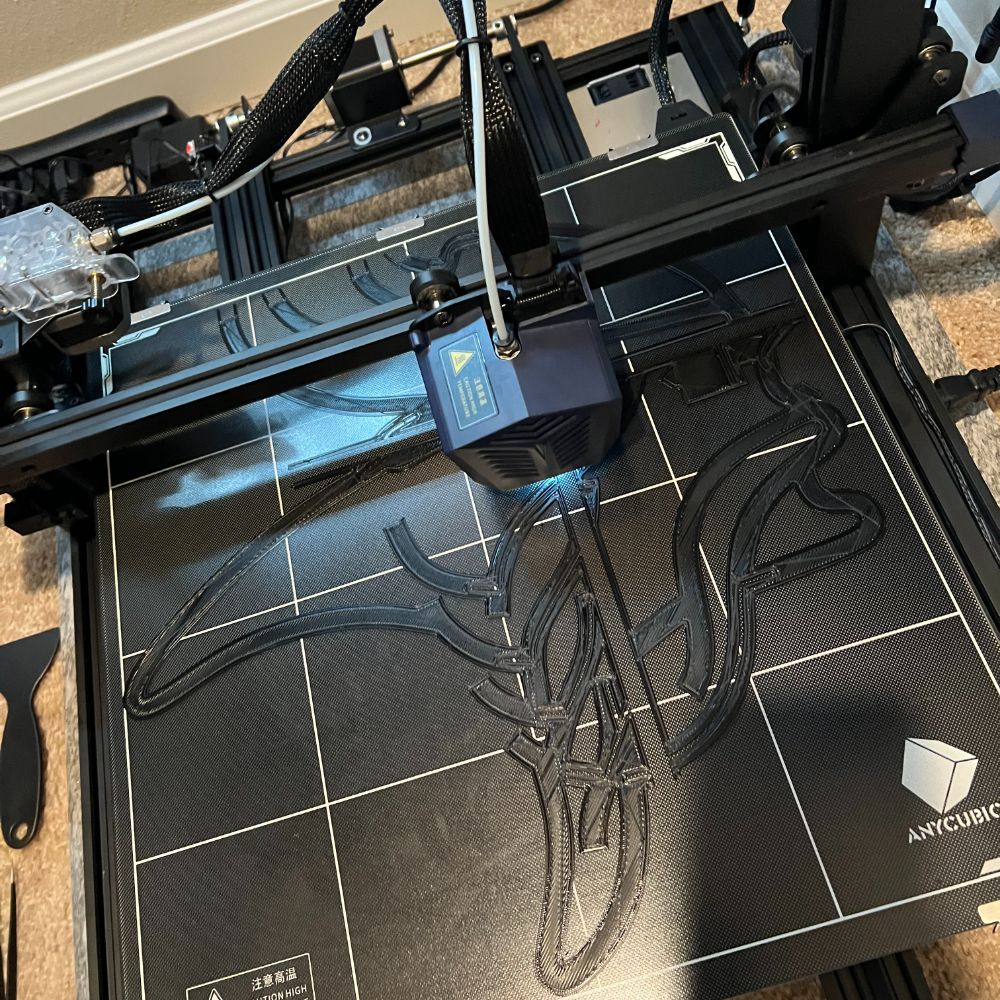
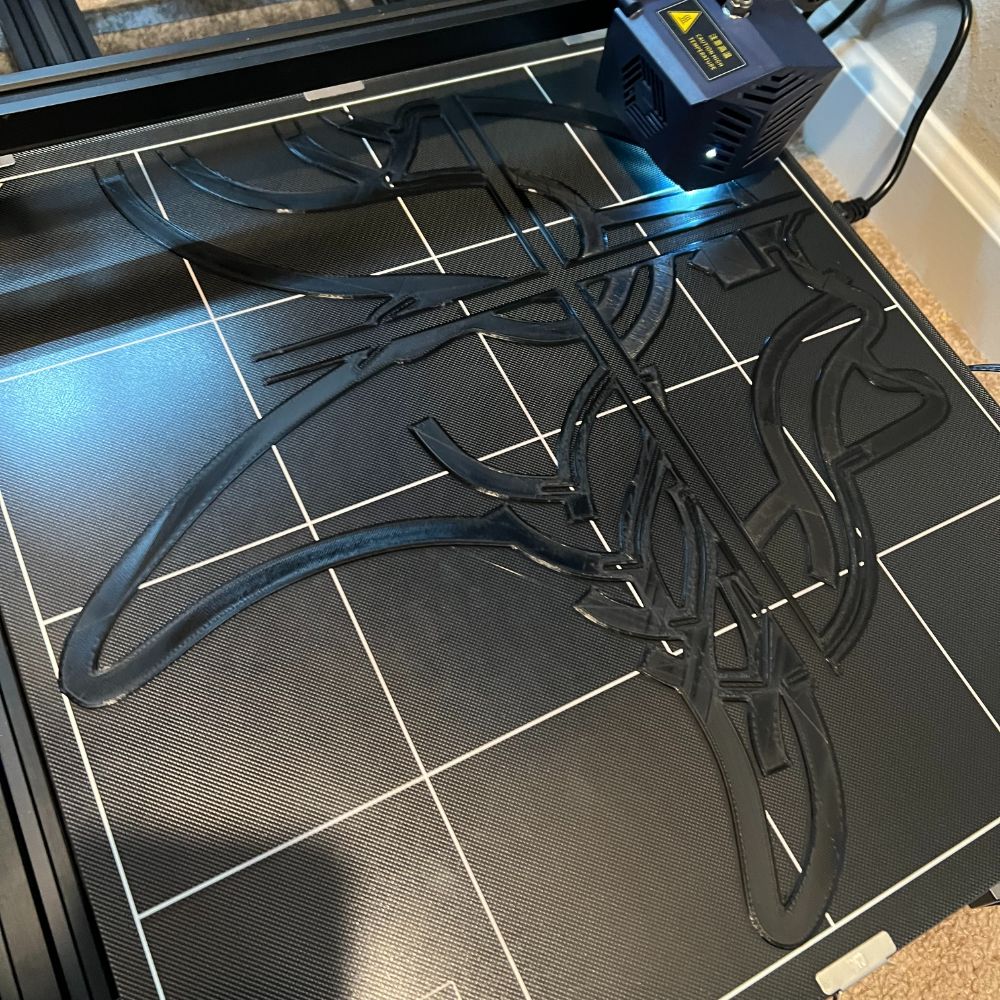
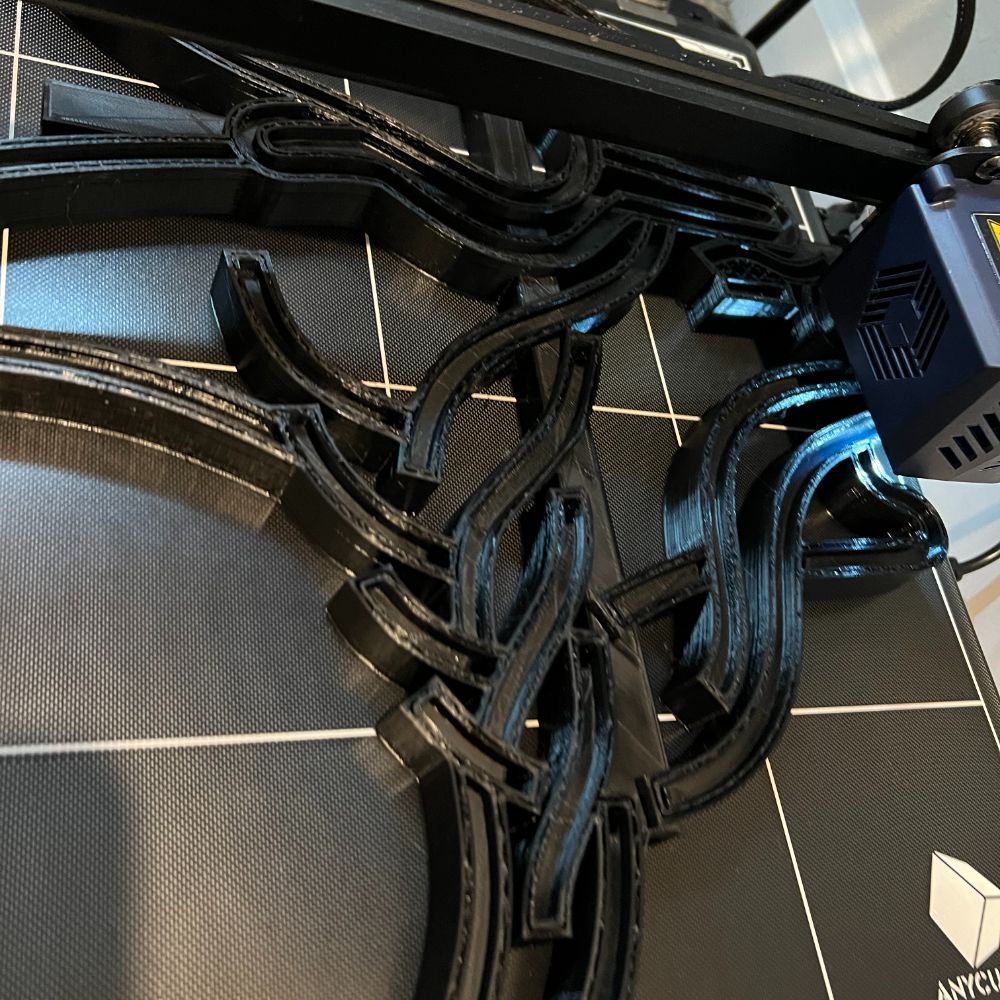
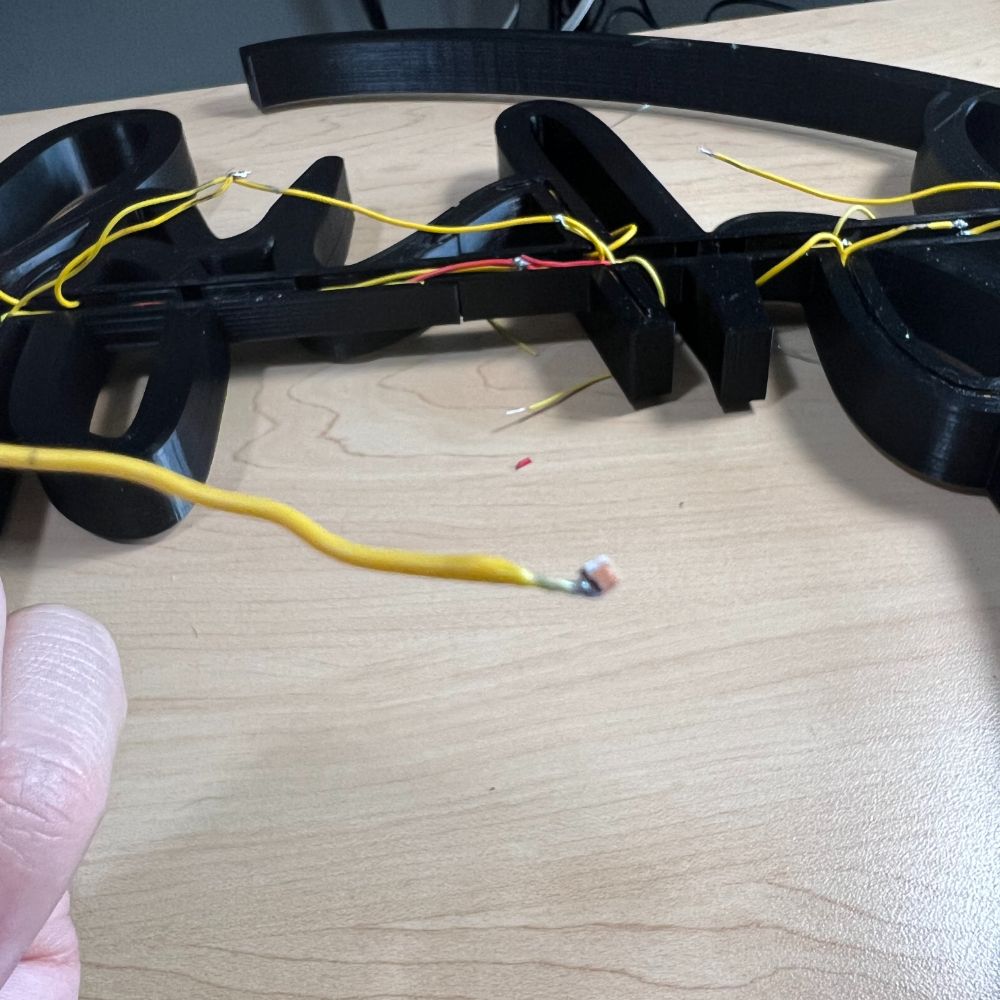
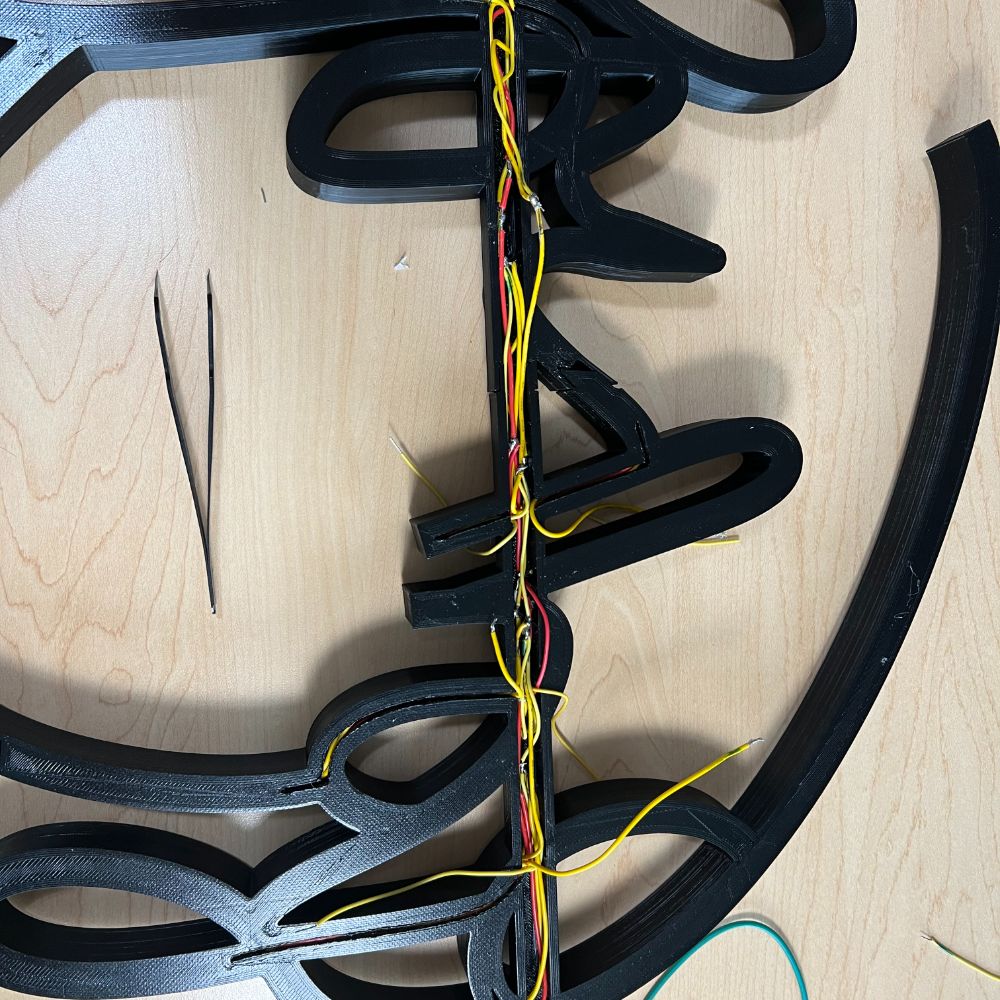
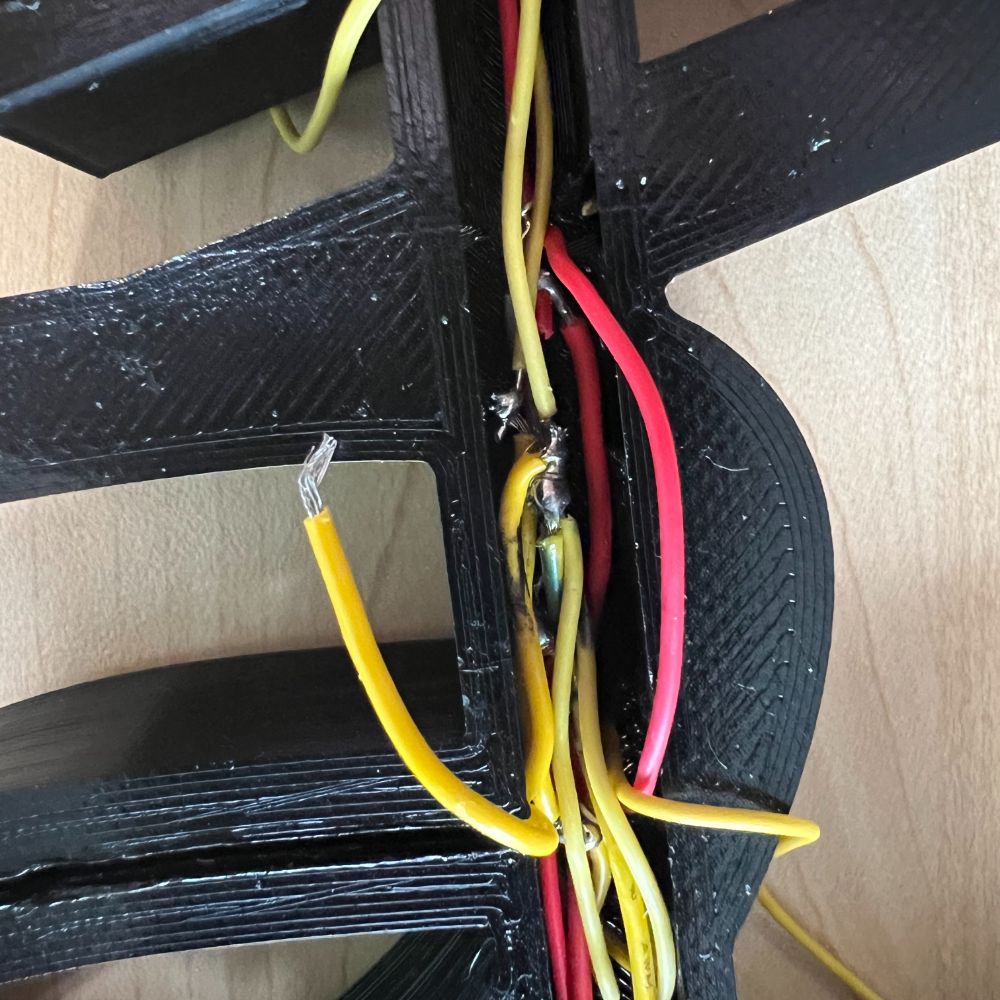
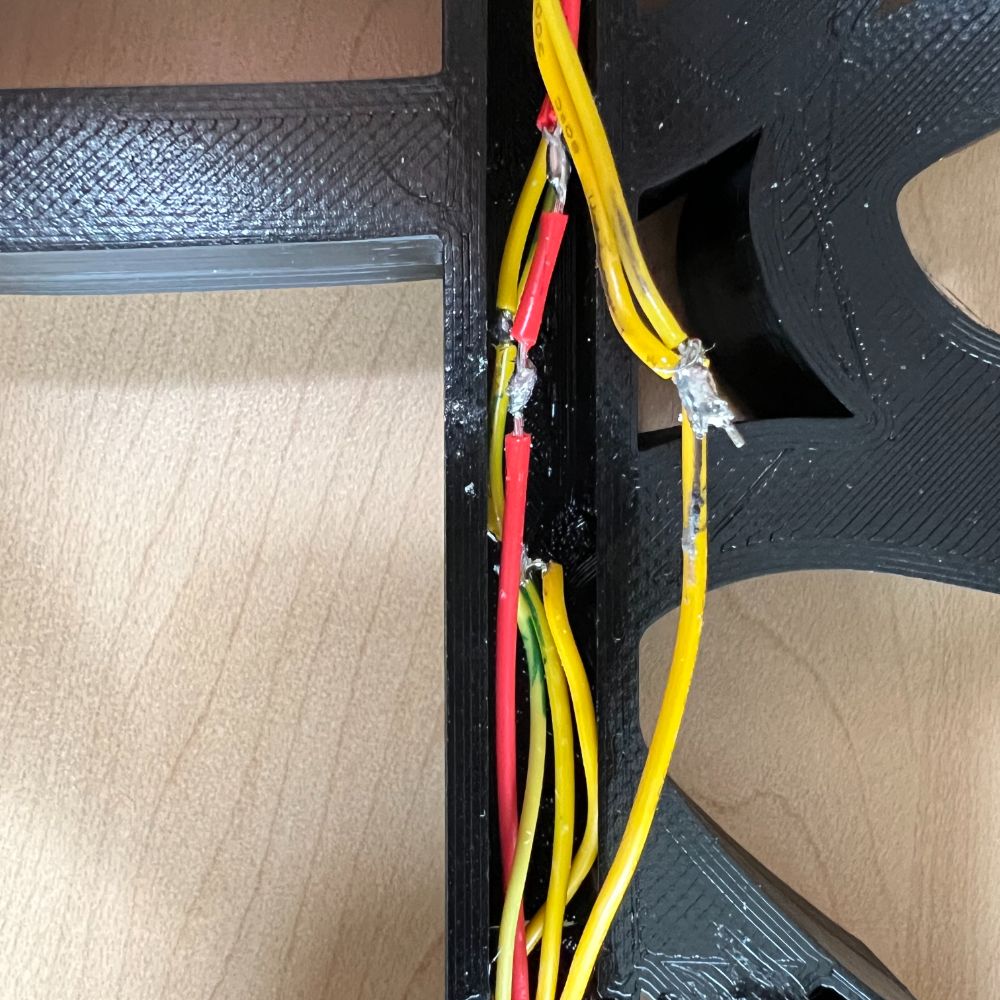
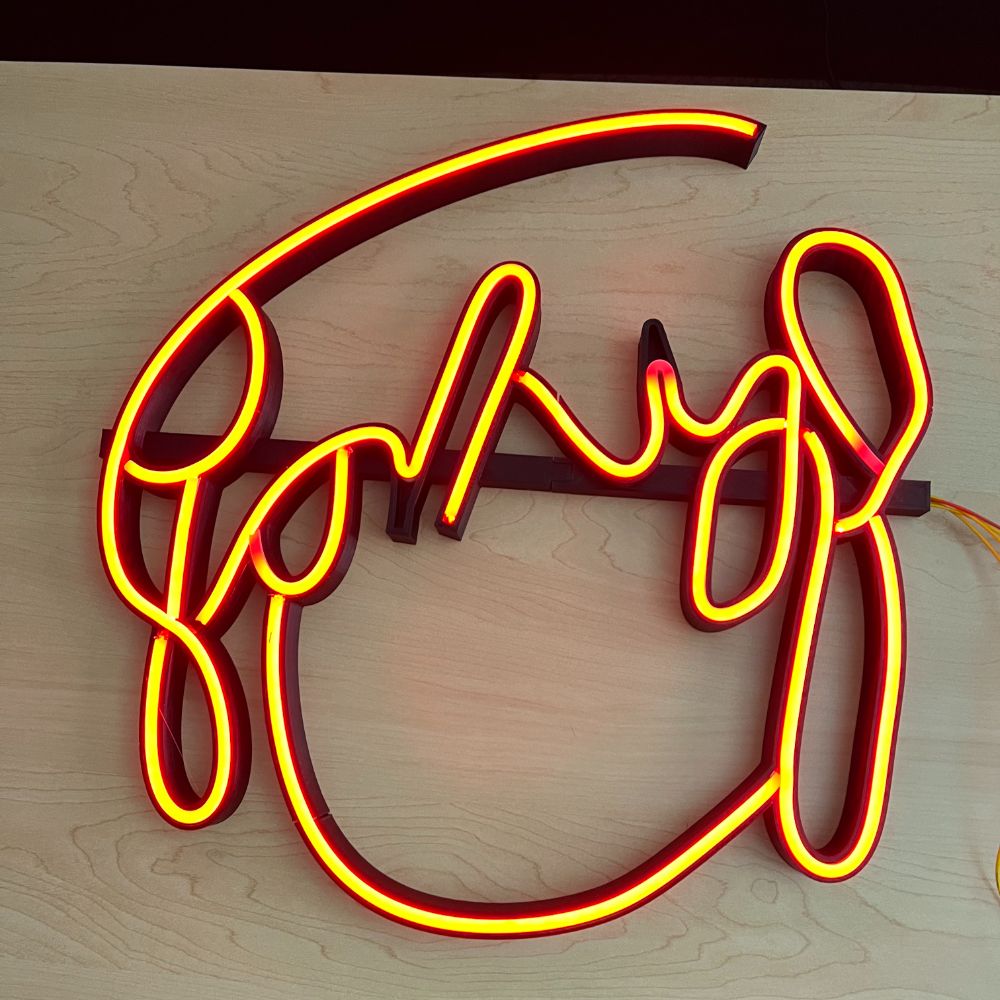
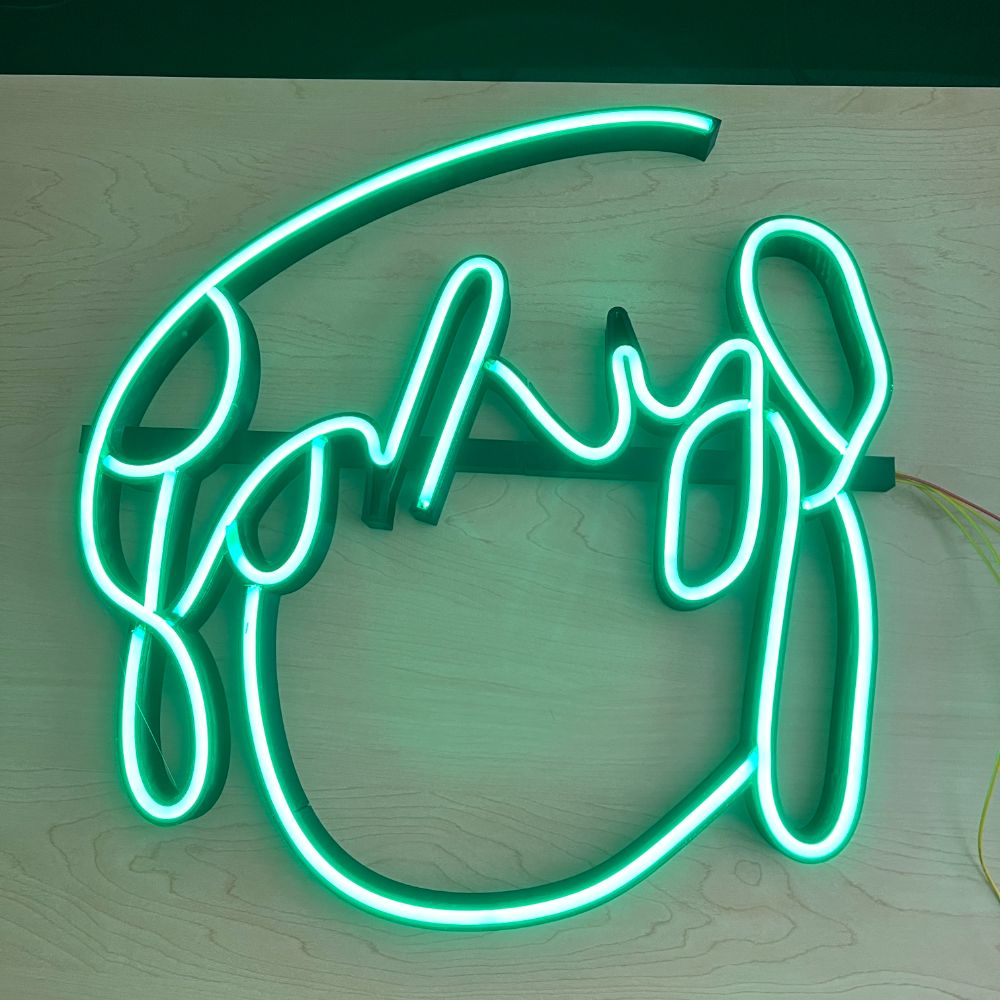
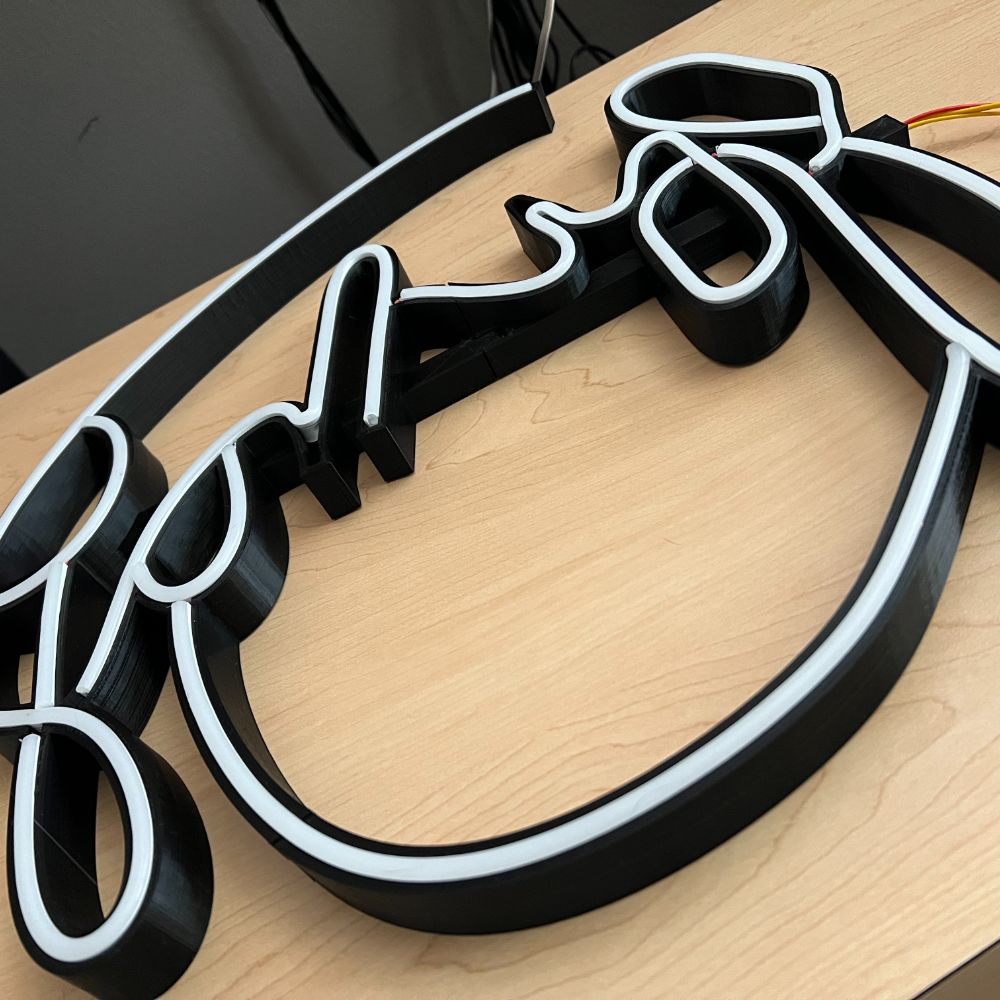
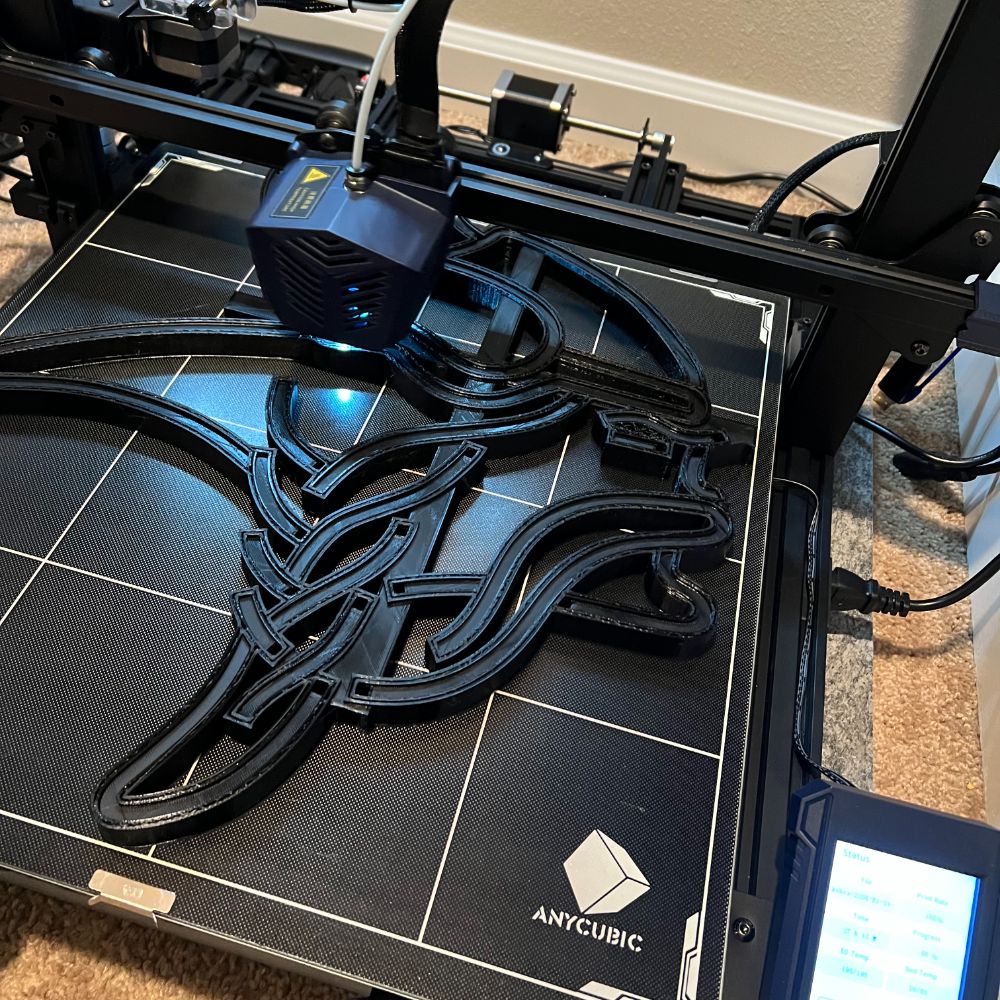
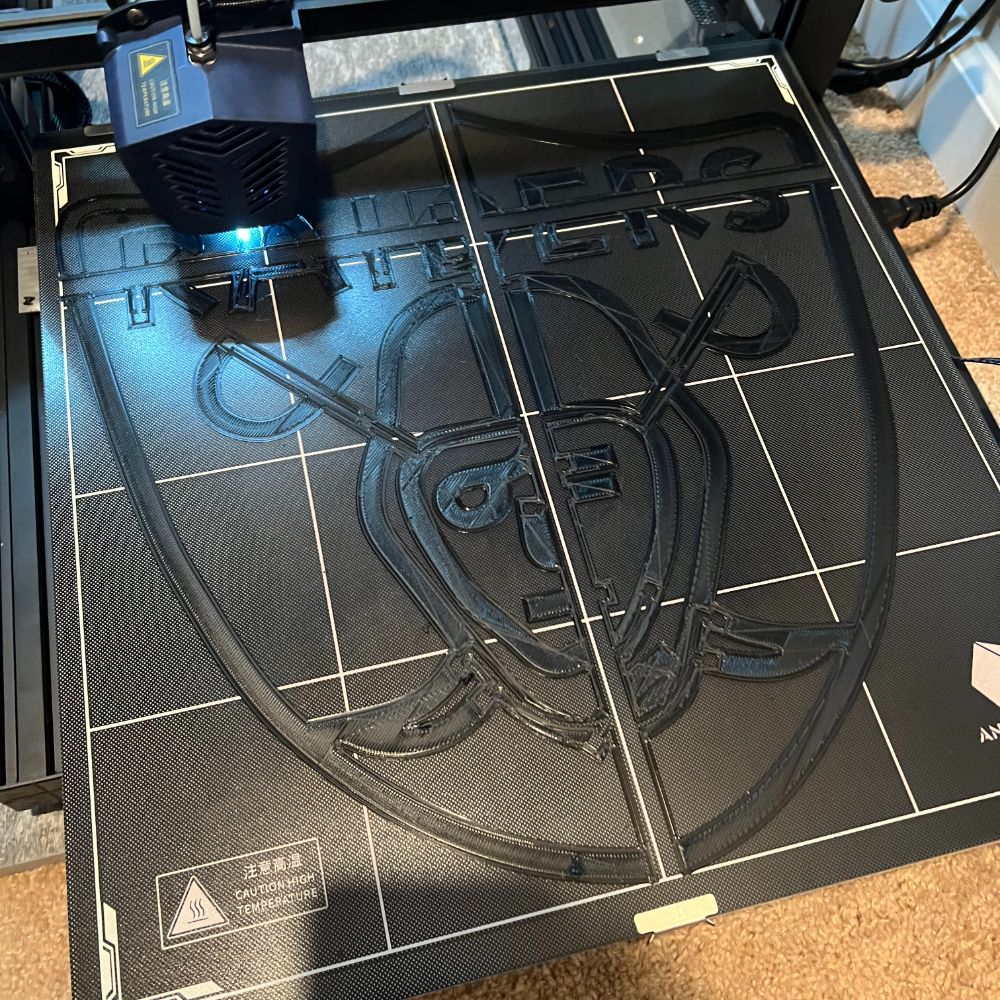
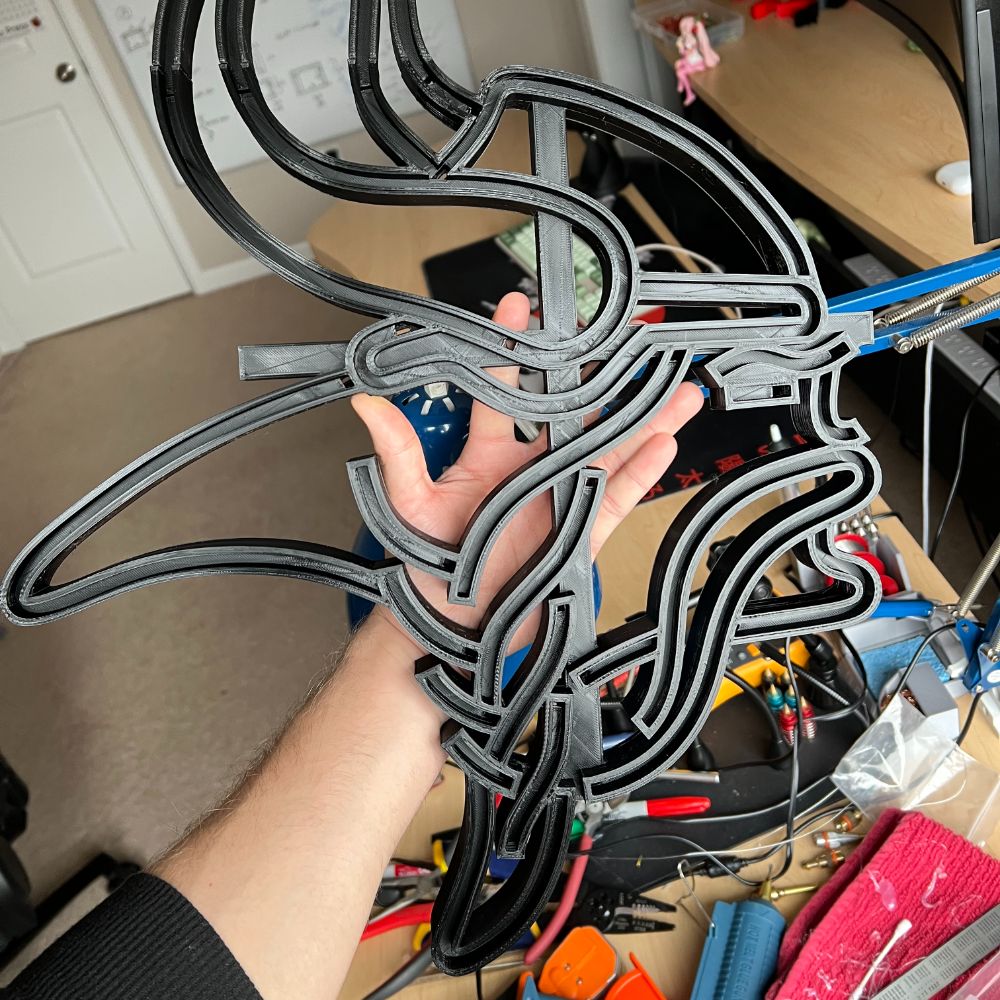
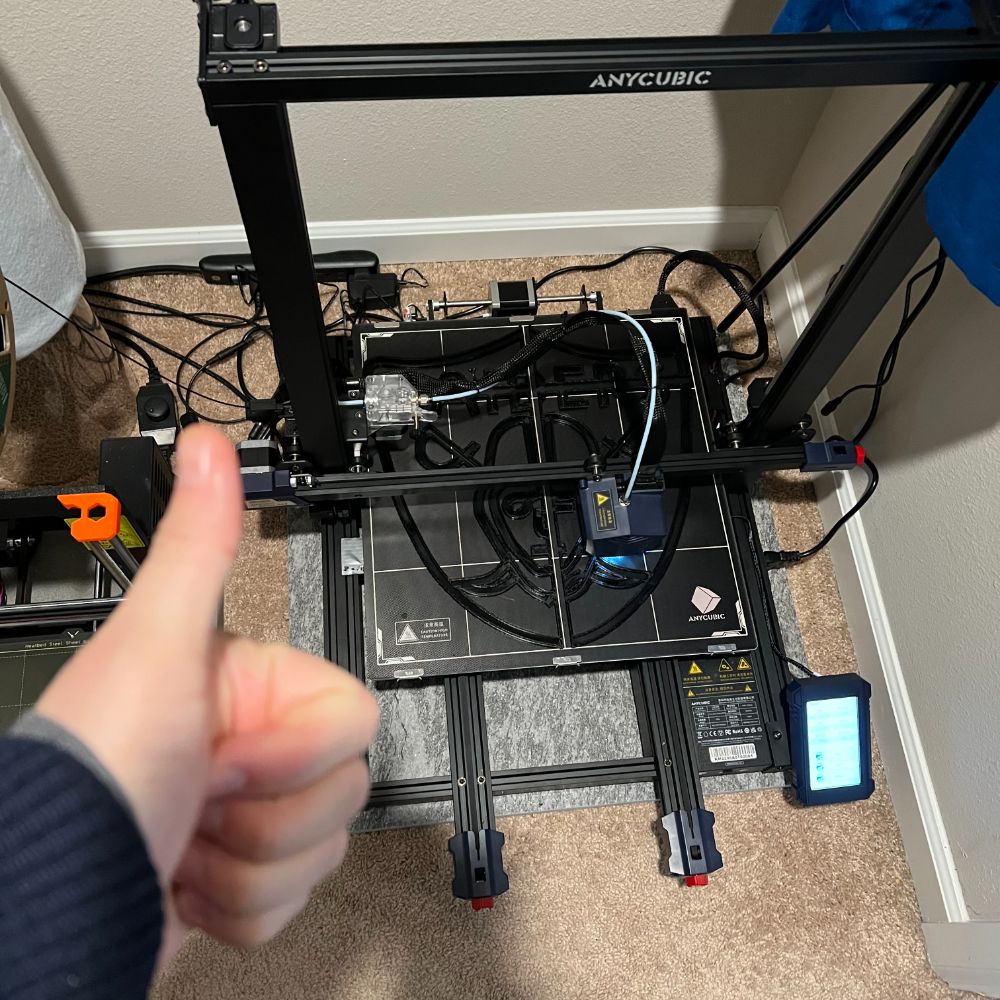
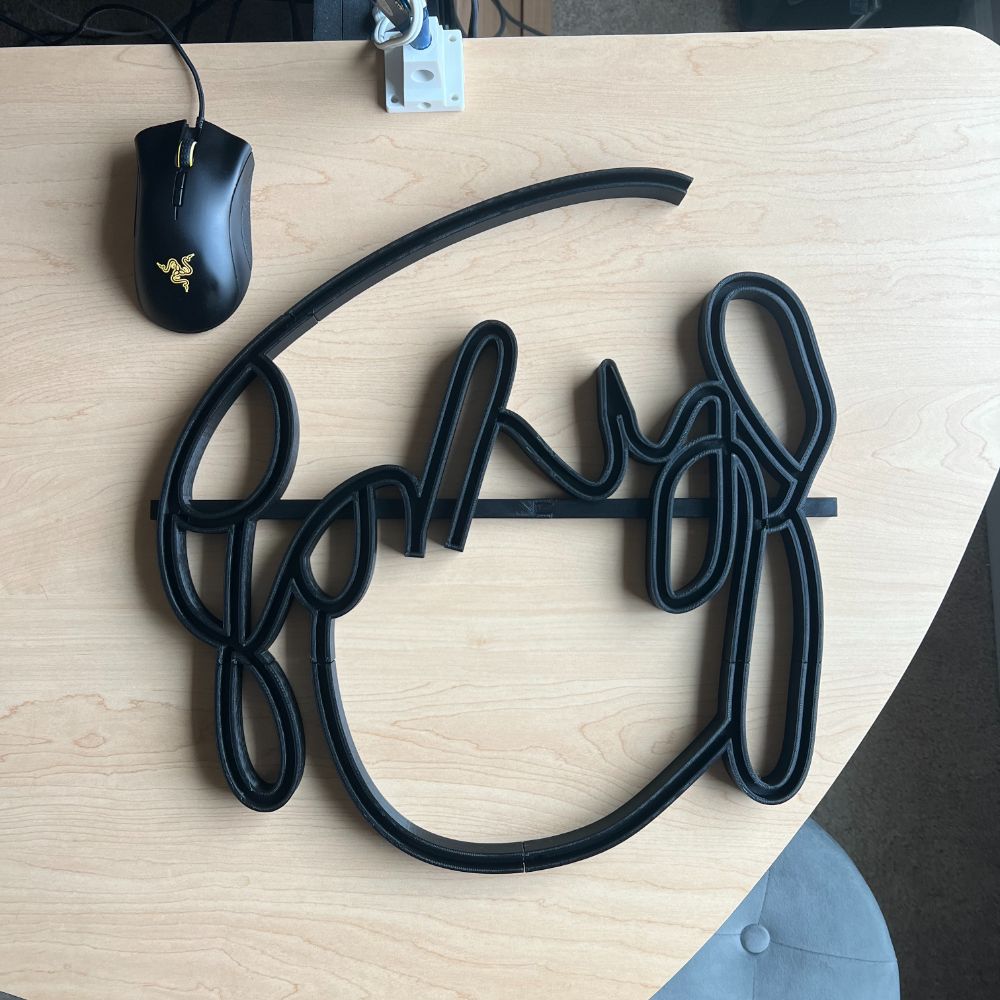
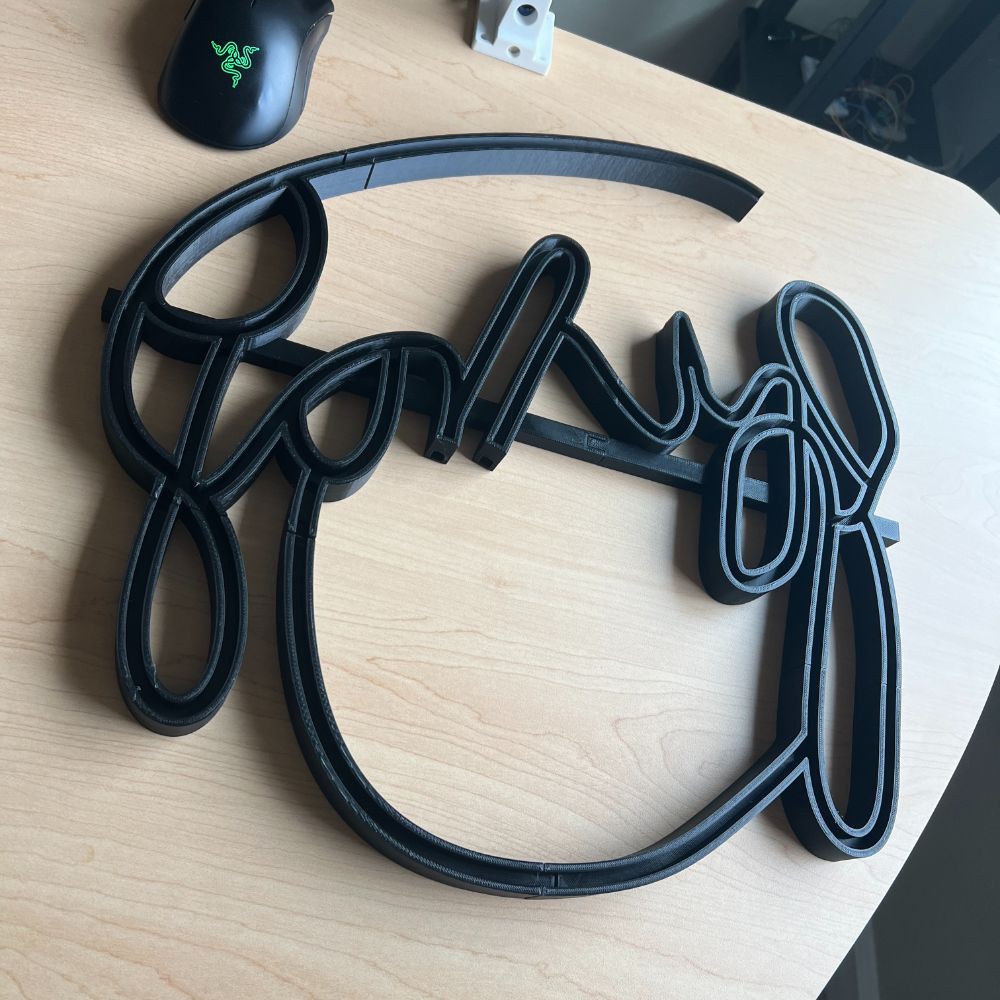
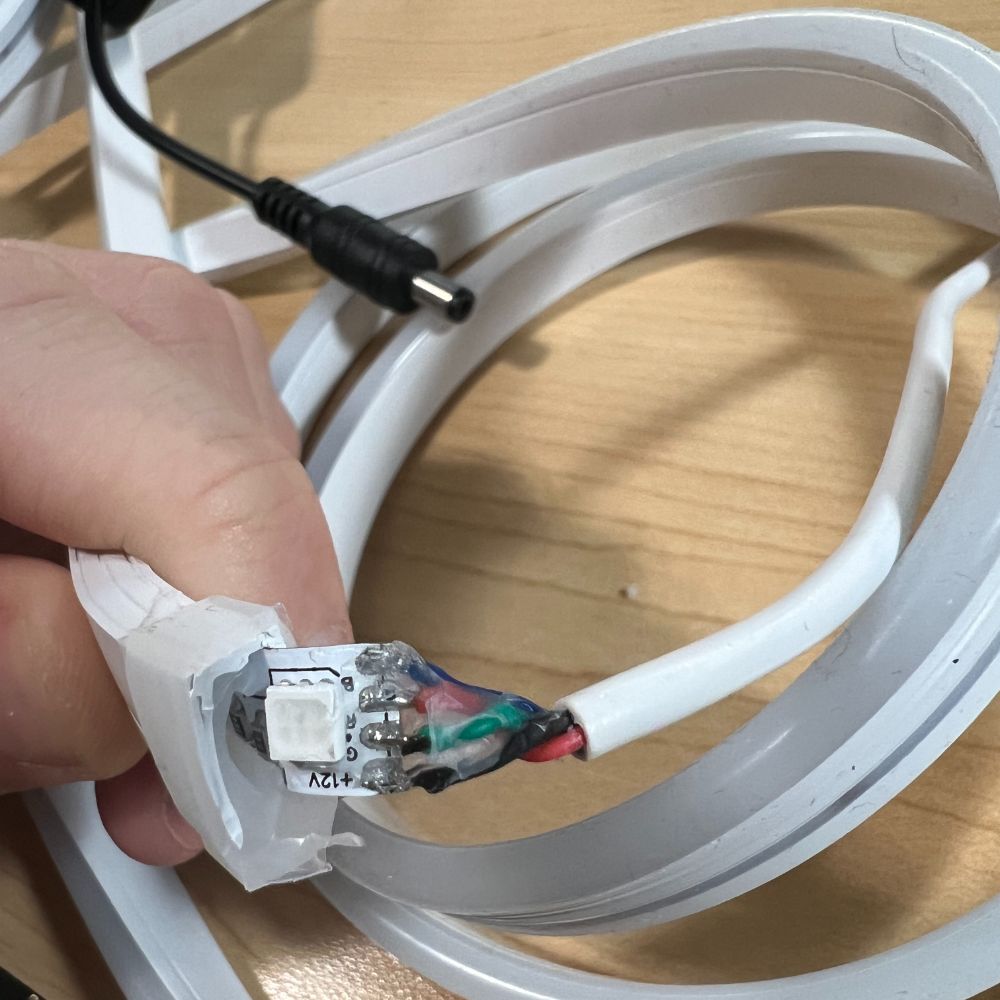
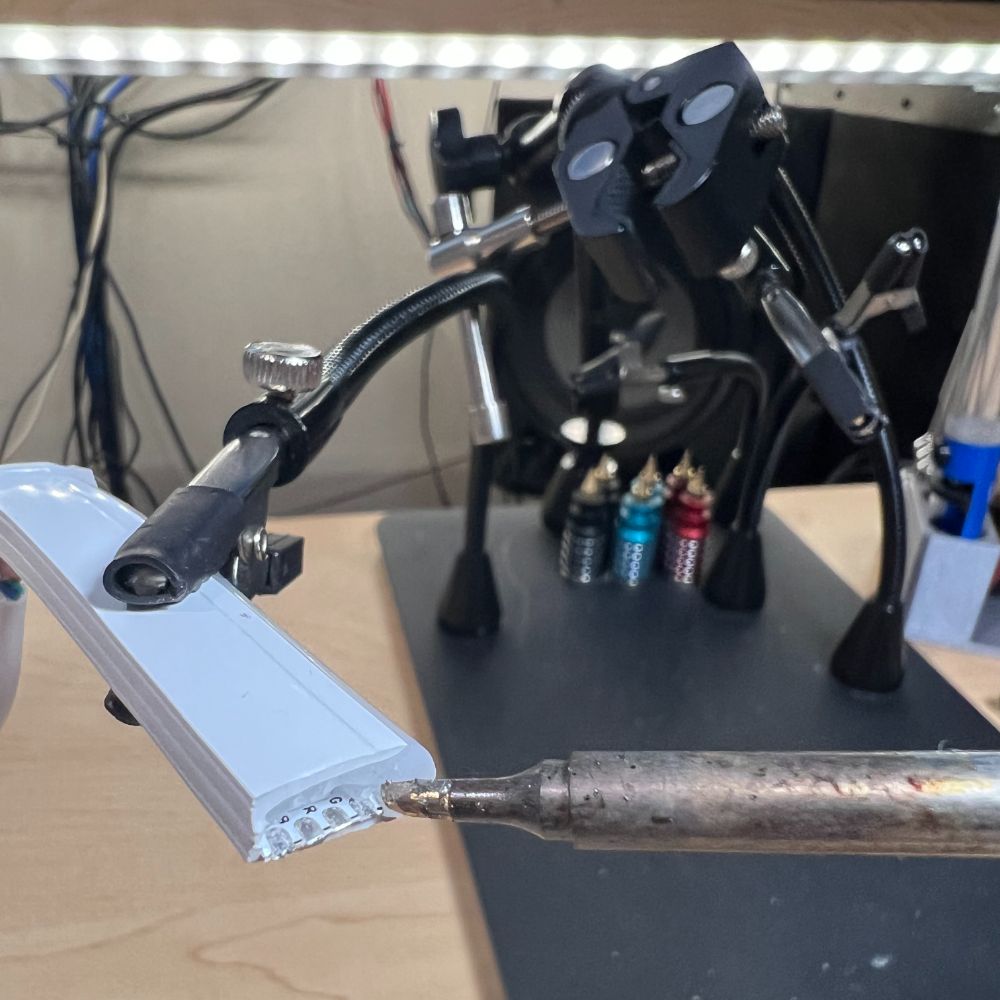
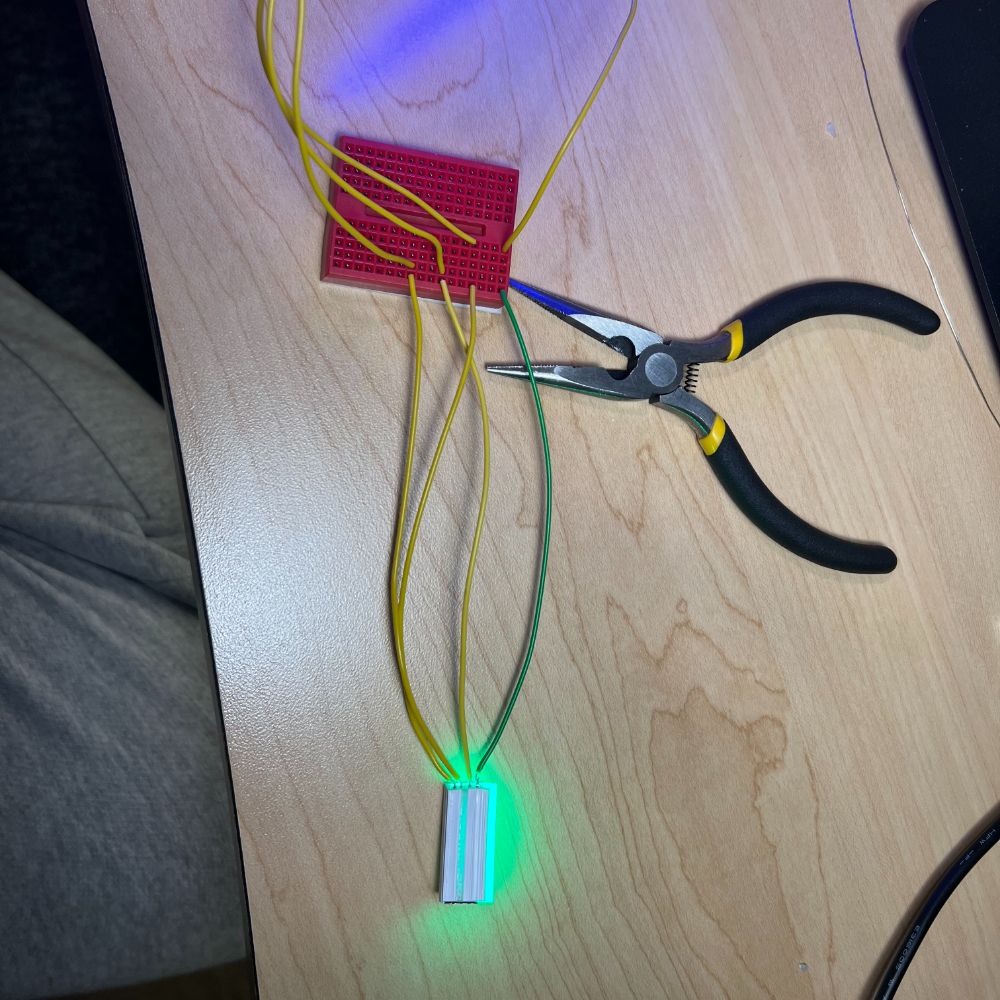
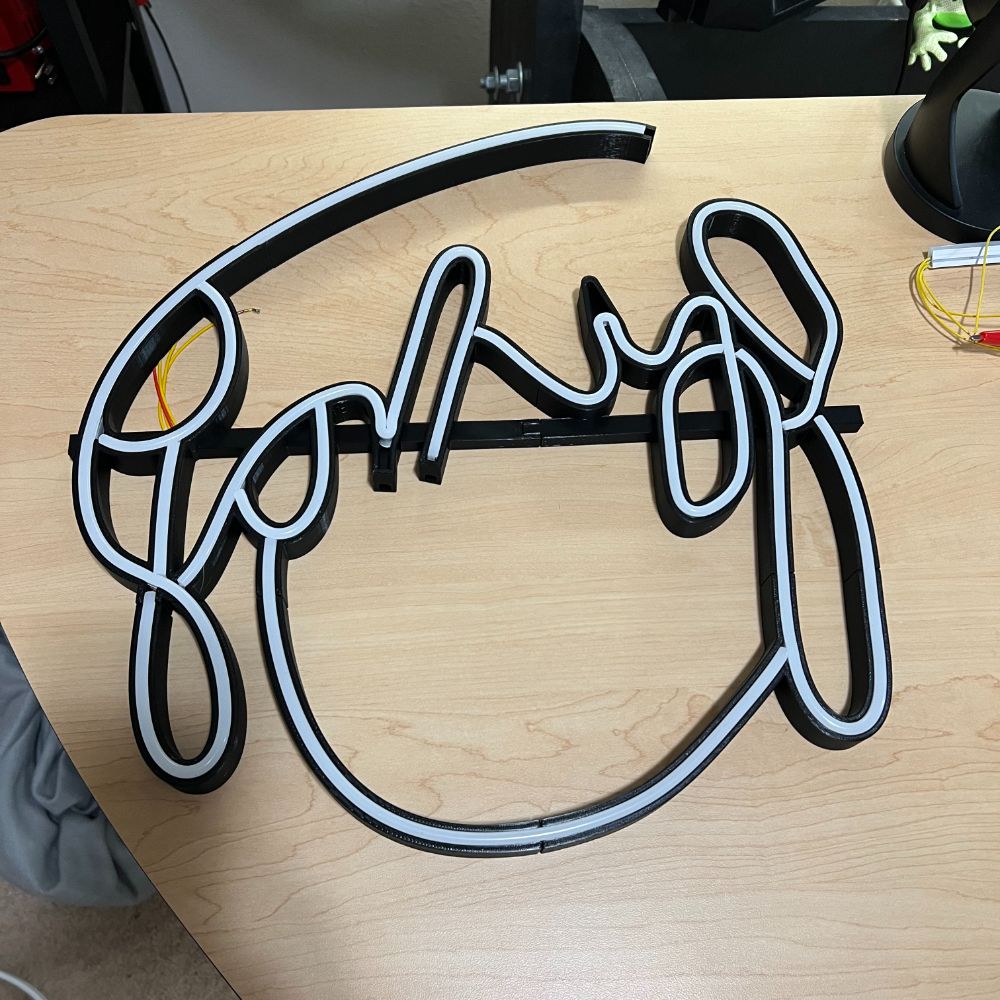
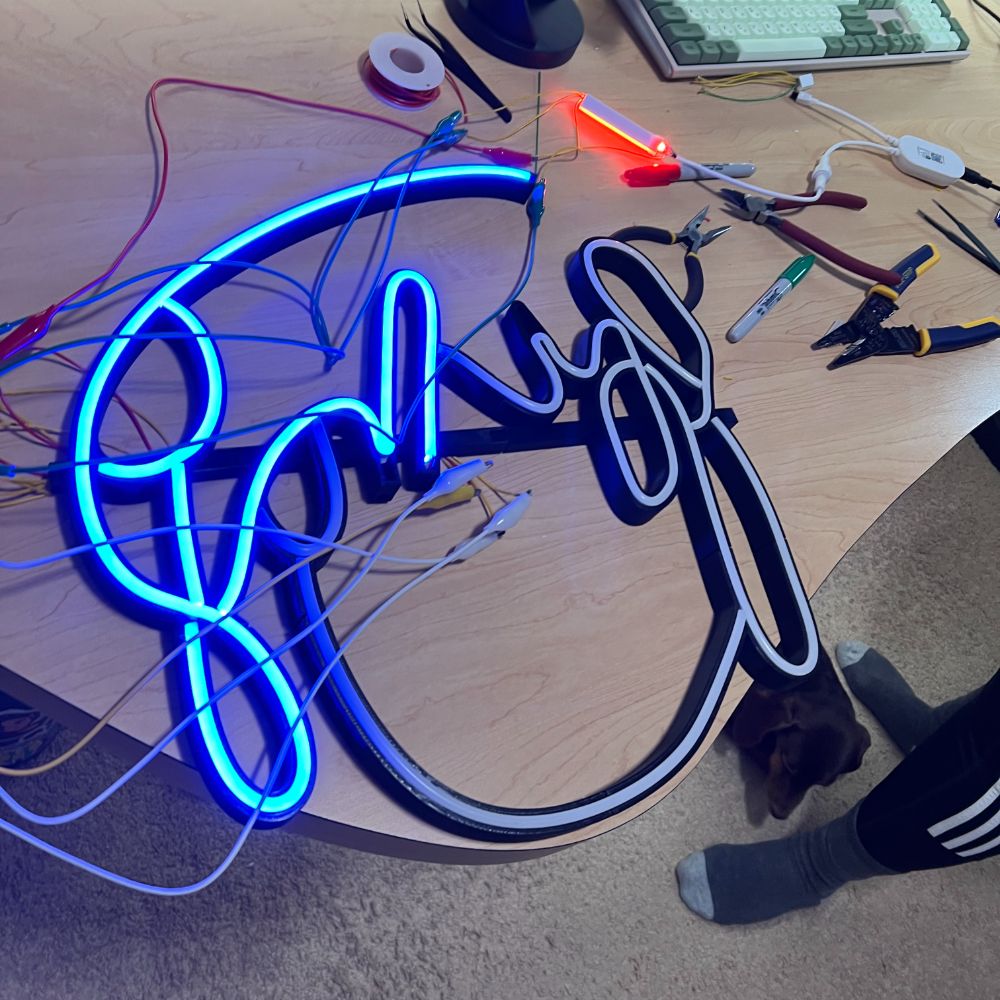
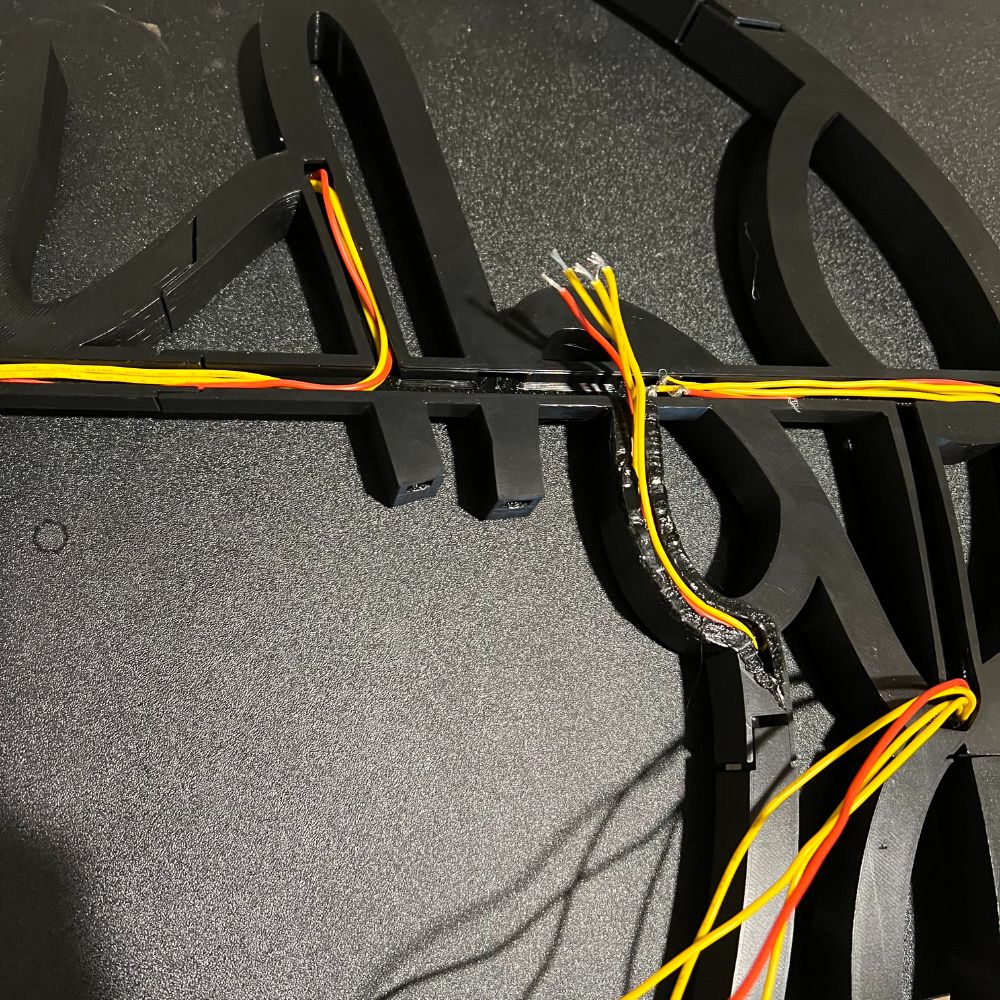
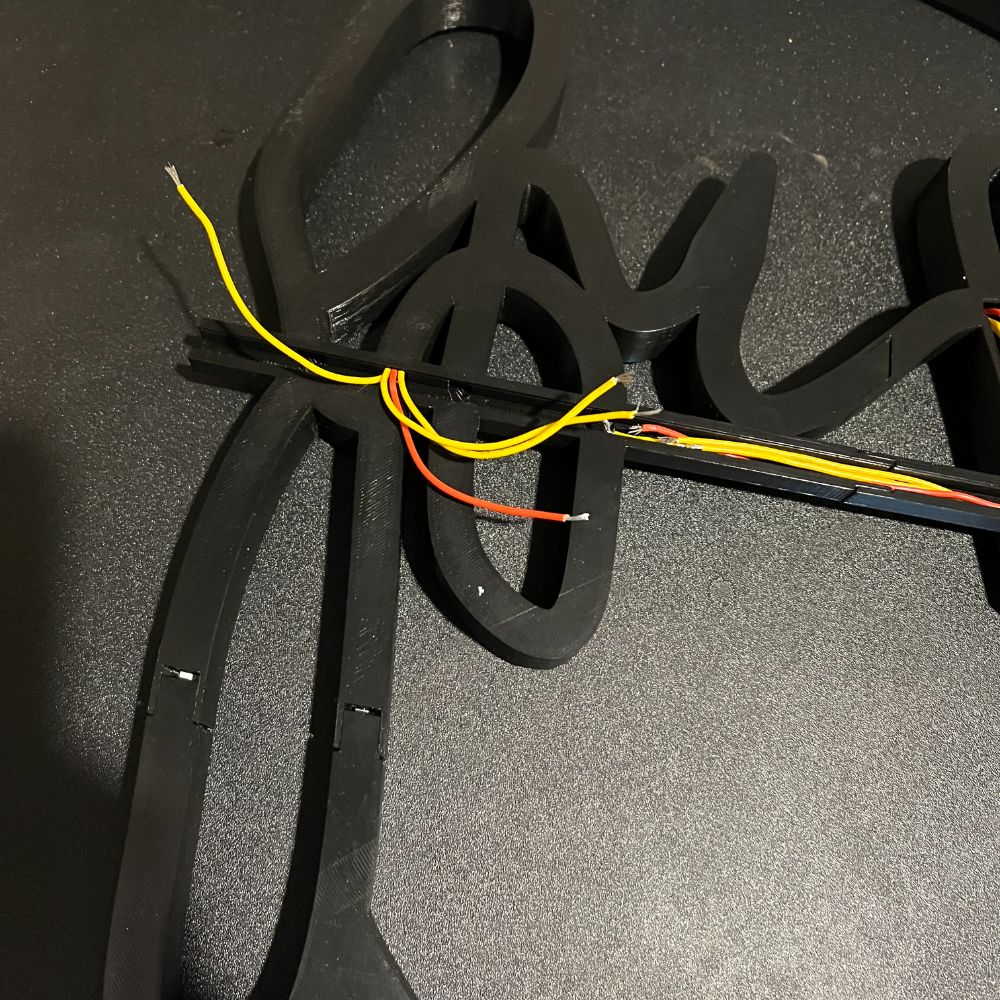
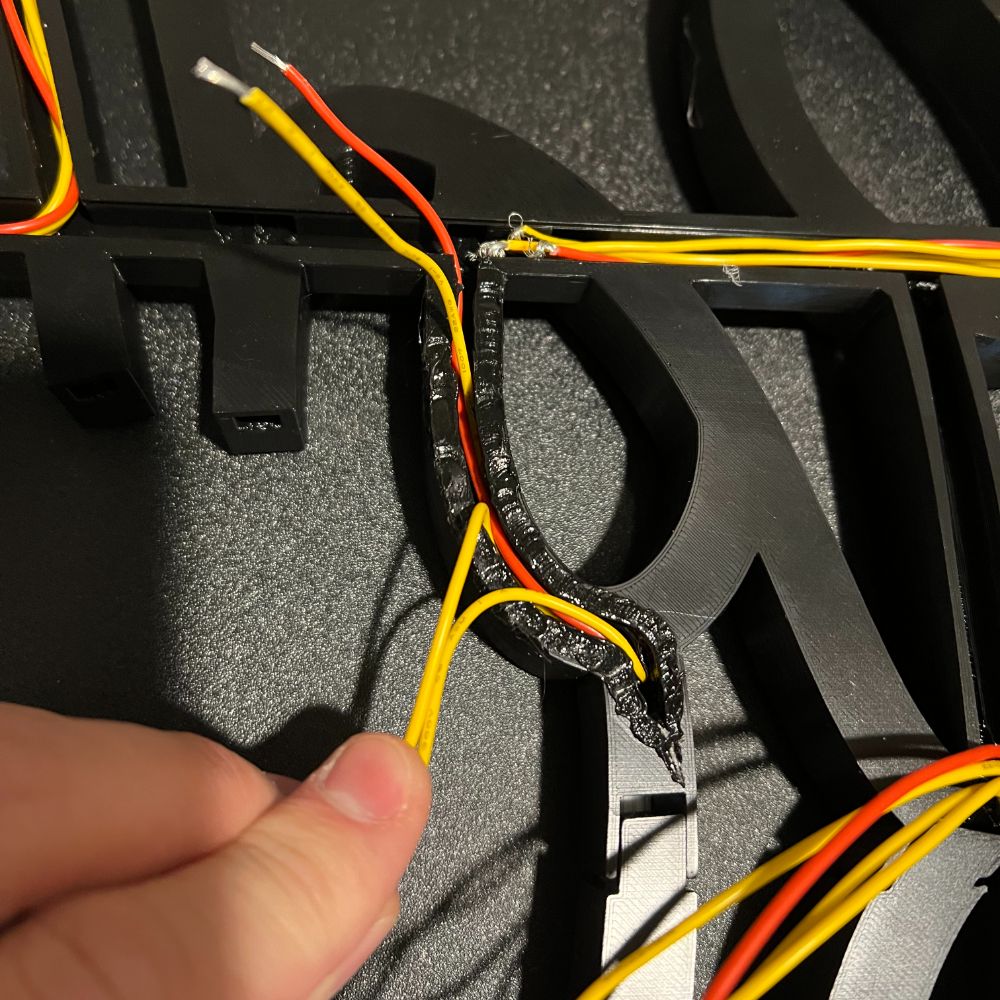
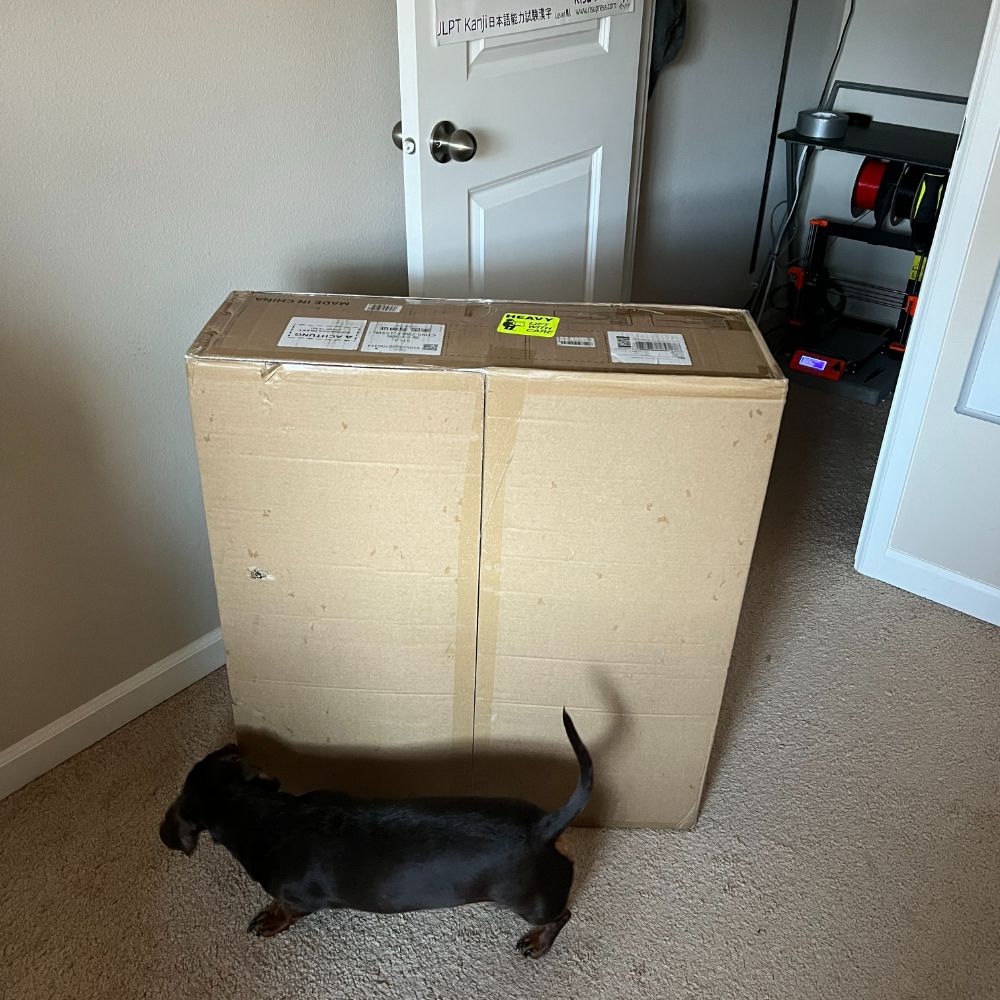
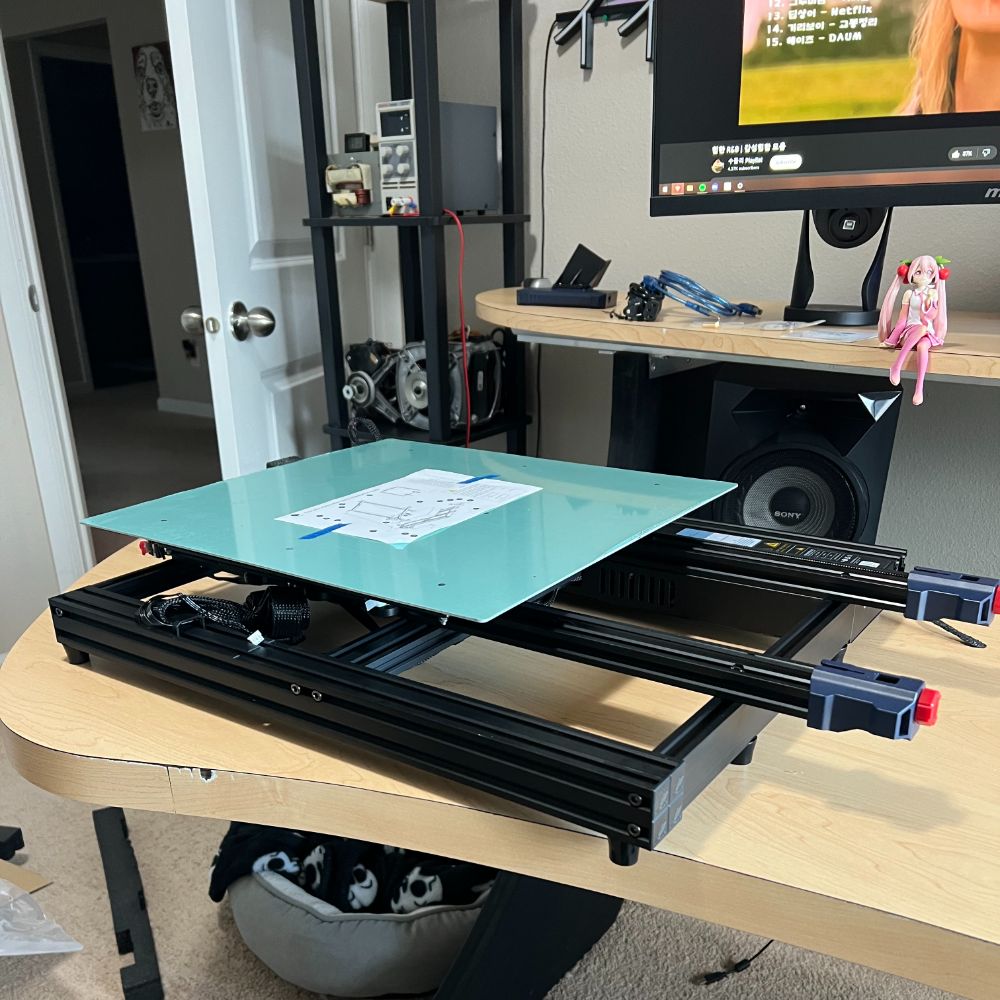
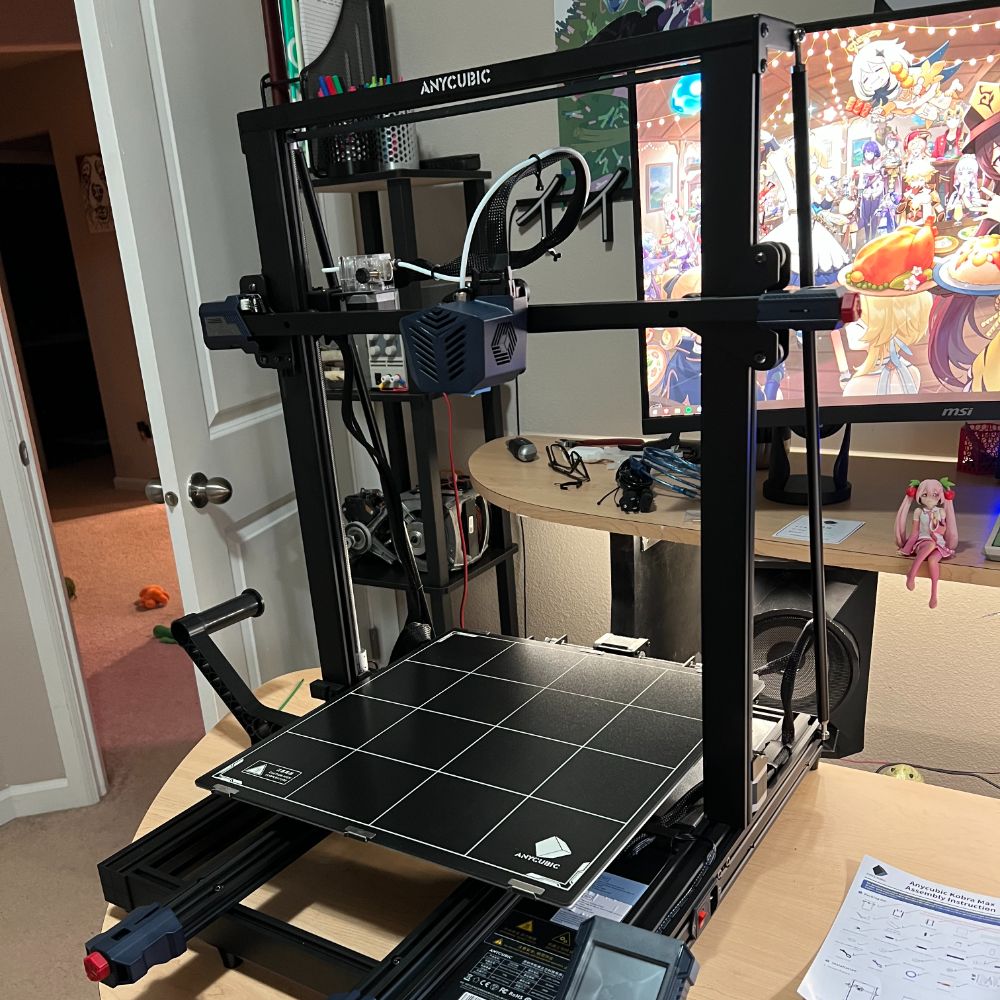
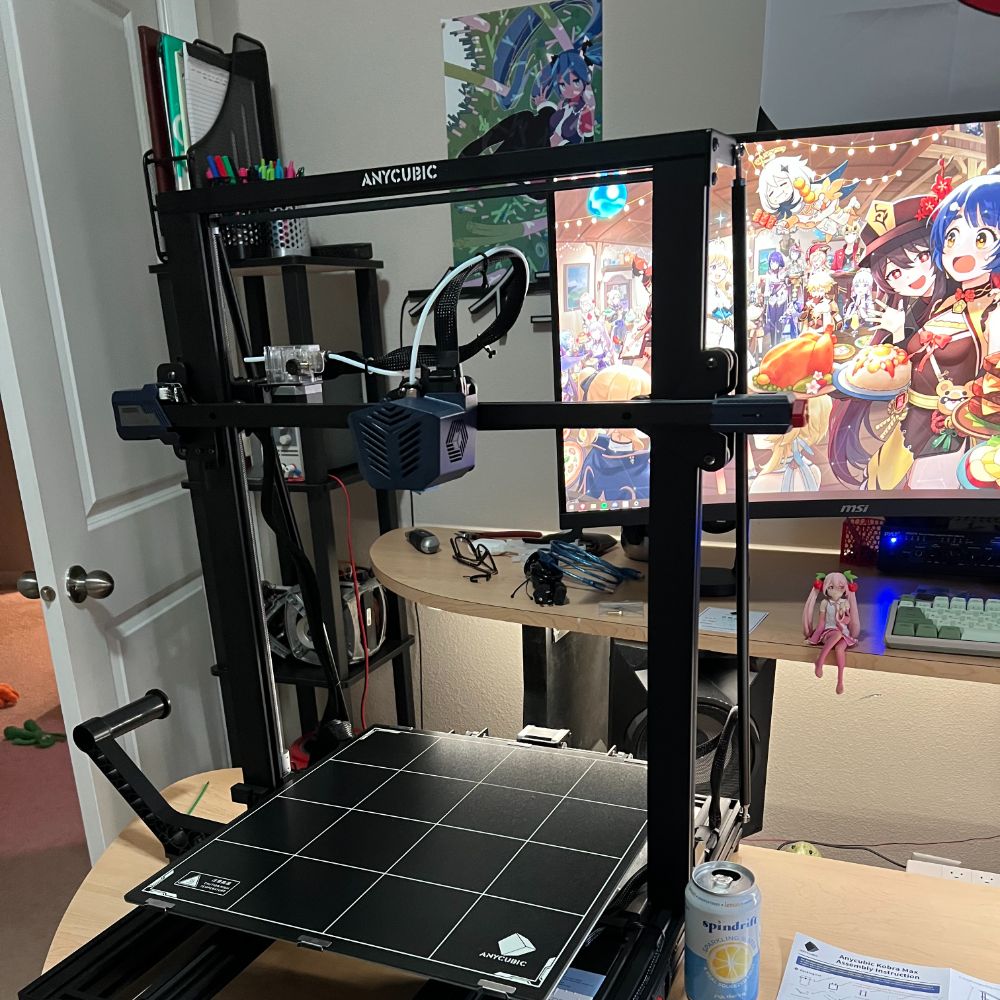
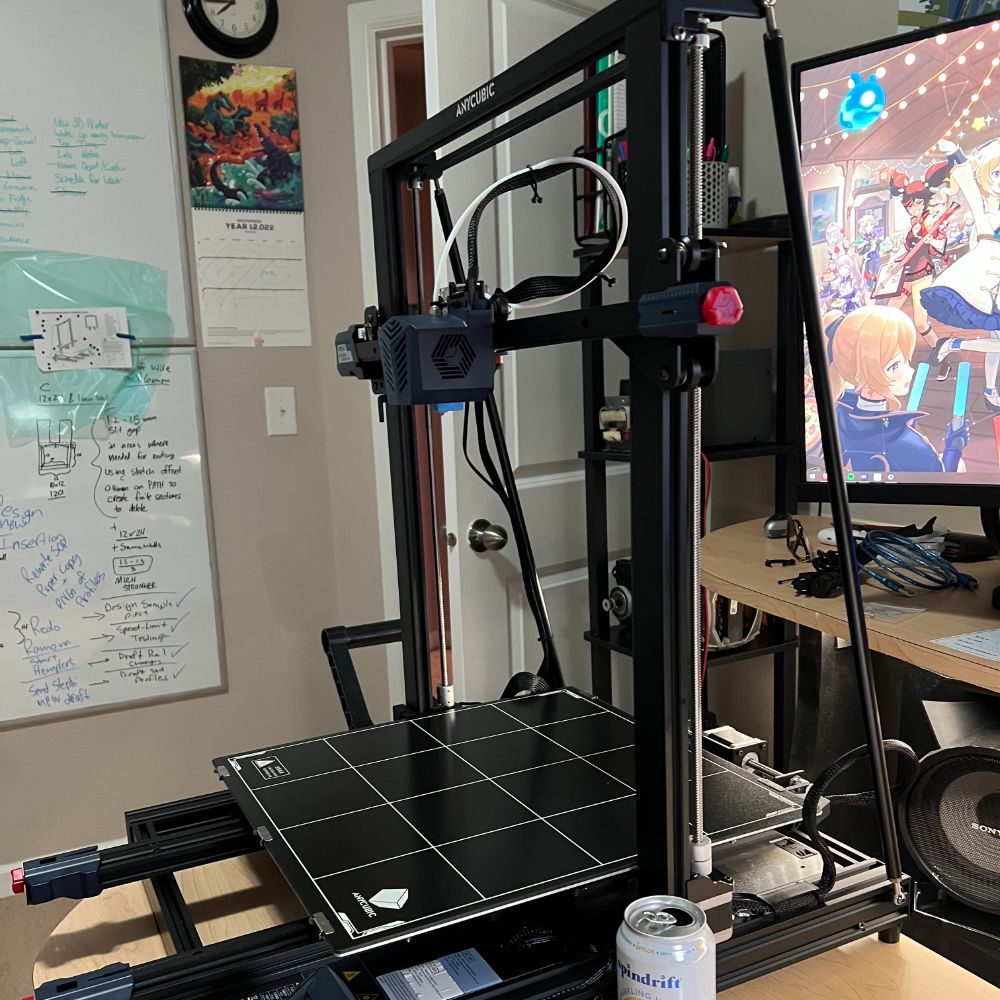
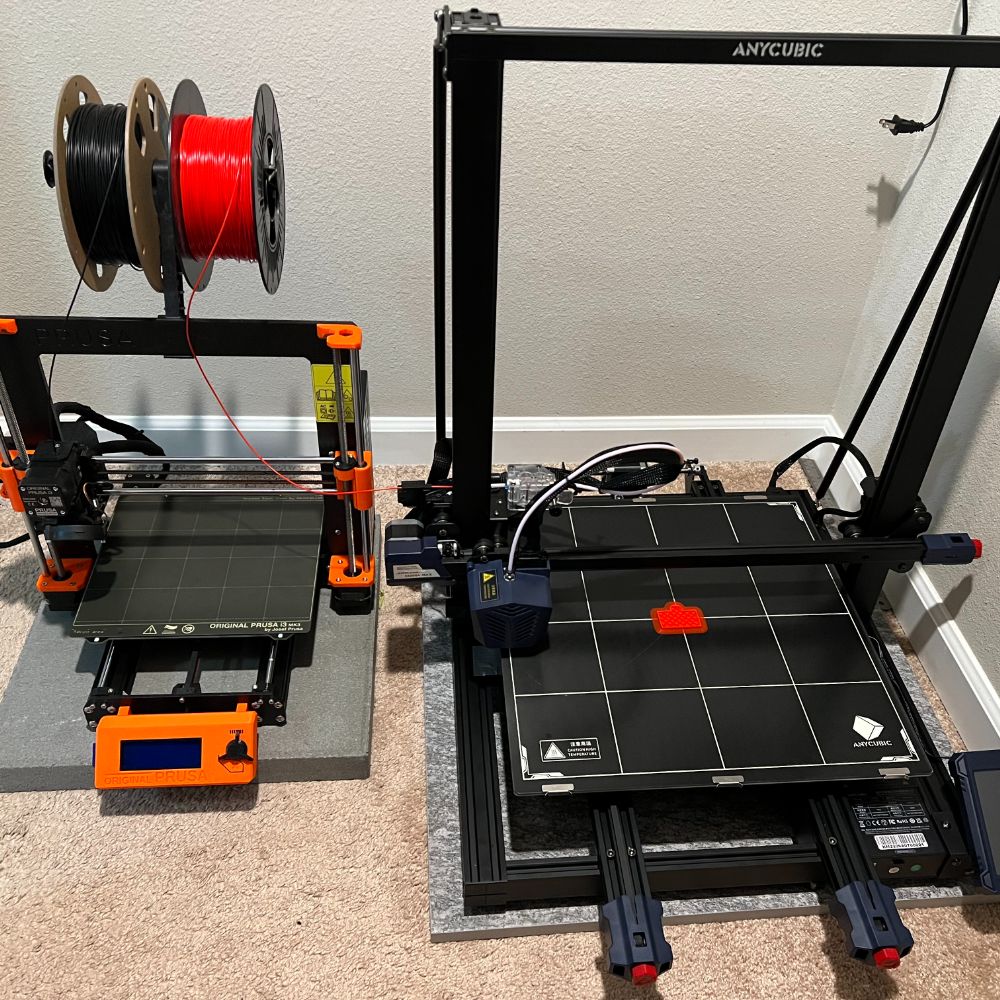
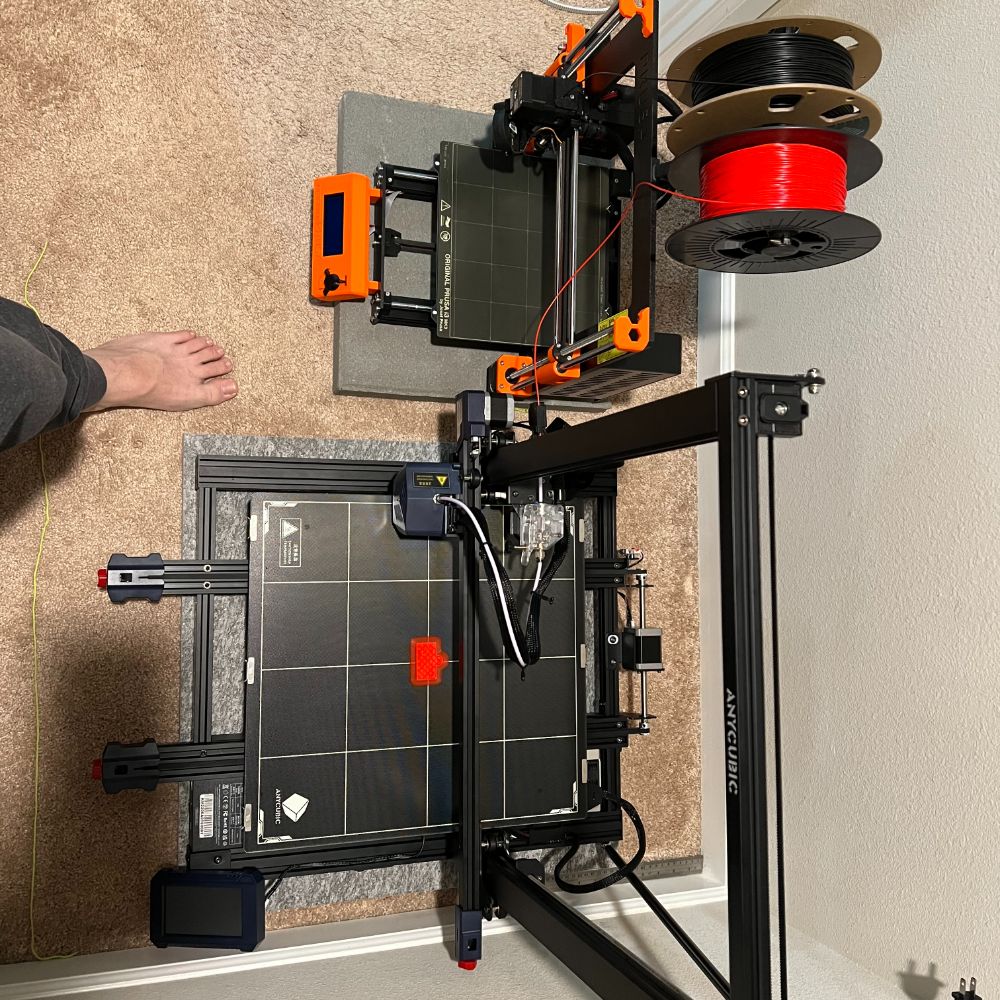
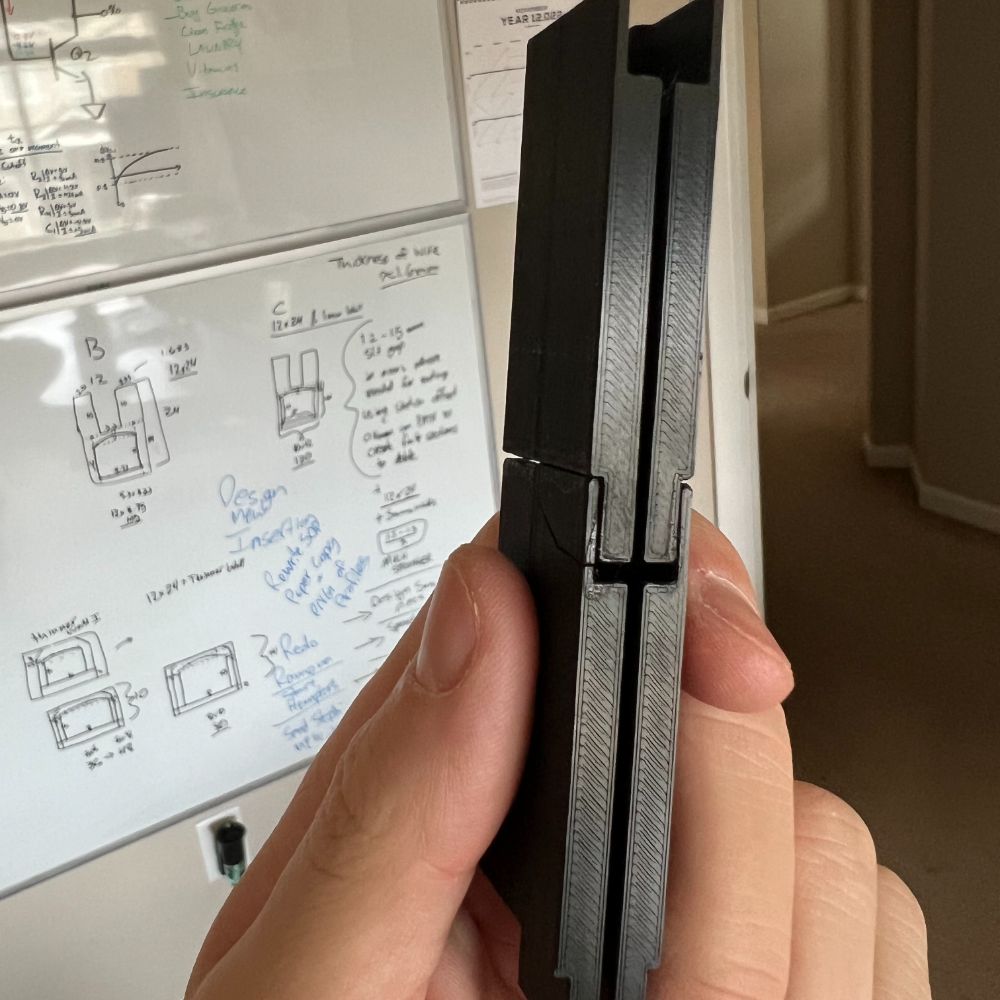
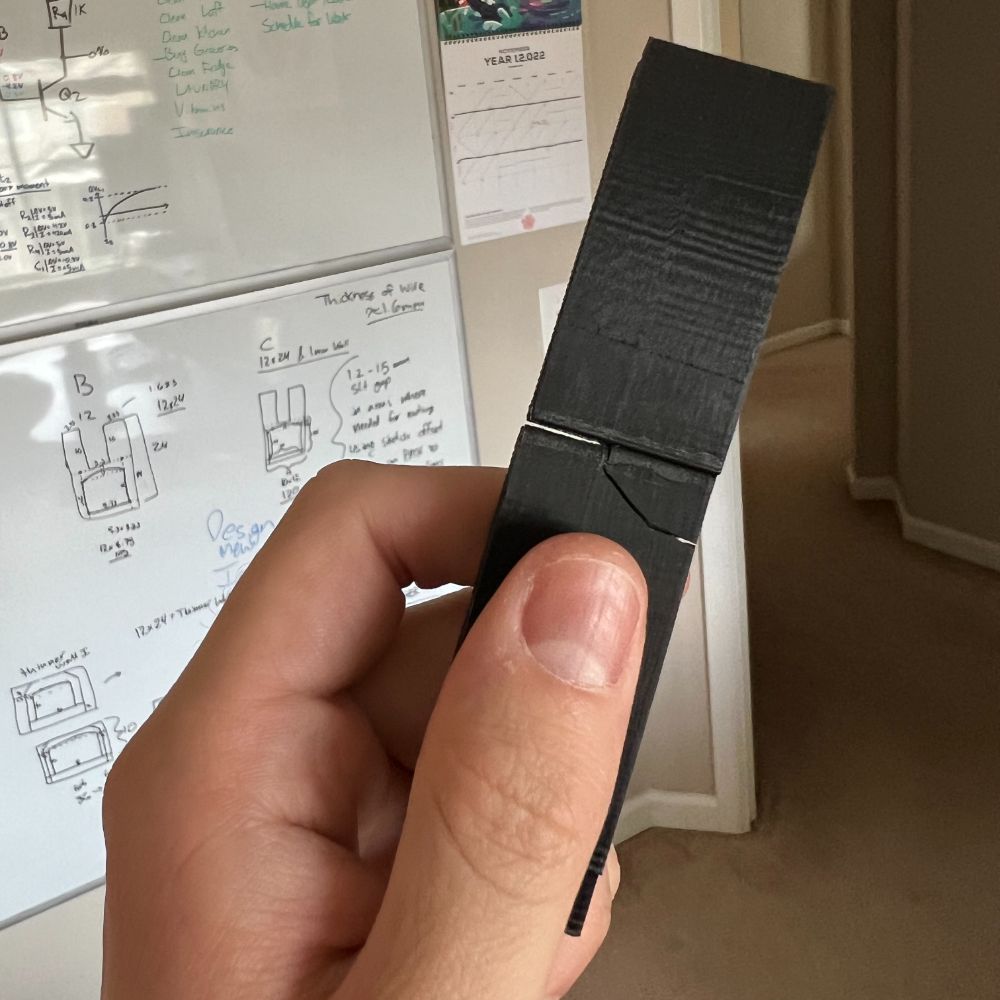
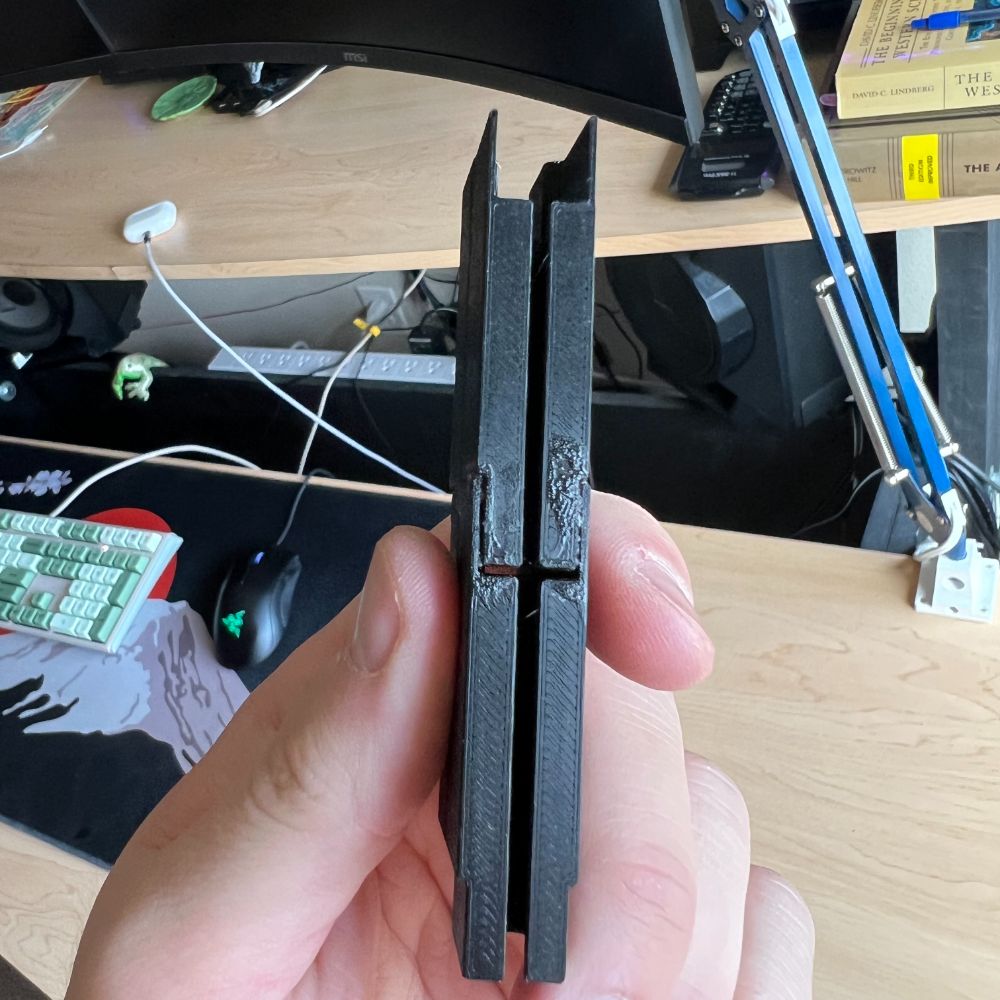
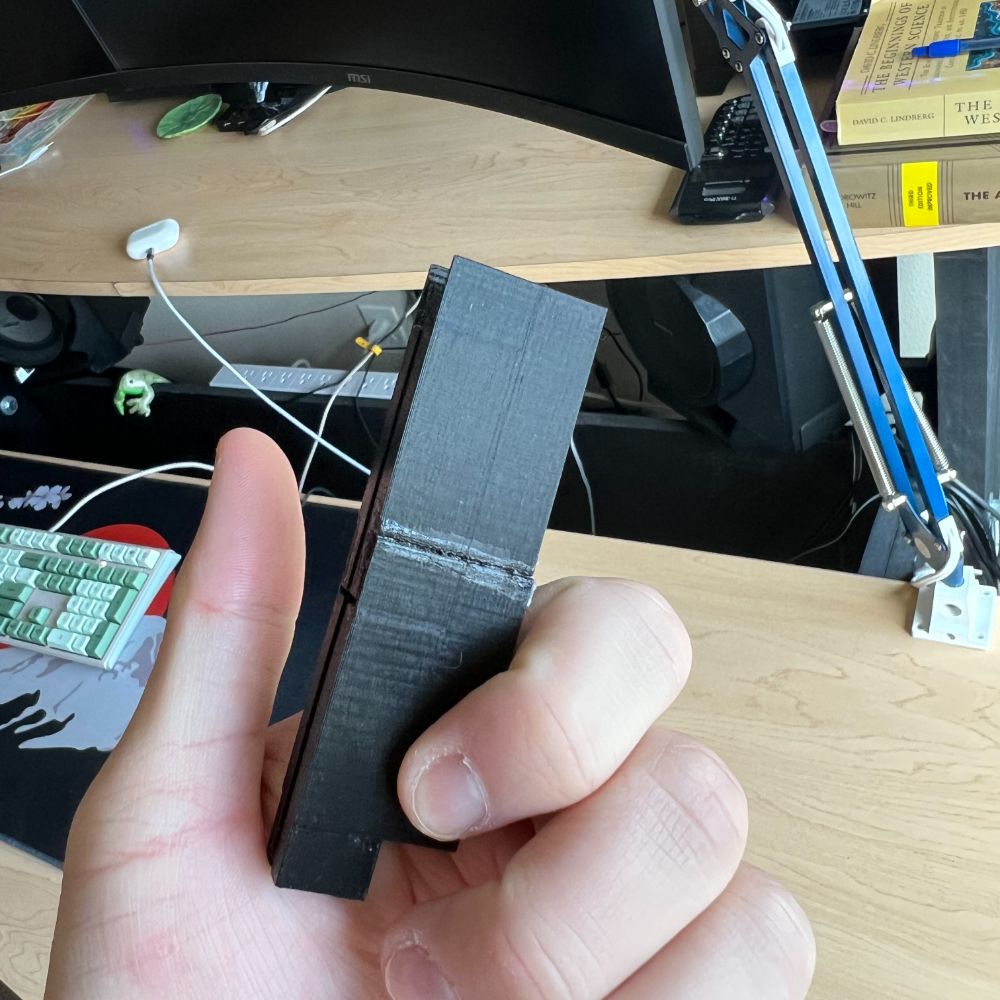
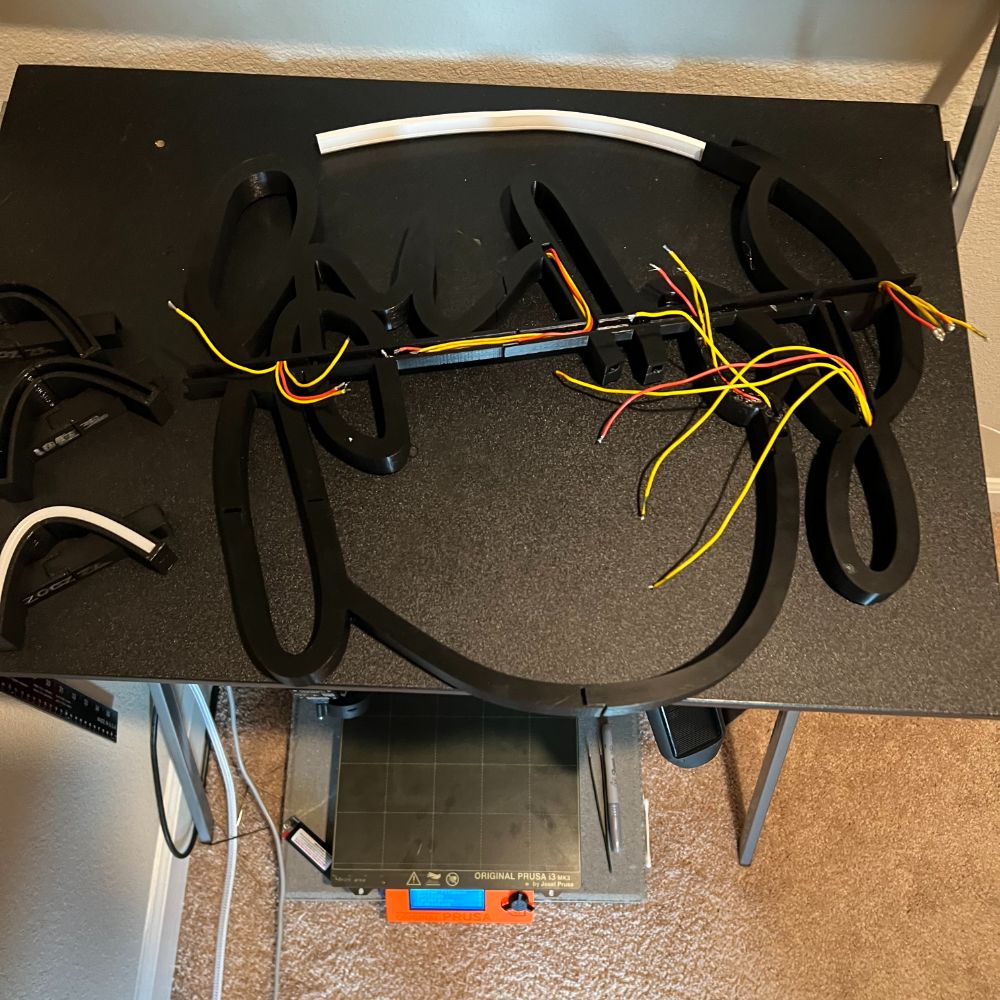
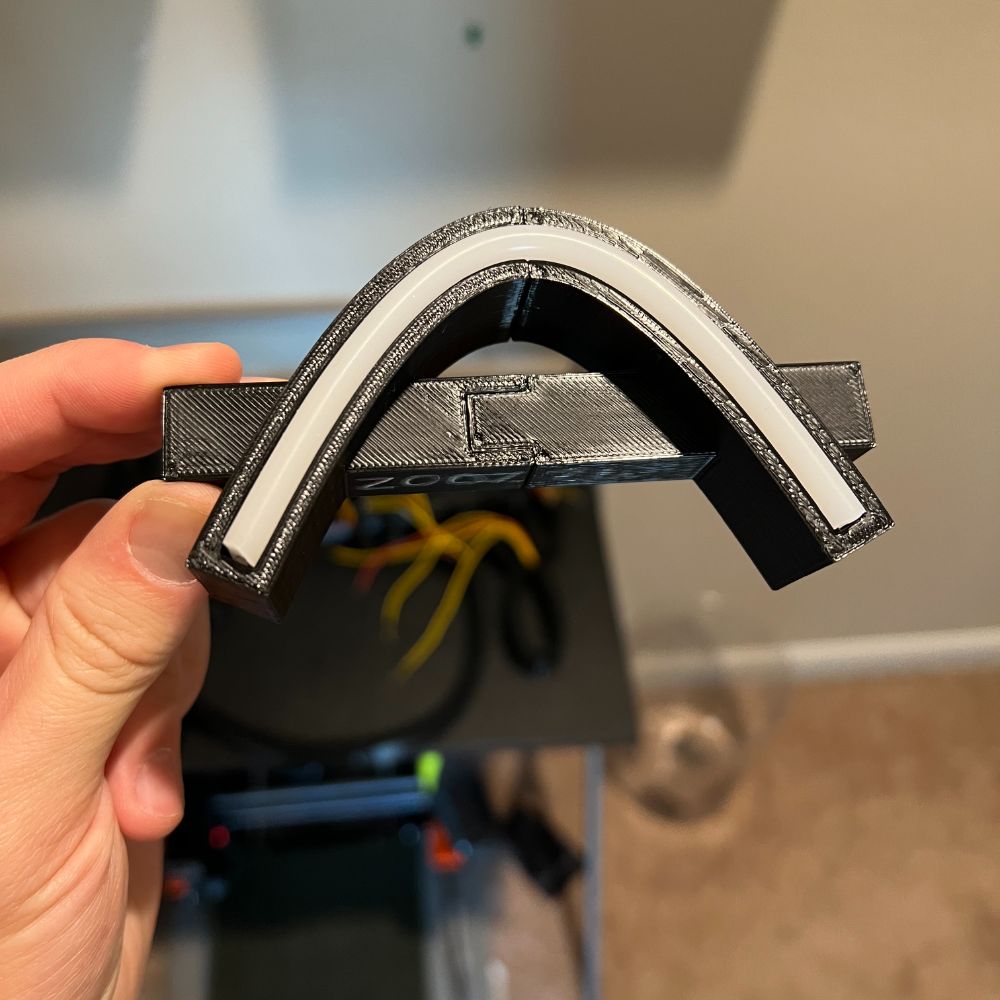
Summary: This sprint was dedicated primarily to getting the Neon Flex Signs off the ground. The Ramona Flowers RGB sign totally destroyed my previous system and I had to improve every aspect of production from modeling through soldering. Now the prints are about 4mm taller and there’s about twice as much area for the wires to tunnel around. In addition to this, there’s also a thin 2mm slit to guide the wires to the rails so I don’t have to go through the hell of trying to route wires blind through a 3D printed tunnel. I’m also experimenting with drop through floors with the most recent print but I don’t think those are that necessary. Sign volume for the holiday sales has been enough to justify buying a larger printer. I got a Anycubic Kobra MAX with a 400x400mm build volume. It was kind of surreal to just take payment from a bunch of people and spend that money on the gear necessary to properly fulfill their request. We love spending other peoples’ money. I’ve spent most of each day since building the new printer modeling and soldering and modeling and soldering. Overall, I’m just barely positive and will probably net out a little negative once all the signs are finished. But after that point I’ll have about 10 happy customers and a small portfolio for a unique product to market to other people that aren’t family and friends. Hoping it’s good enough quality for that because I stare closely at the fractions of millimeters on these things and by the time they’re done I only see a list of imperfections lol.
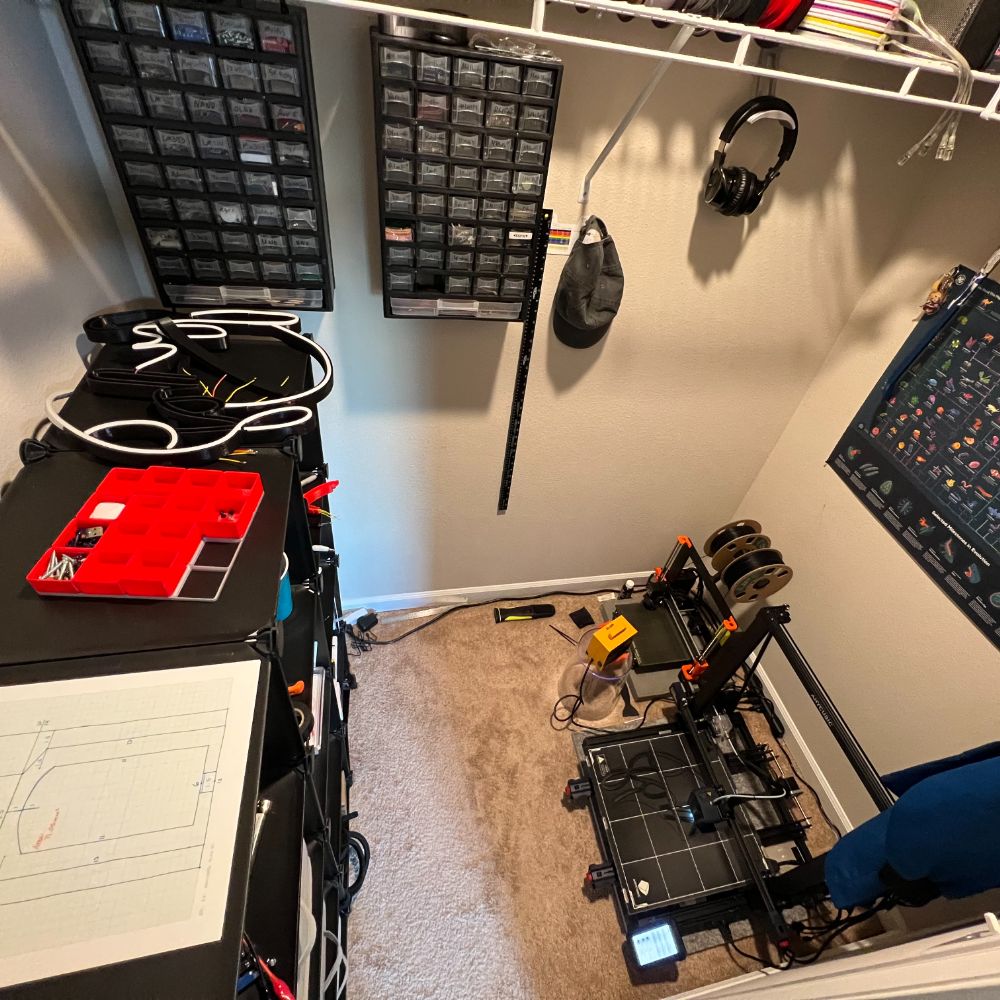
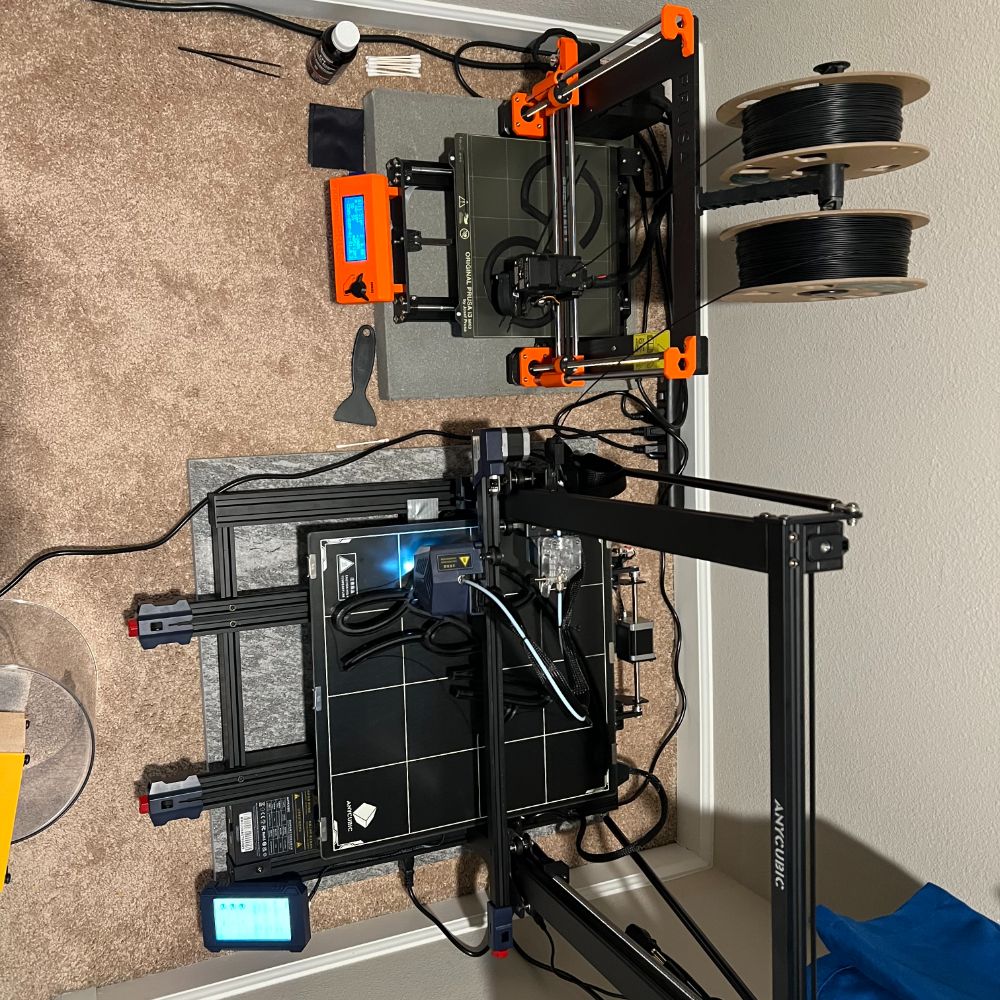
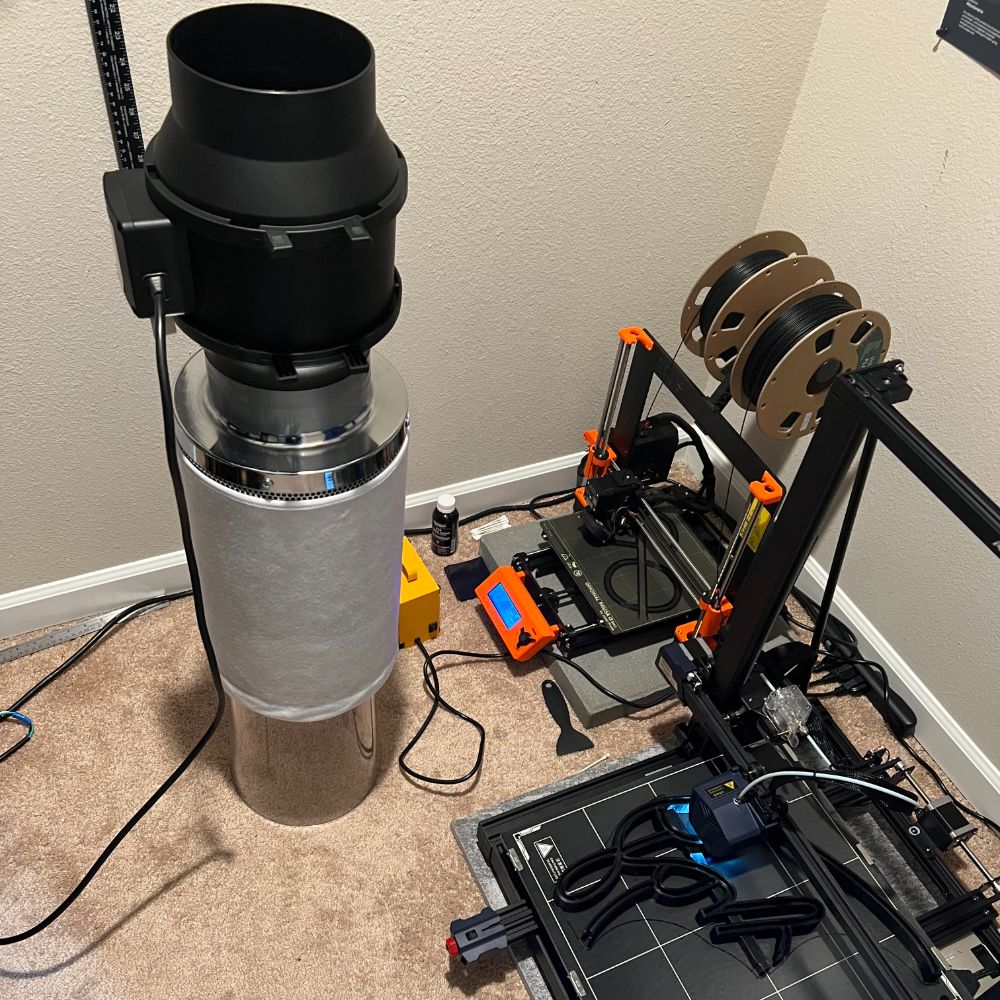
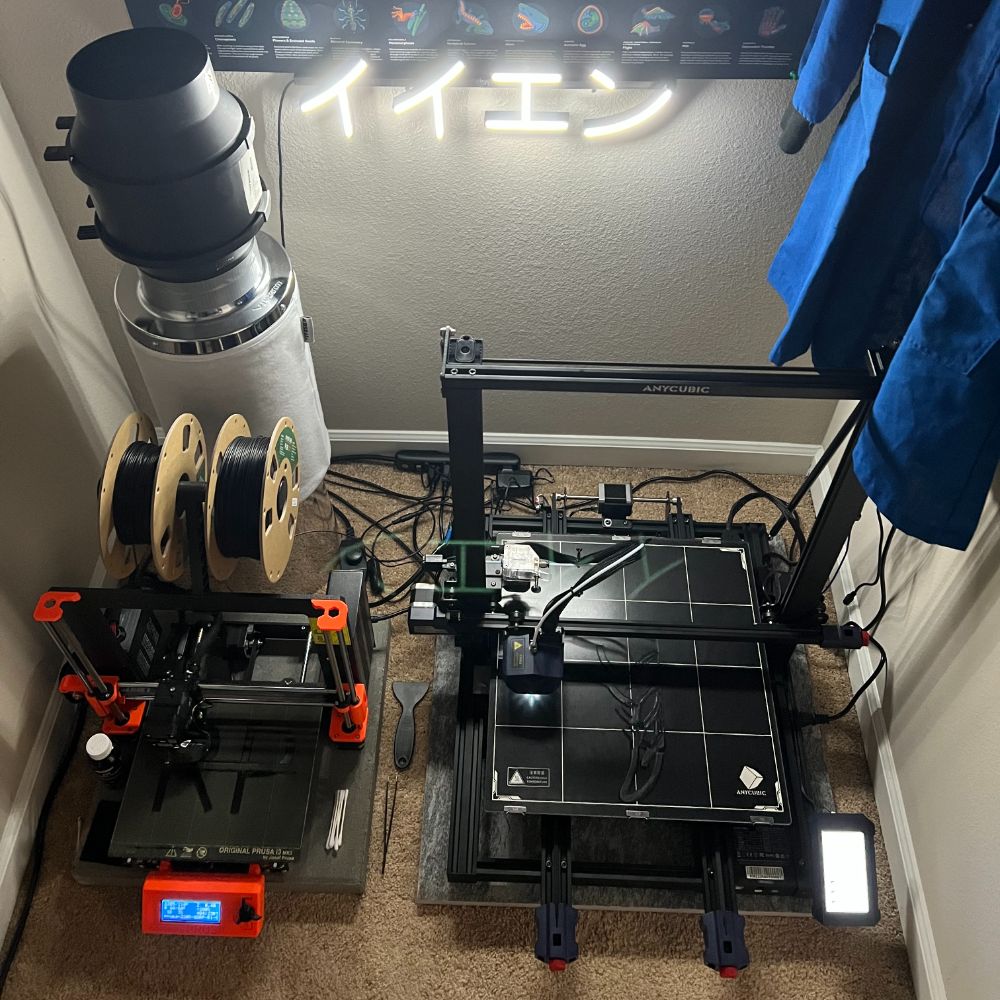
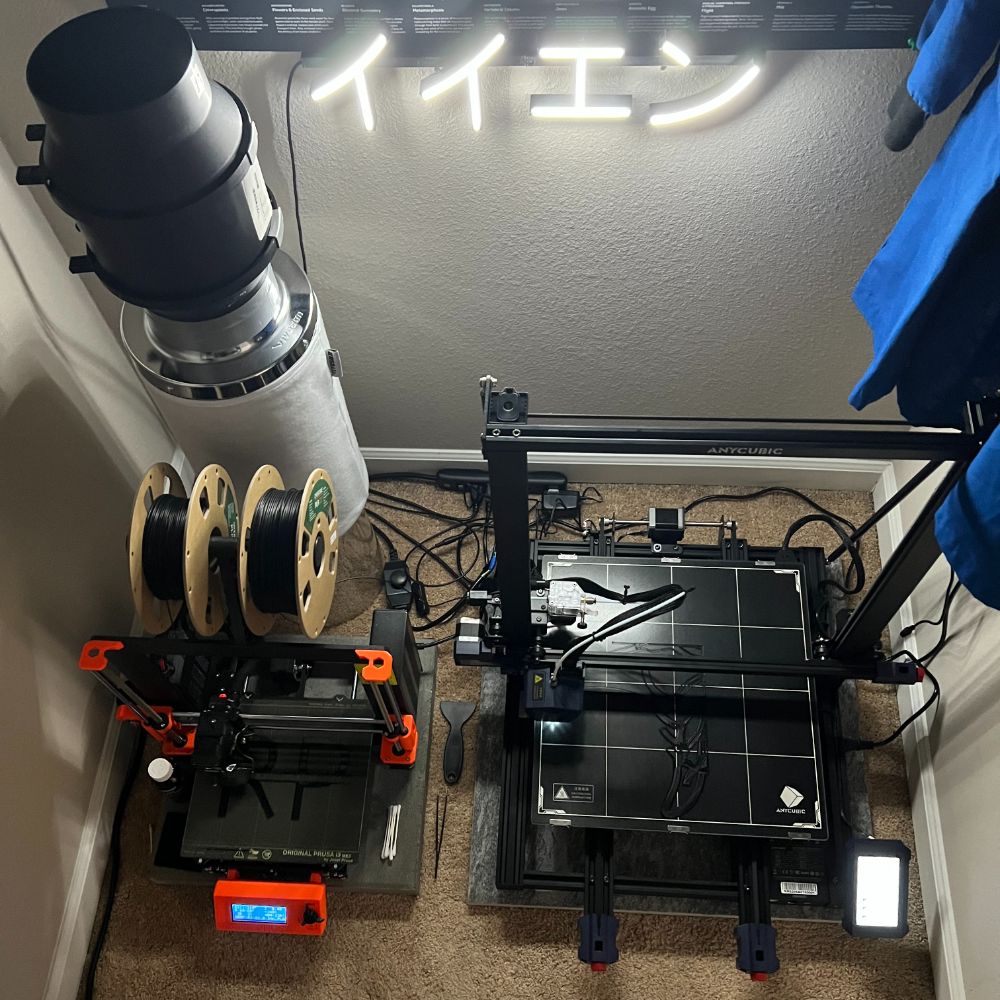
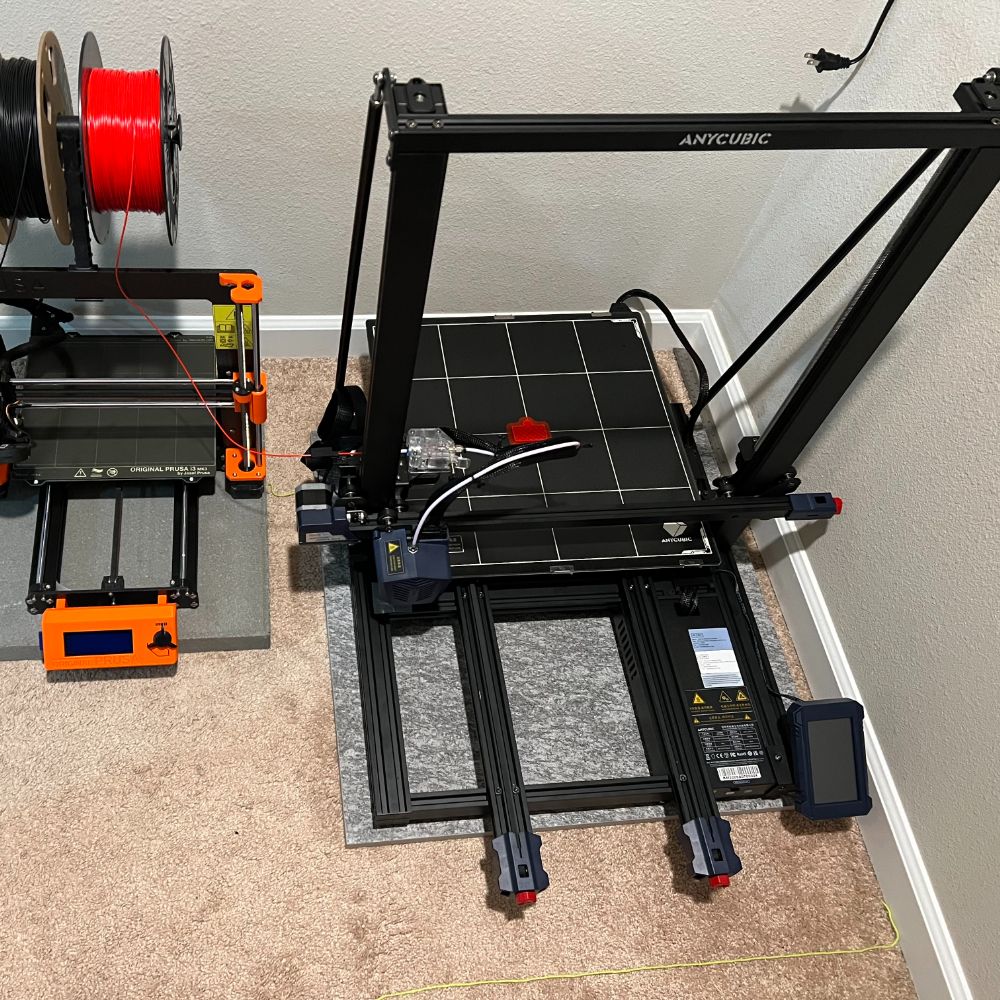
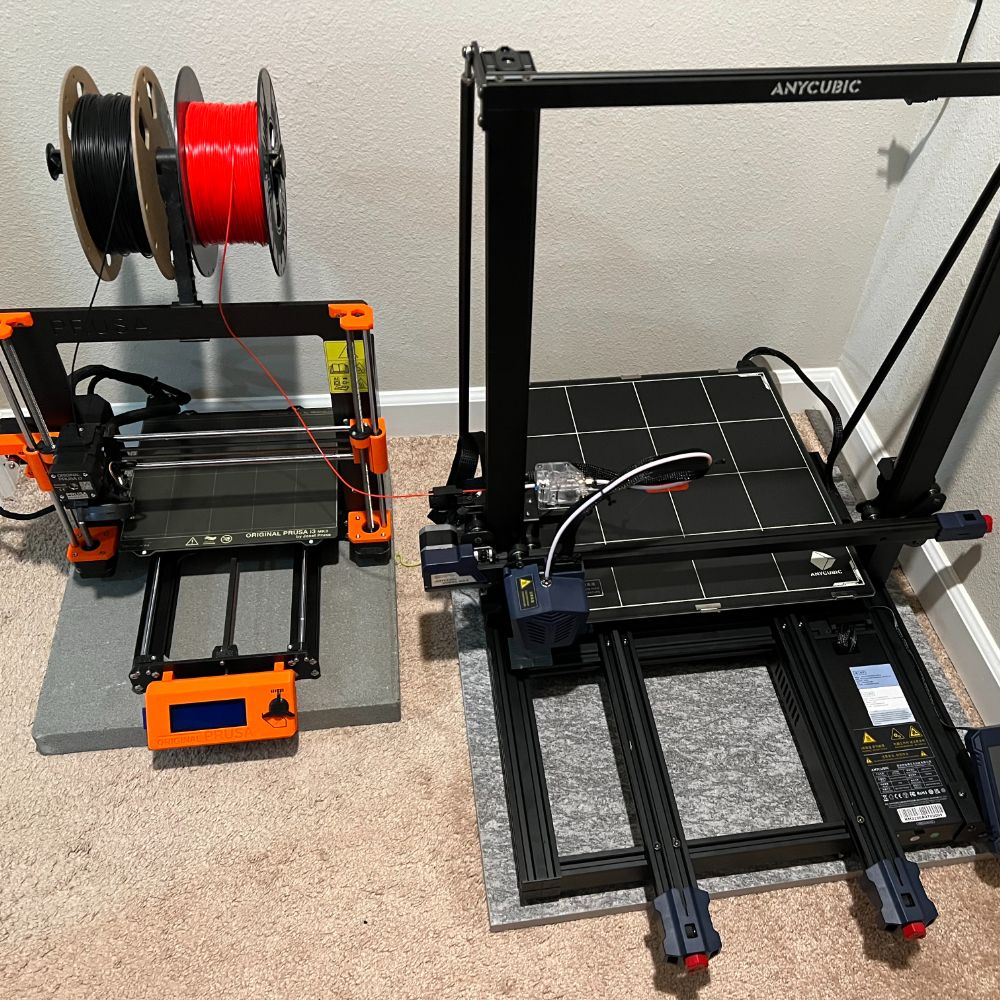
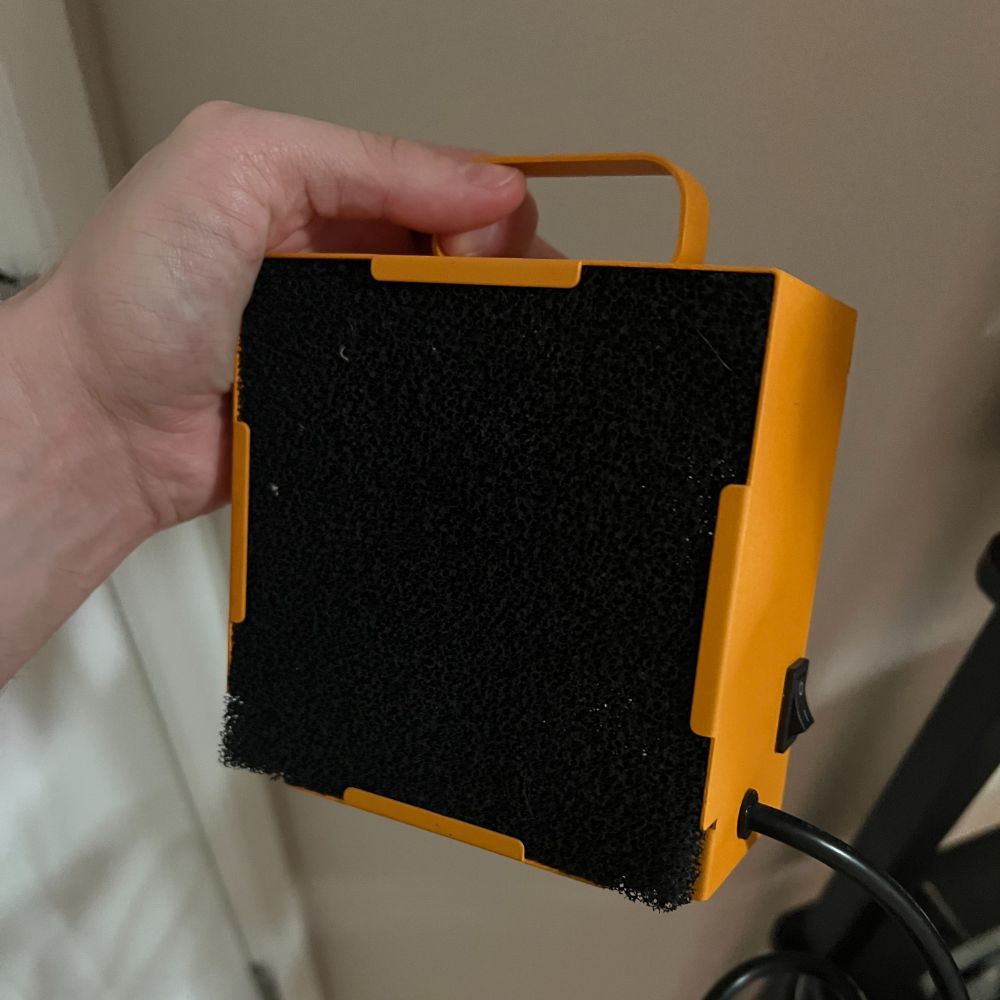
My closet has no natural ventilation and I’m using the ventilation fan with carbon filter from the grow tent for Grow Honest a few months ago to prevent my lungs from filling with microplastics. The two printers have been running at the same time, overnight, in a small space. The big printer makes way more fumes, and I’ve done two prints already that were over 40 hours long.
For now I’m just trying to make sure I get my Christmas orders out at the highest quality I’m capable of and on time, then the rest of the starter orders, then I’ll reorient and make new moves from there.
Also brainstorming a year review. Maybe a longer post or a quick vlog/montage or something. Looking forward to next year.
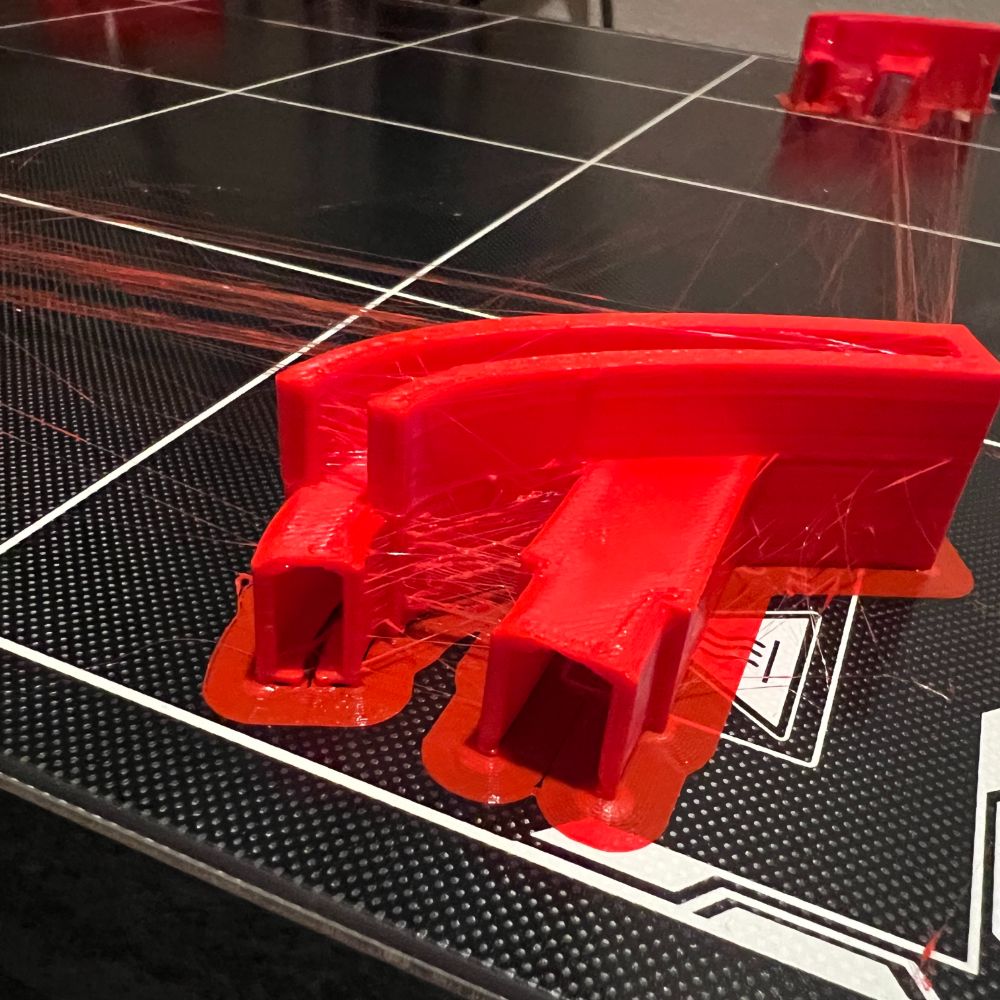
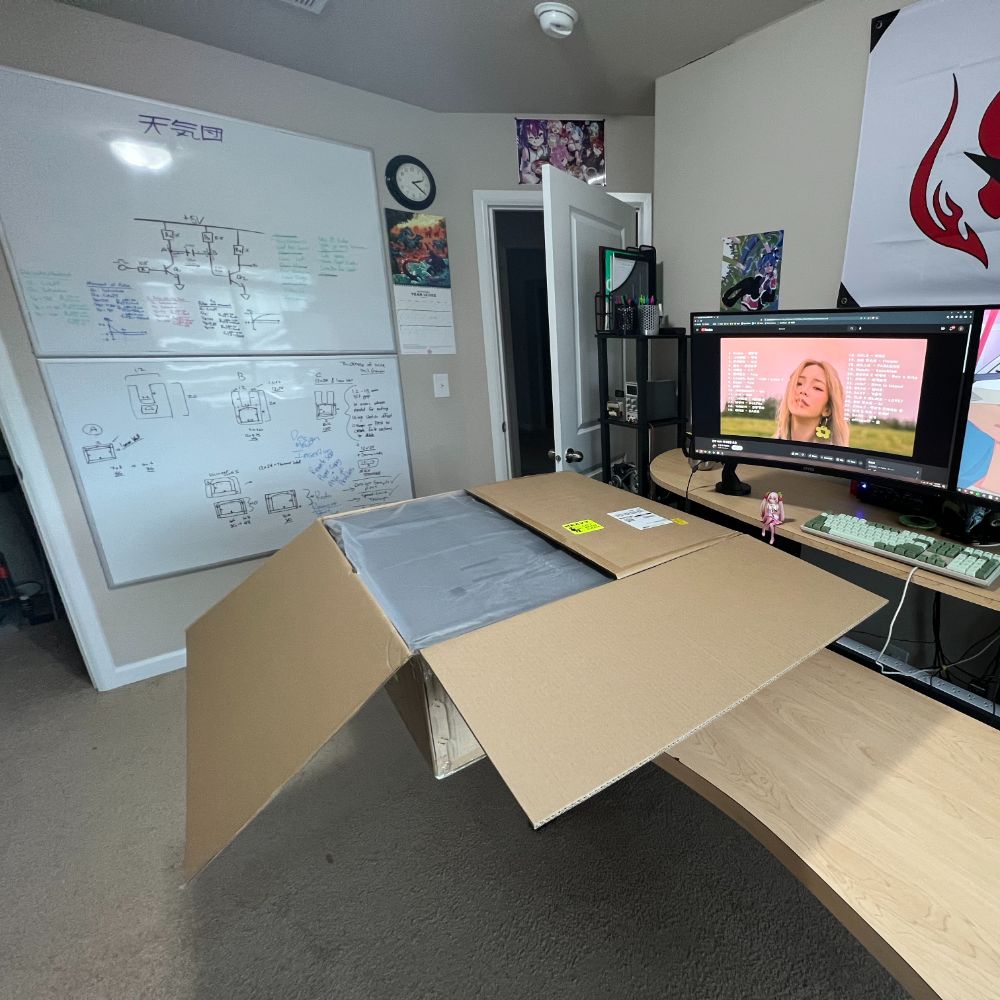
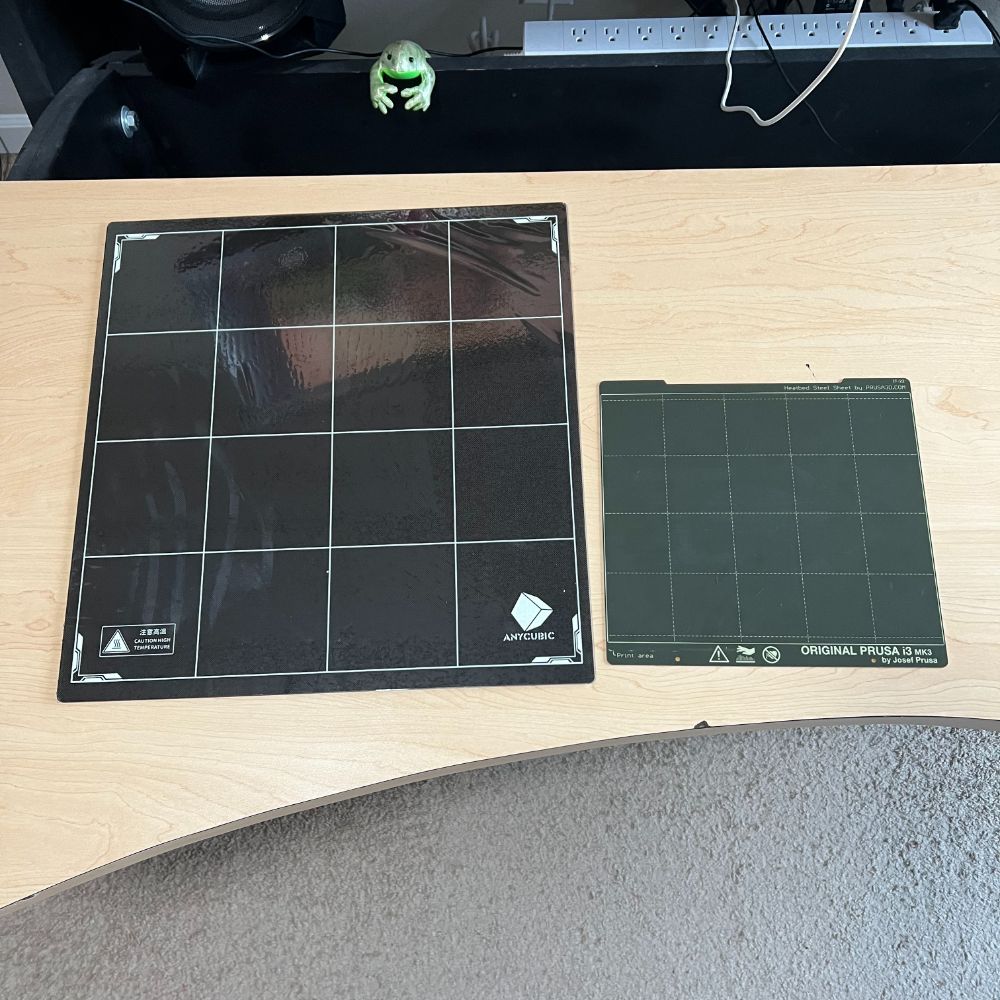
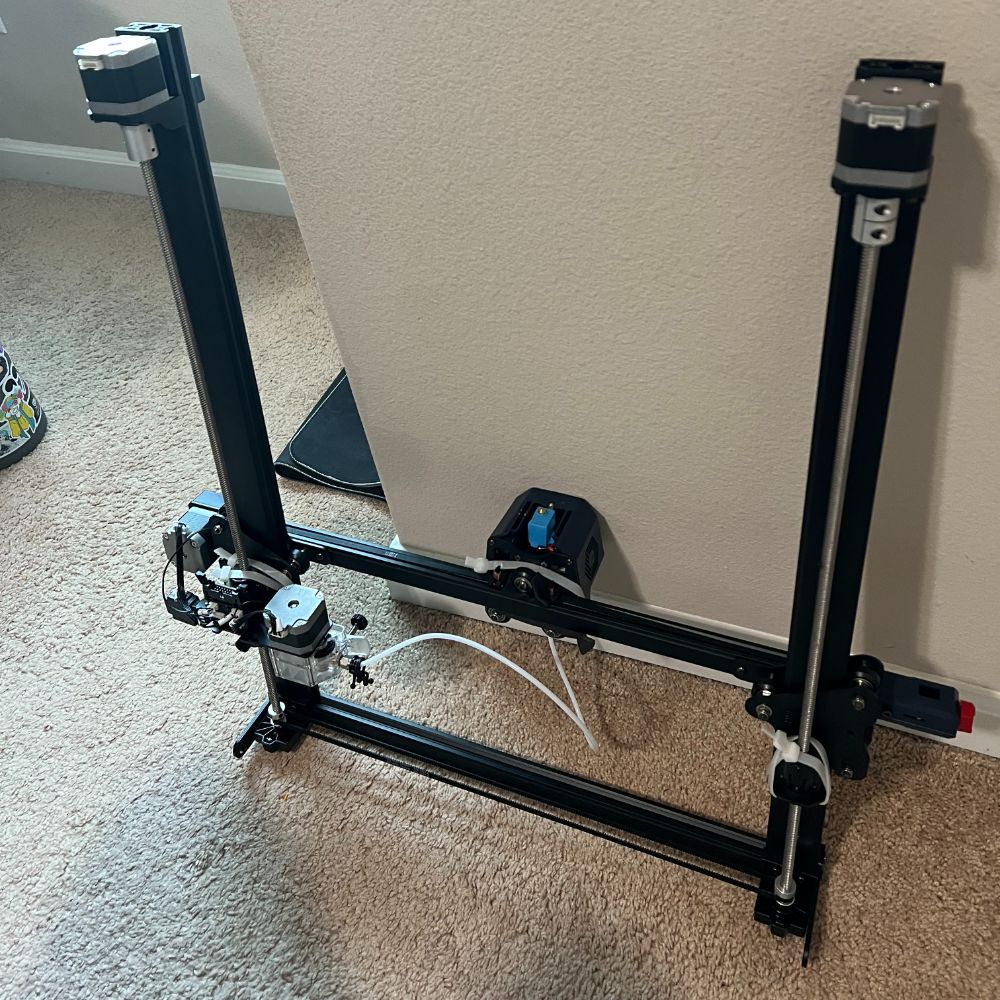
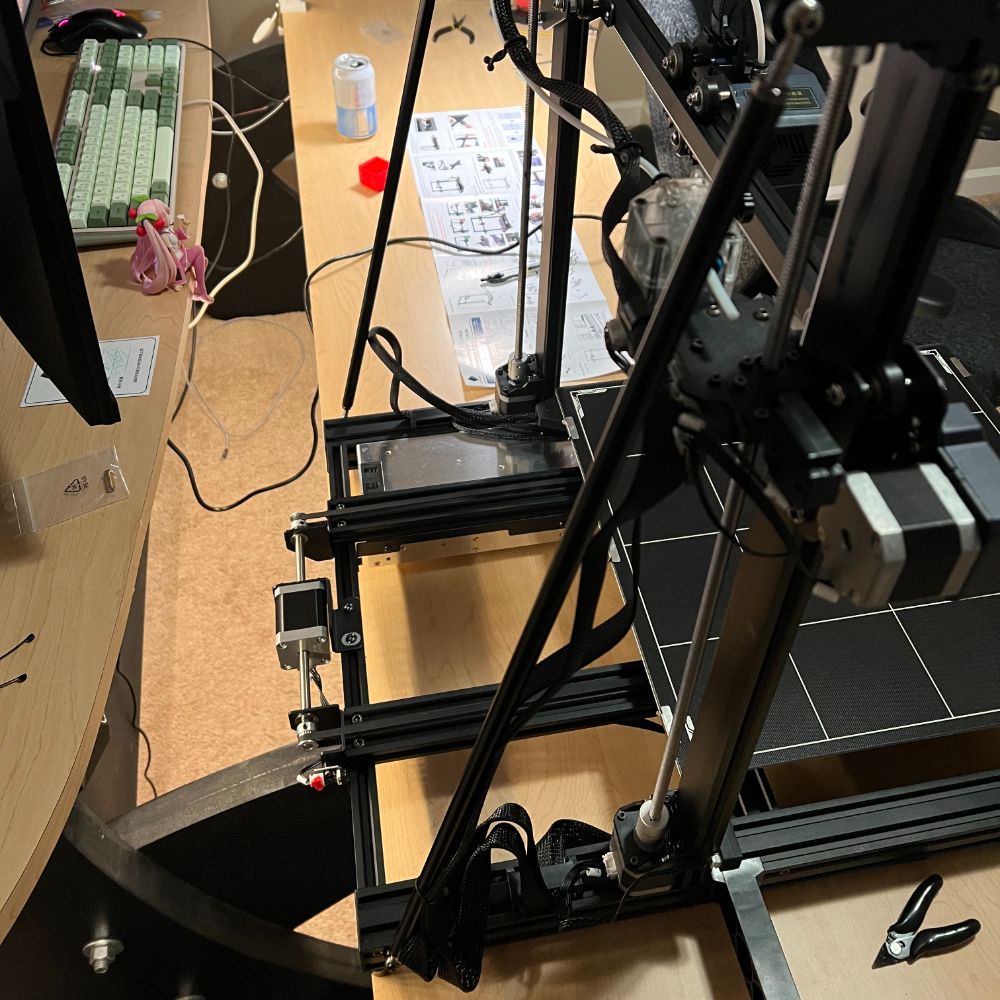
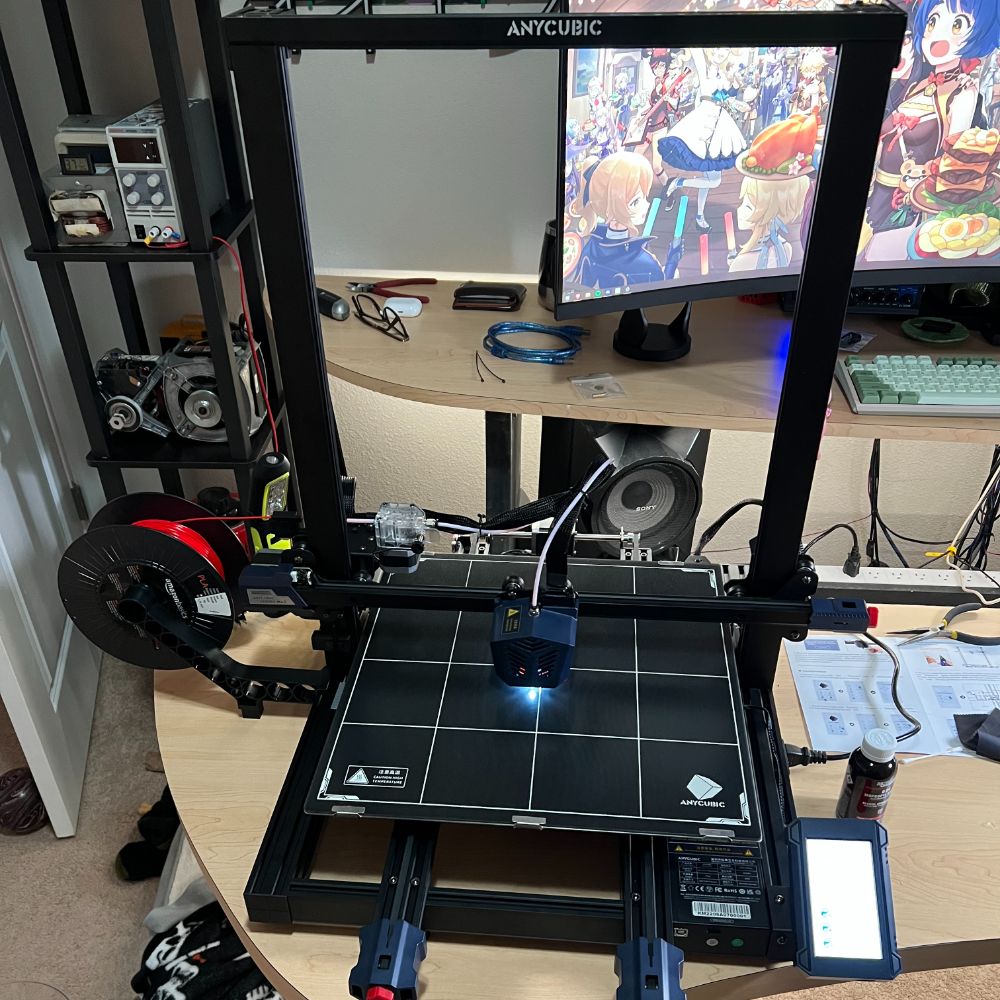
Xingtian NFS Stuff The Big Printer on Sale for $530 Bought the big printer Dialing it in First Print Z Offset seemed good around 0.15, but when I moved it it reset to 0.5 and smushed a bit It’s BSG bedding, so no flexible magnetic, which means I have to remove stuff more carefully now There’s scattering of material in the first few layers, it’s like clumping or underextruding, or the tip is globbing, or something There’s also definite stringing as it moves around the bed Prusa doesn’t give me these problems, I might have to do the teachingtech tutorial stuff again It might also be the prusa slicer. I’ll try the recommended slicer as well Testing day It’s hard to calibrate a printer without pronterface to help with sending codes and loading test gcodes My printer is in for repairs right now, but squaretrade is saying i don’t have a plan or a claim anymore so I’m wondering if I’ll ever see my laptop again lol The Cura Slicer is recommended for the Kobra, so I installed the latest version and it has a recommended settings profile for the kobra max that matches the filename of the .curaprofile on the microSD card. I tried to import the SD card’s file but it failed, so I’ll just assume they’re the same rather than do a bunch of calibration stuff right now, i’m just going to run the print again but with the recommended profile First thing I’m noticing is Z=0.05 is optimal this morning The extrusion seemed inconsistent so I cranked the extrusion force knob back to about 18mm per the setup manual’s suggestion Wondering if I’ll end up changing the PLA temp from 195 to 210 and matching the Prusa
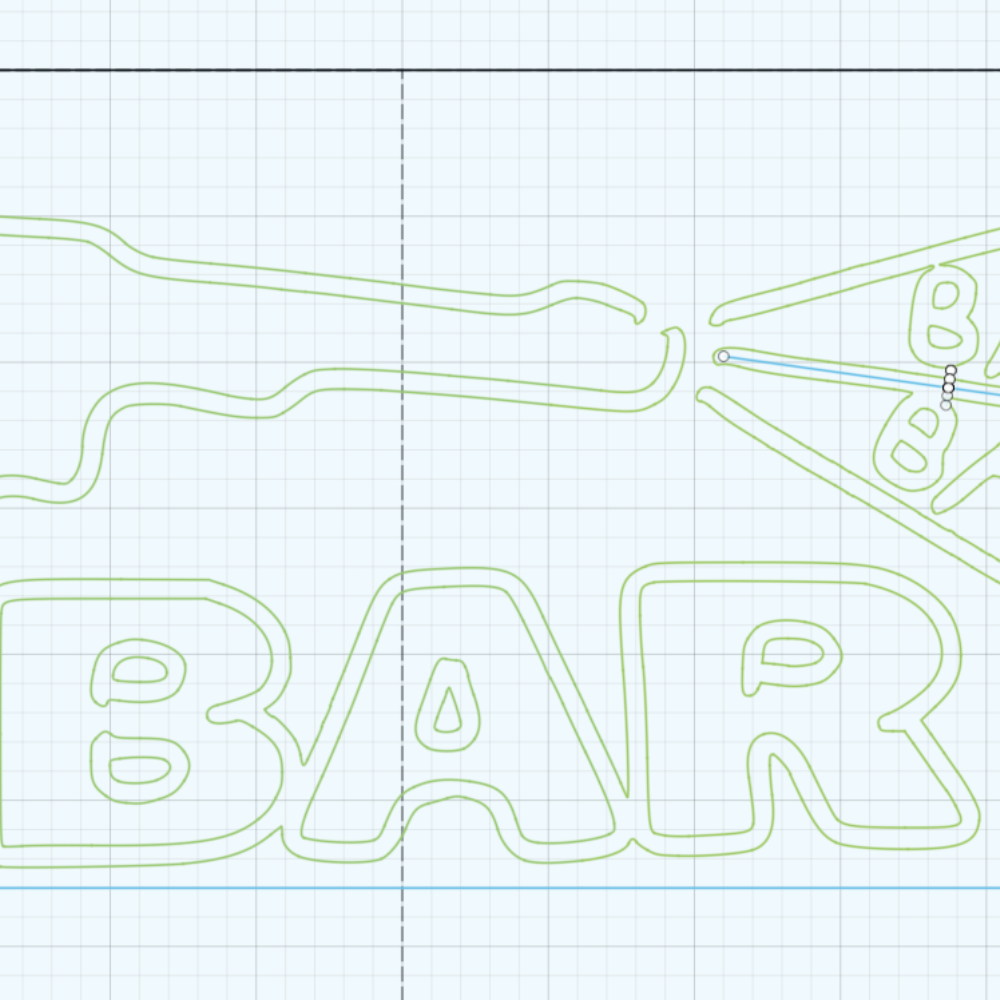
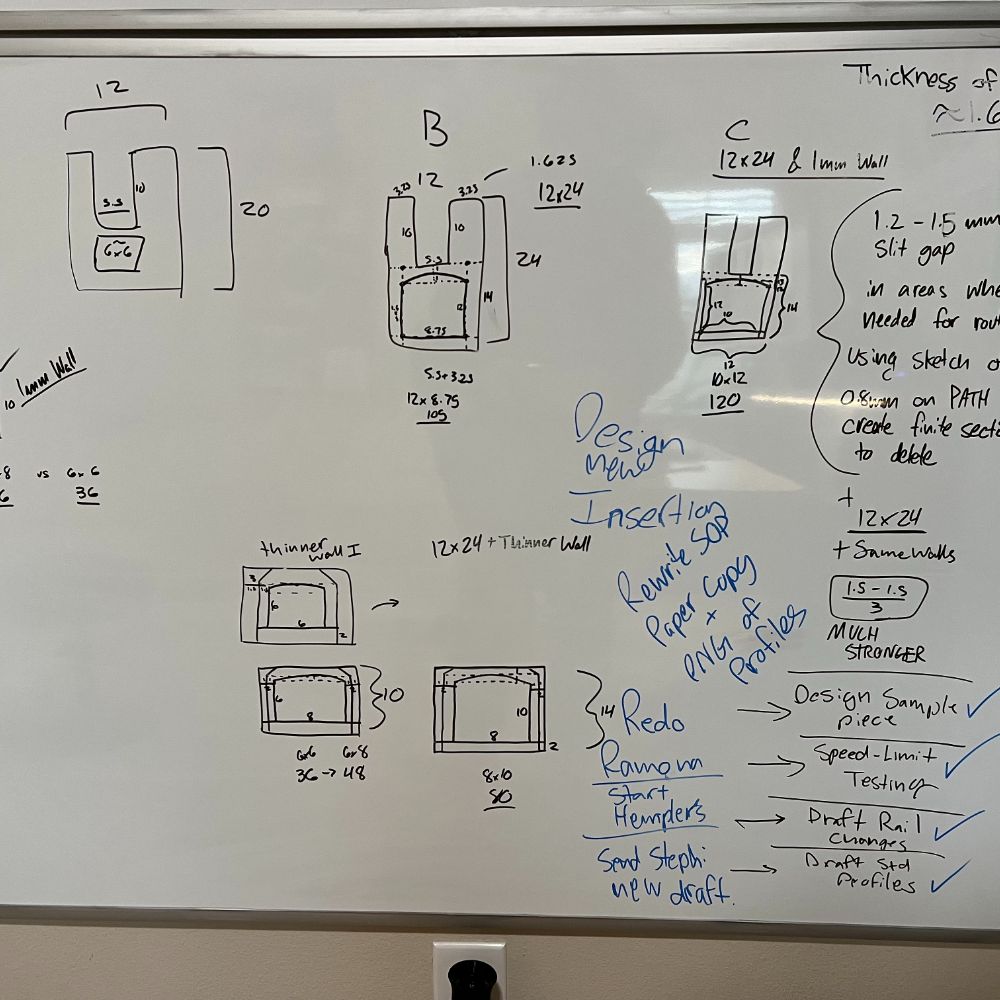
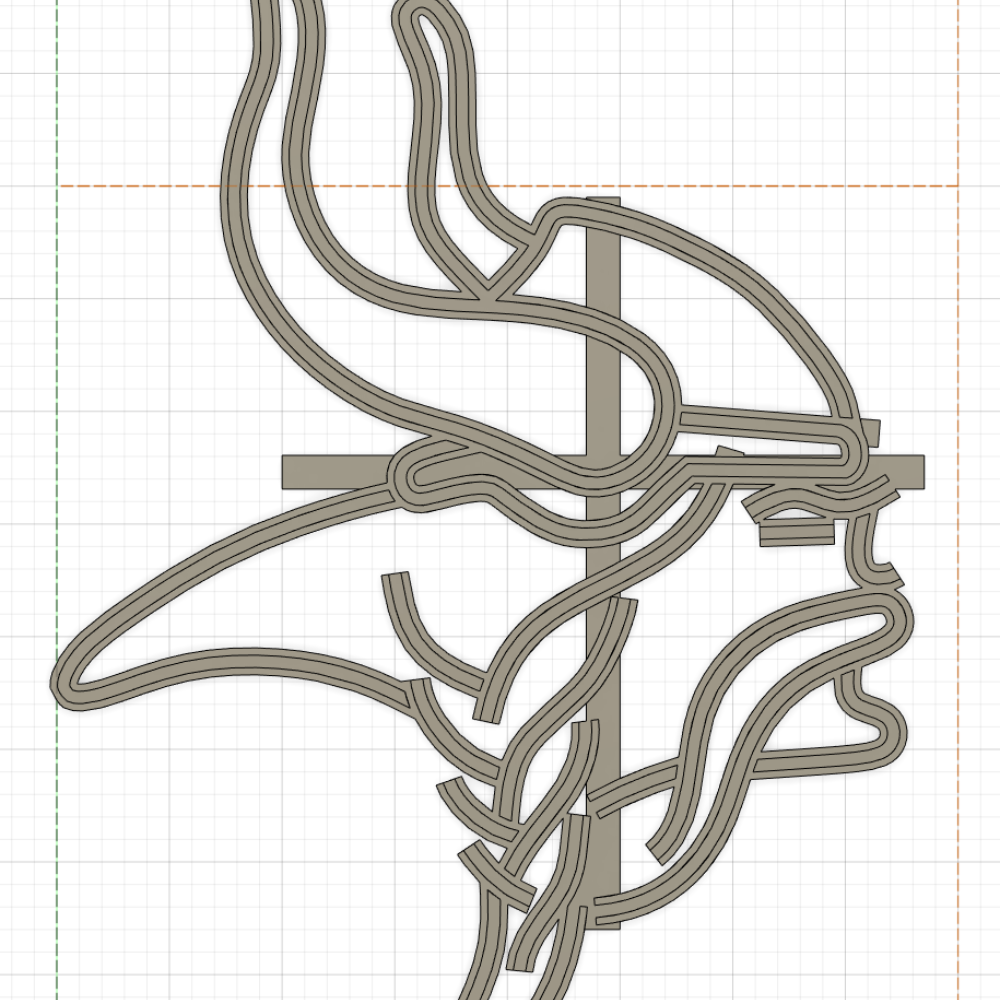
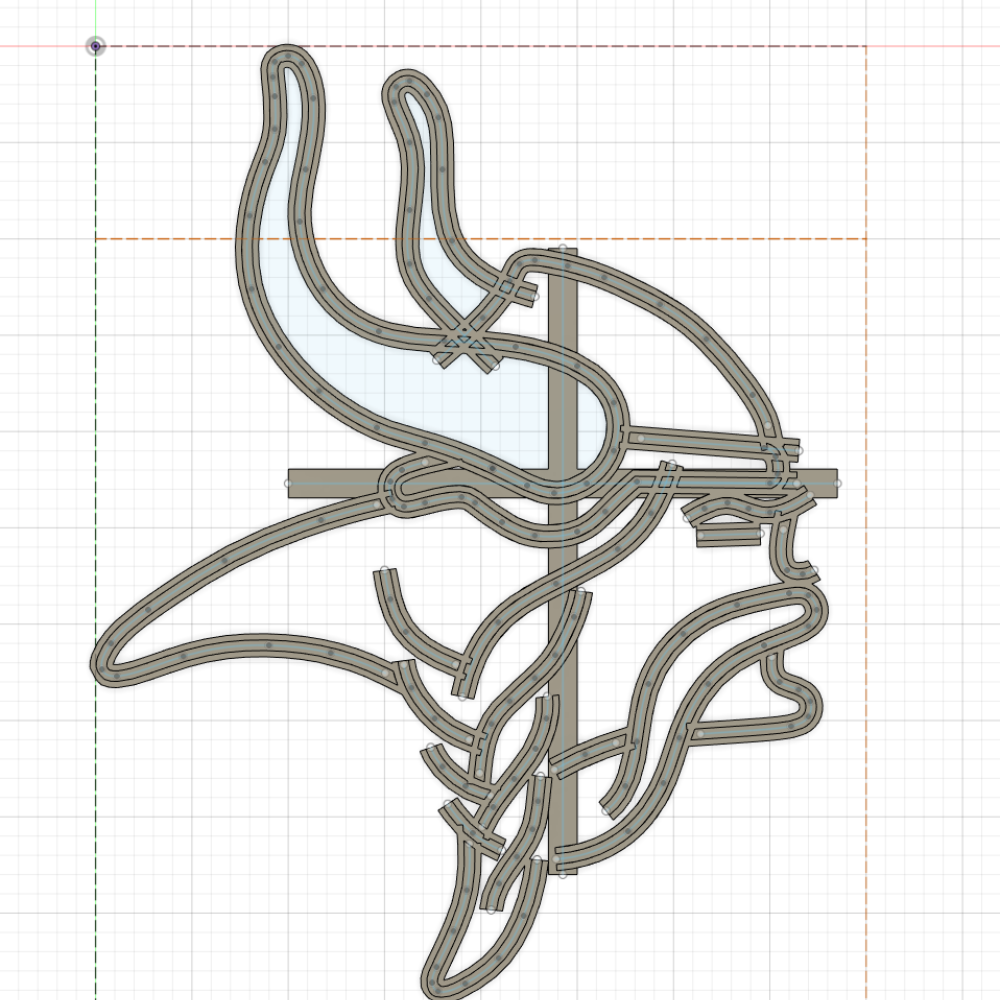
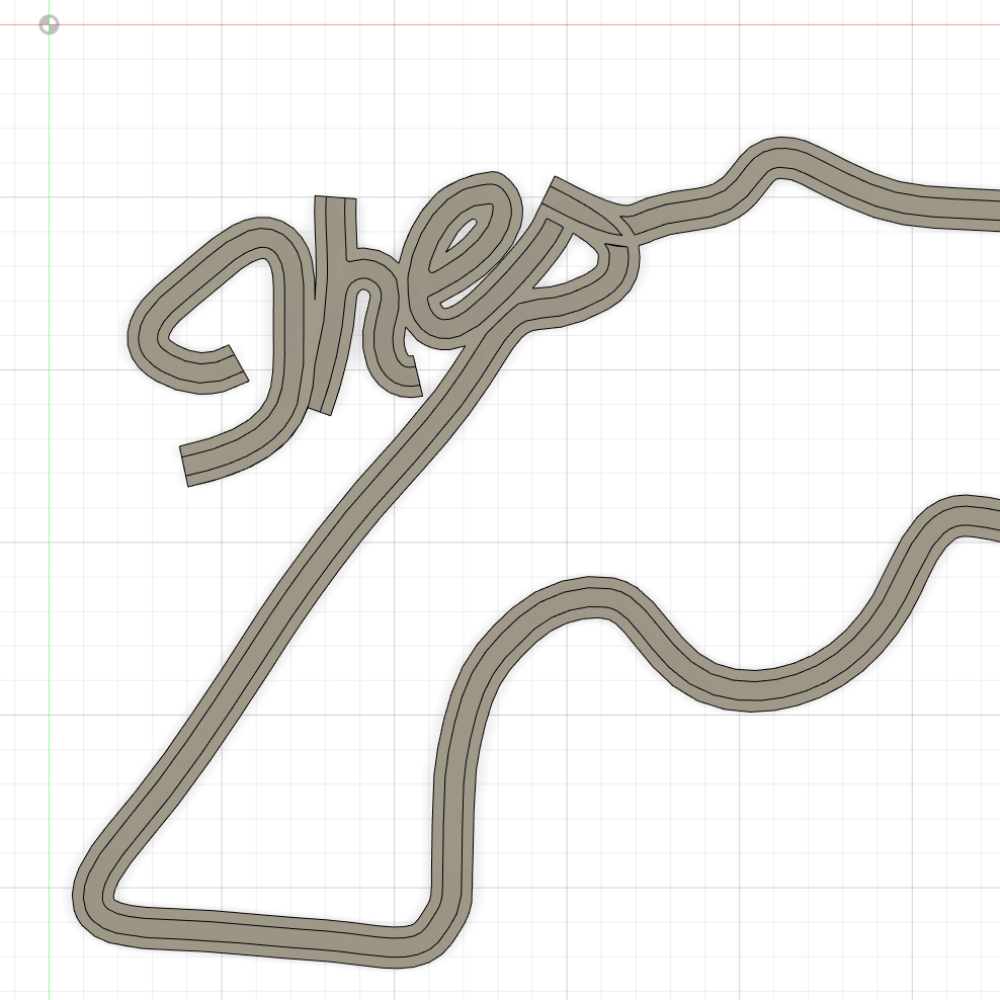
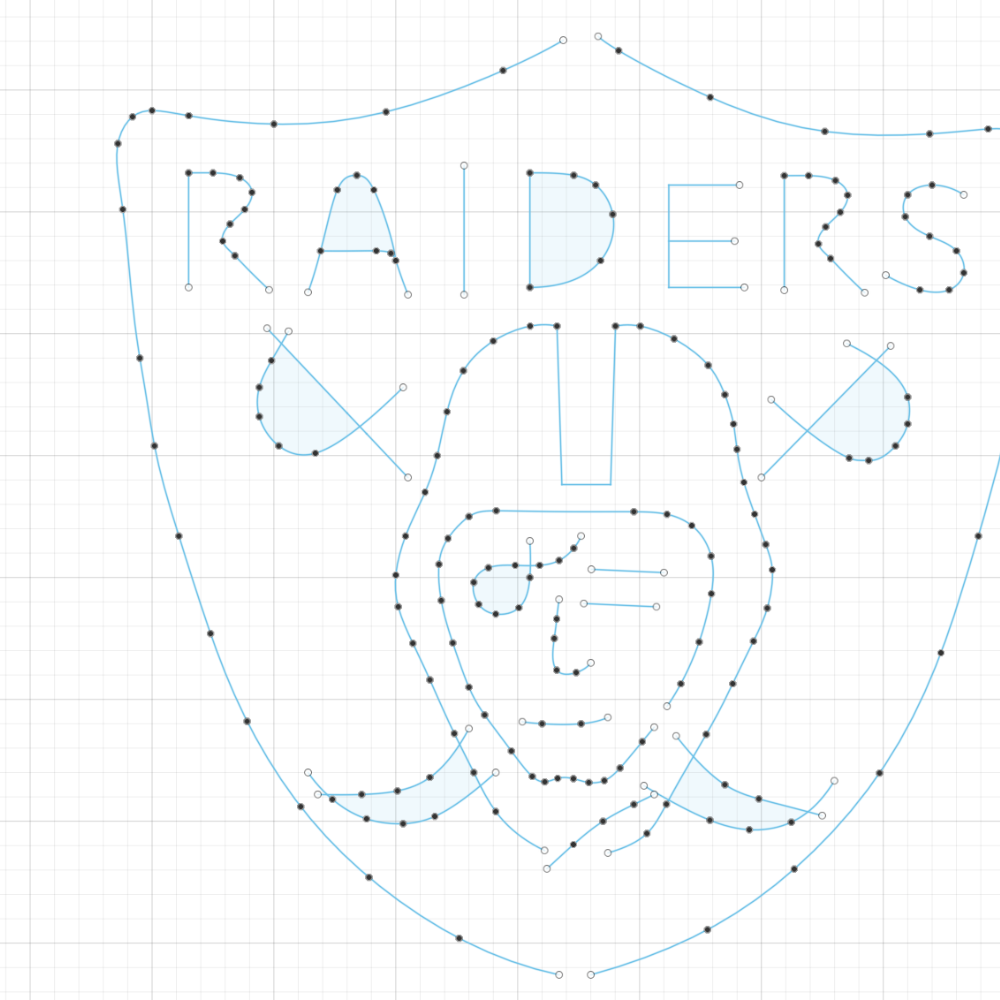
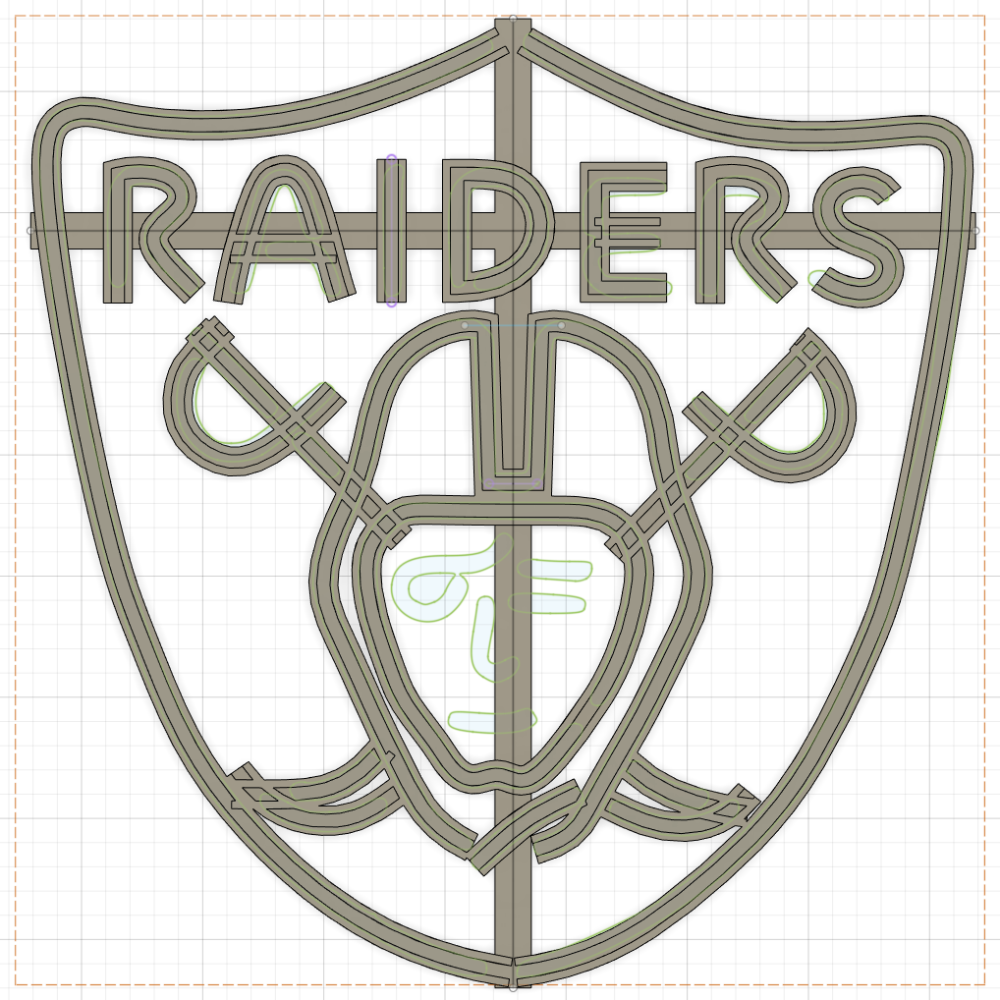
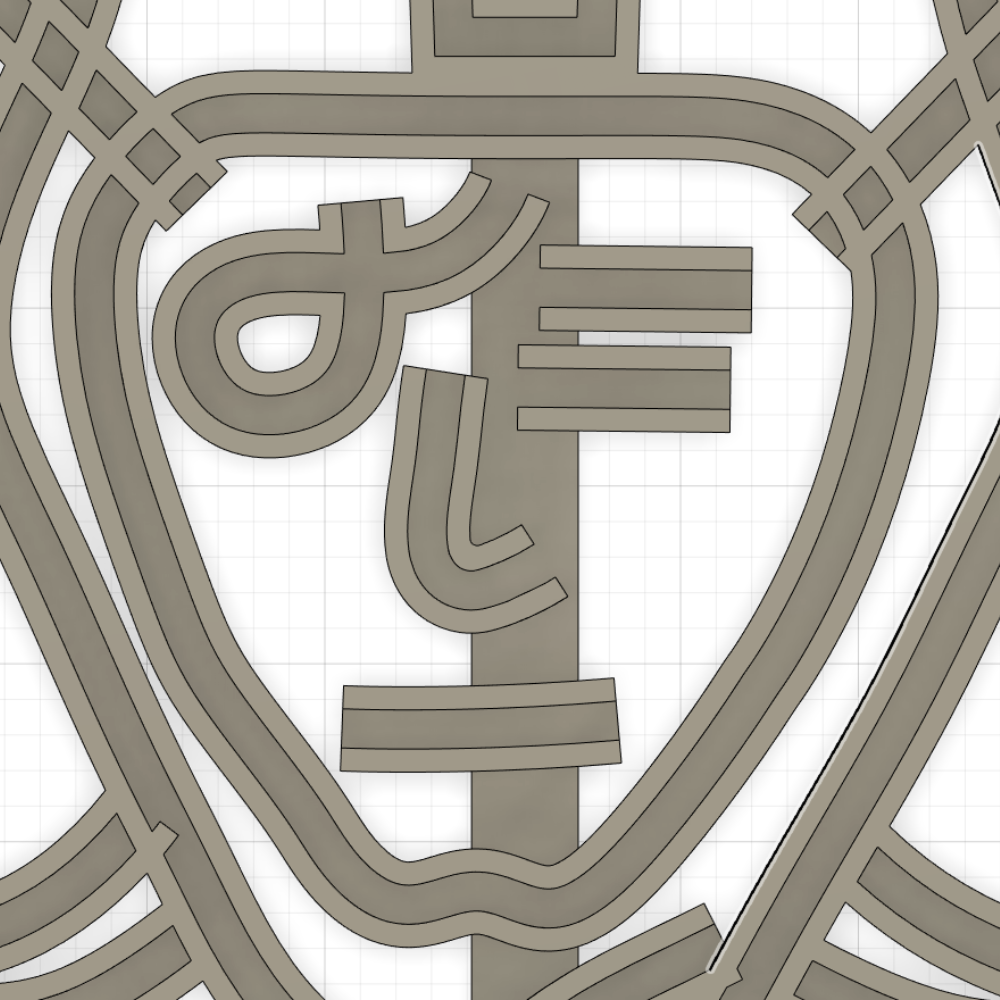
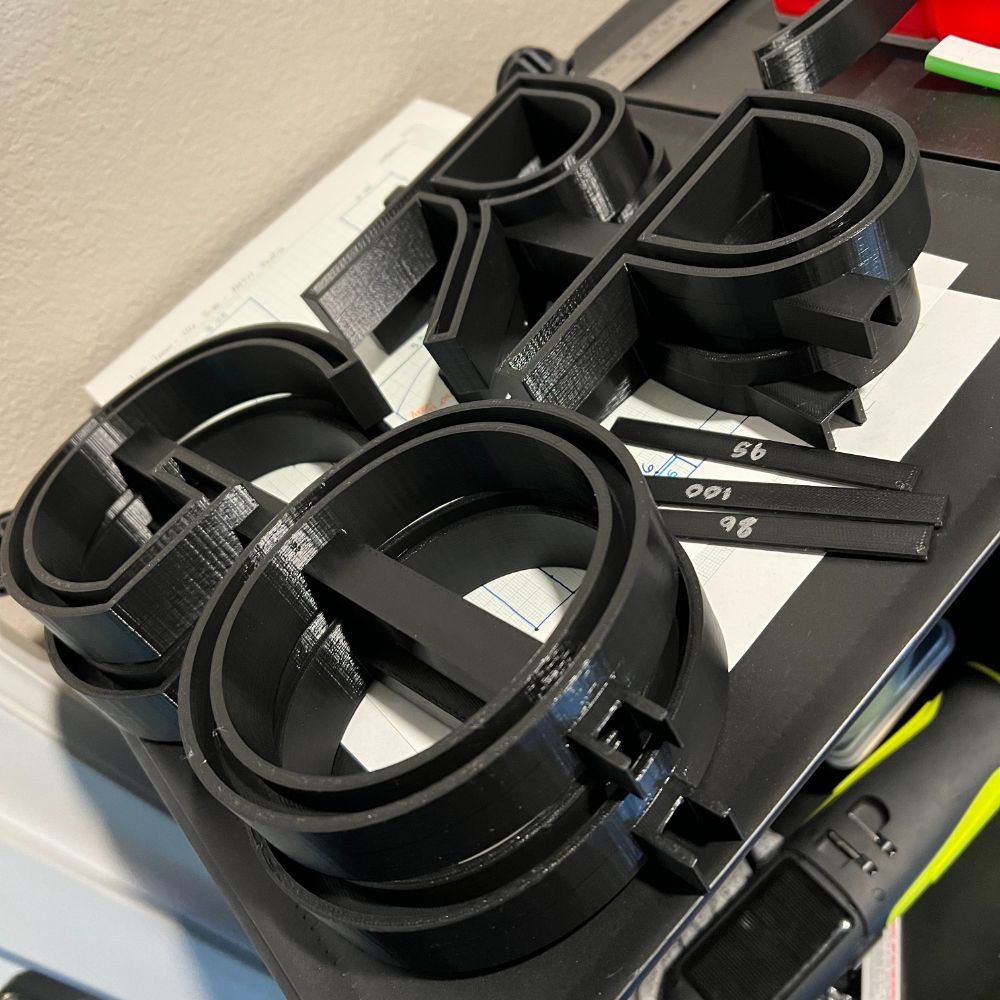
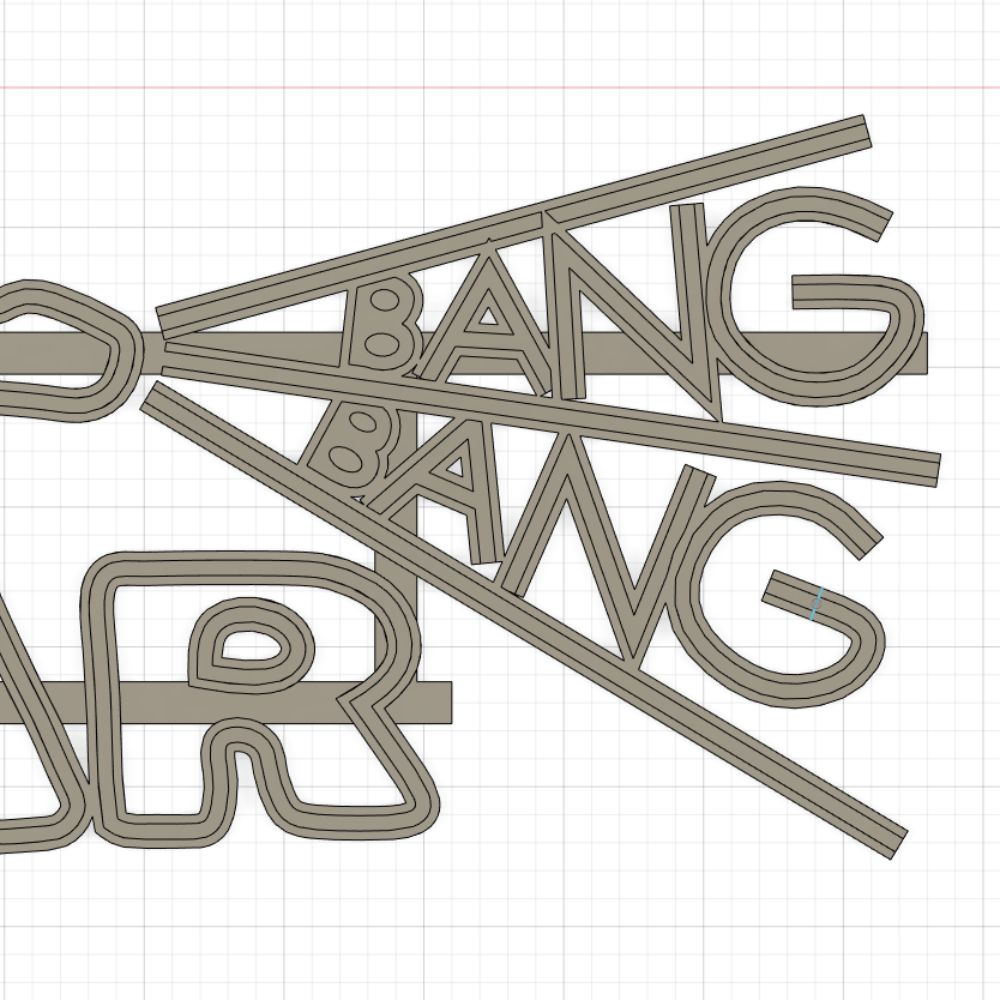
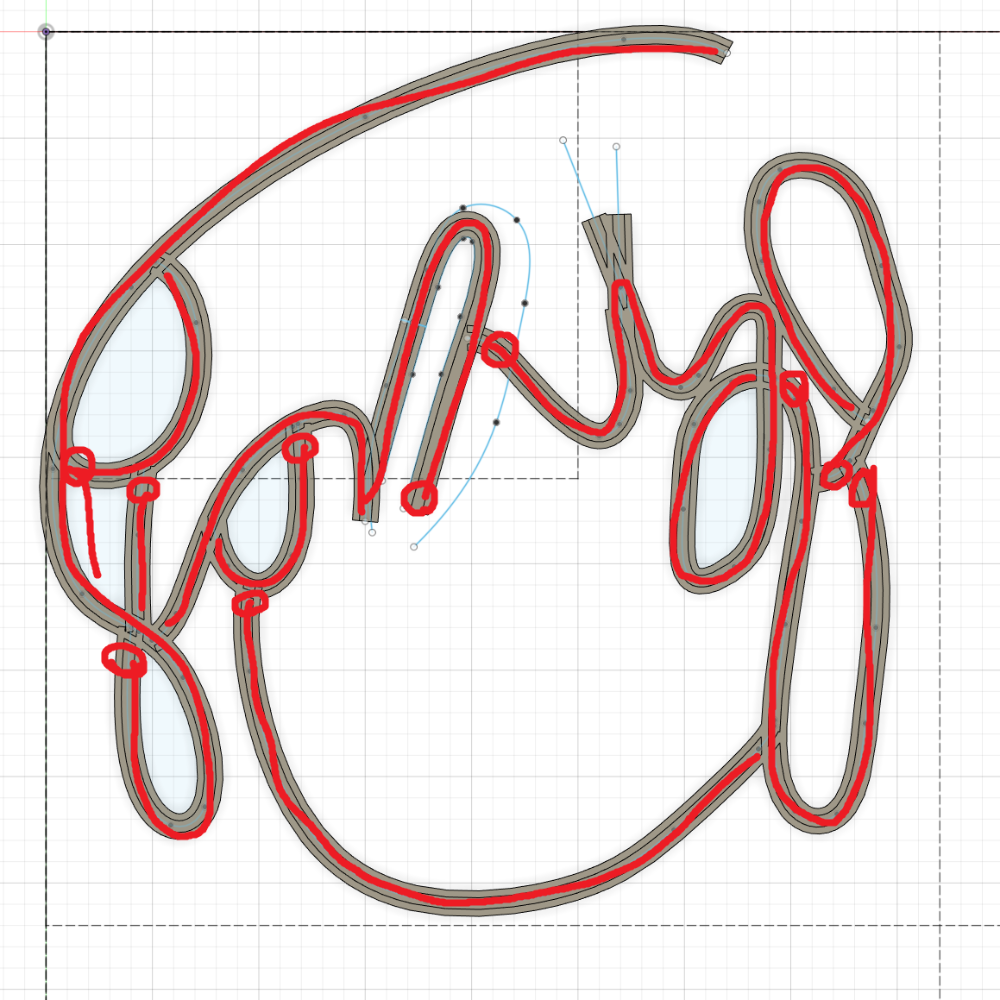
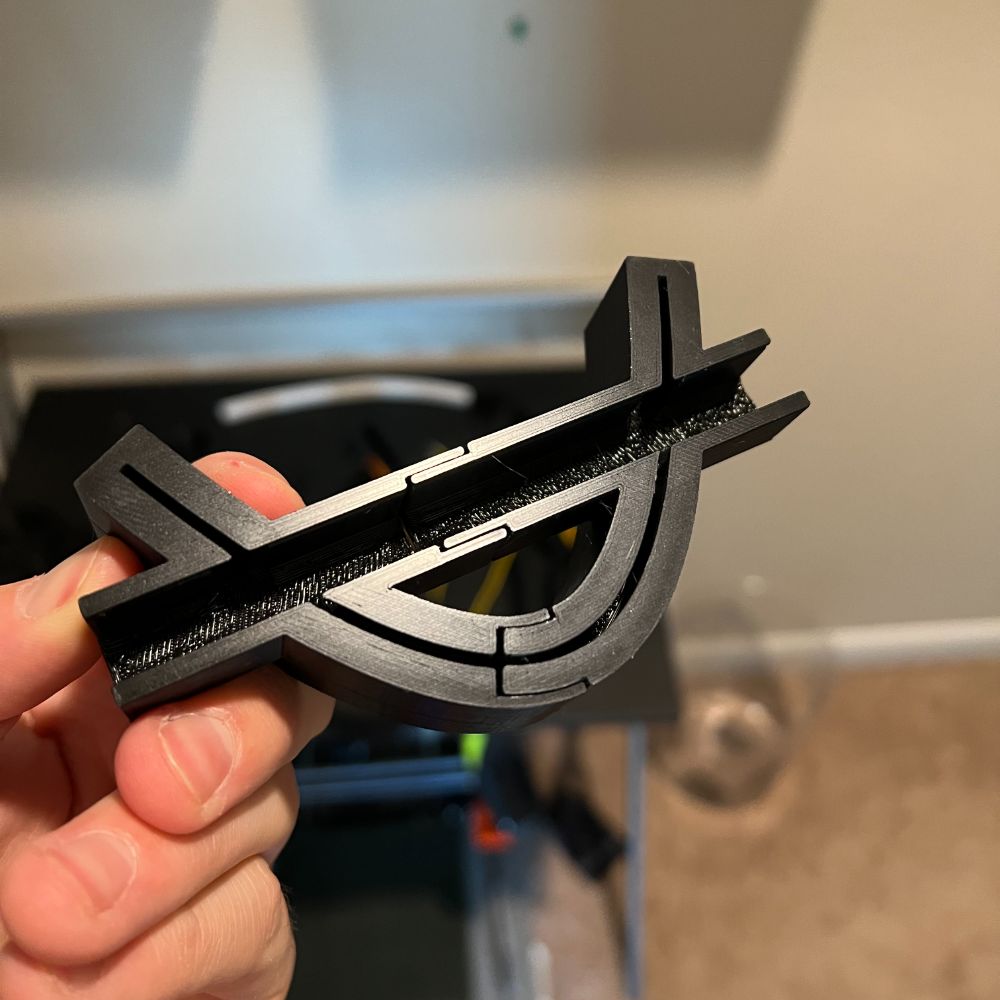
New Profile Notes New Rail New Channel New Insertion Need PNGs for all of these as well as paper renditions on the fancy 1mm paper at 0.25mm per square Hard references for these profiles and then an official test piece fusion doc so I can quickly pull them for copy/pasting onto different projects new sop New SOP (R3) Starting from sized SVG Section Selections Print Areas 250×210 400×400 PATH Sequence Trace PATH sketch Trace RAIL sketch Create PATH profiles on plane-along-paths Sweep entire profile, including future cuts Repeat for all path profiles, only creating new bodies when necessary Clean up Trim intersection overhand, clear up debris, fillet edges, etc. RAIL Sequence Create RAIL profiles, on plane-along-paths Sweep entire profile, including future cuts Clean up check Double Check Section Selections CUT Sequence Run CUT sweep for every PATH profile Run CUT sweep for every RAIL profile Make sure all passages to main rails are open and accessible Identify Channel segments that will get routed Use main PATH sketch to create offsets in both directions 0.75mm Section off the double offset into appropriate zones Usually starting at a drop through point and ending at the flood out into the rail HOLE & WALL Sequence Find all open ended channels and add a wall of matching thickness to the end of it Best to reference the sketch to the top of the existing walls, have the profile overlap both walls, and extrude downwards no channel gap, no tunnel gap no routing gaps on terminal points either, for stability Find all channel terminal points and add a 5x5mm hole in the floor for the wires to pass through The wire routing gap should create a straight shot through the entire print at every drop through point Sectioning Sequence Duplicate the Main Body into a new component Ensure SECTIONS sketch is appropriate Duplicate this Main Body into N extra components Decide which ends are going to be male and female For PATH adapters, Add a sketch referenced to the floor of the channel Have a 10mm straight line extending in the general direction of the path, in or out depending in adapter gender Apply path or rail profile to the end in question Sweep, Join, and fine tune to the 10mm line For RAILs, simply assign the profile and extrude repeat for all path and rail adapter points for all sections Final Check Print Designed a Sample Piece
Timing Ramona redesign PATH & RAIL 40 mins CUT & TRIM 60 mins HOLE & WALL
SECTIONING
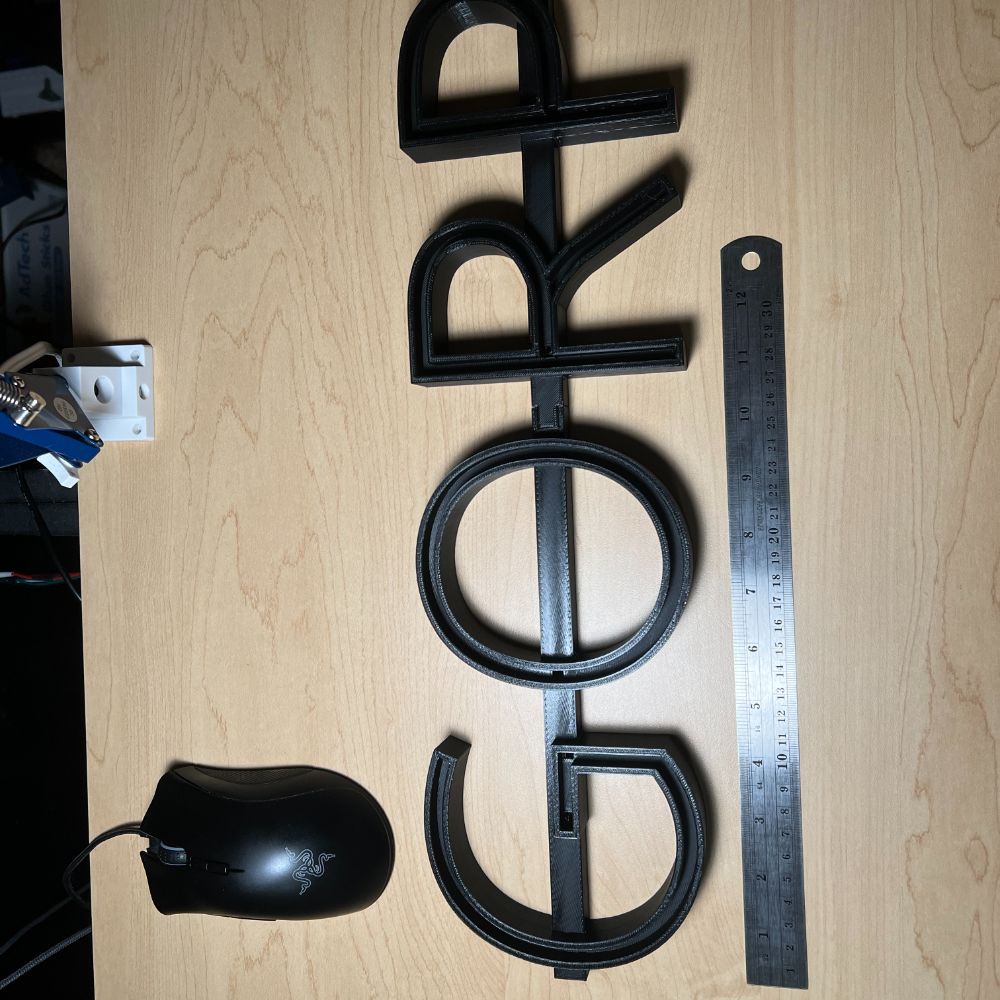
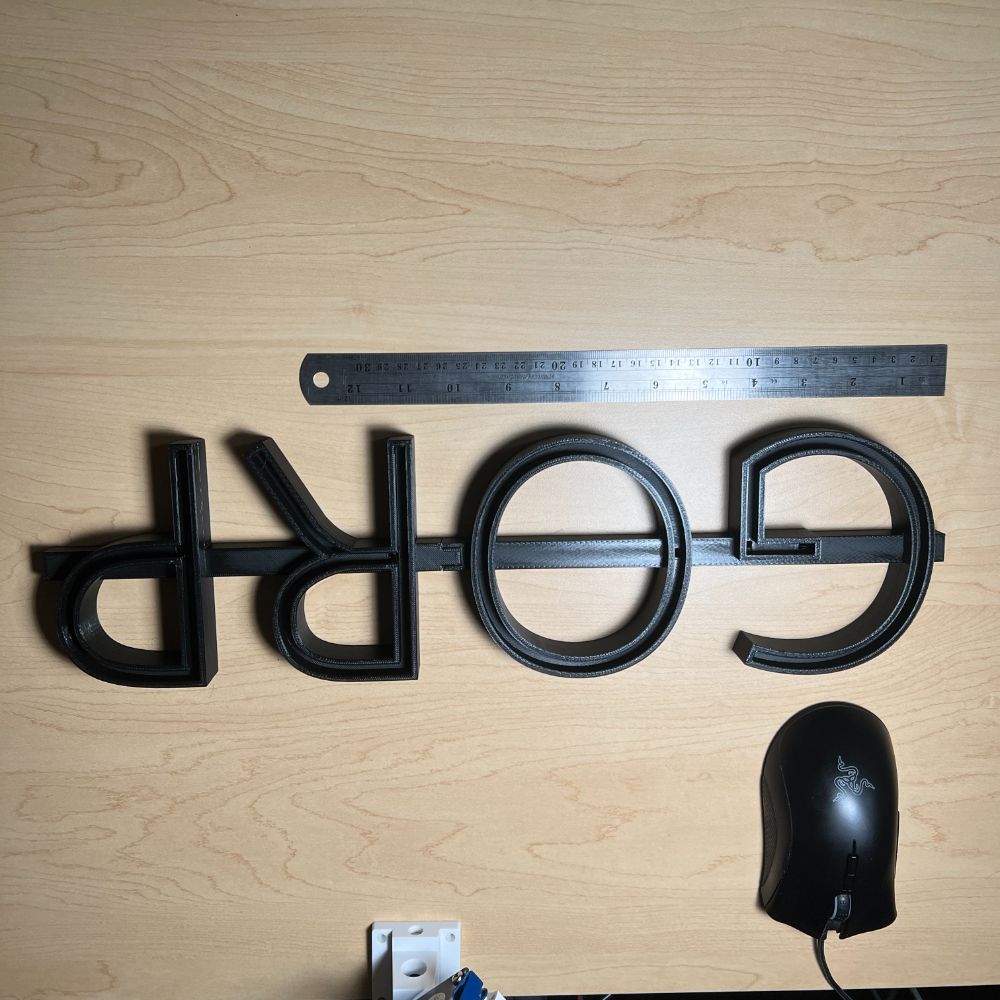
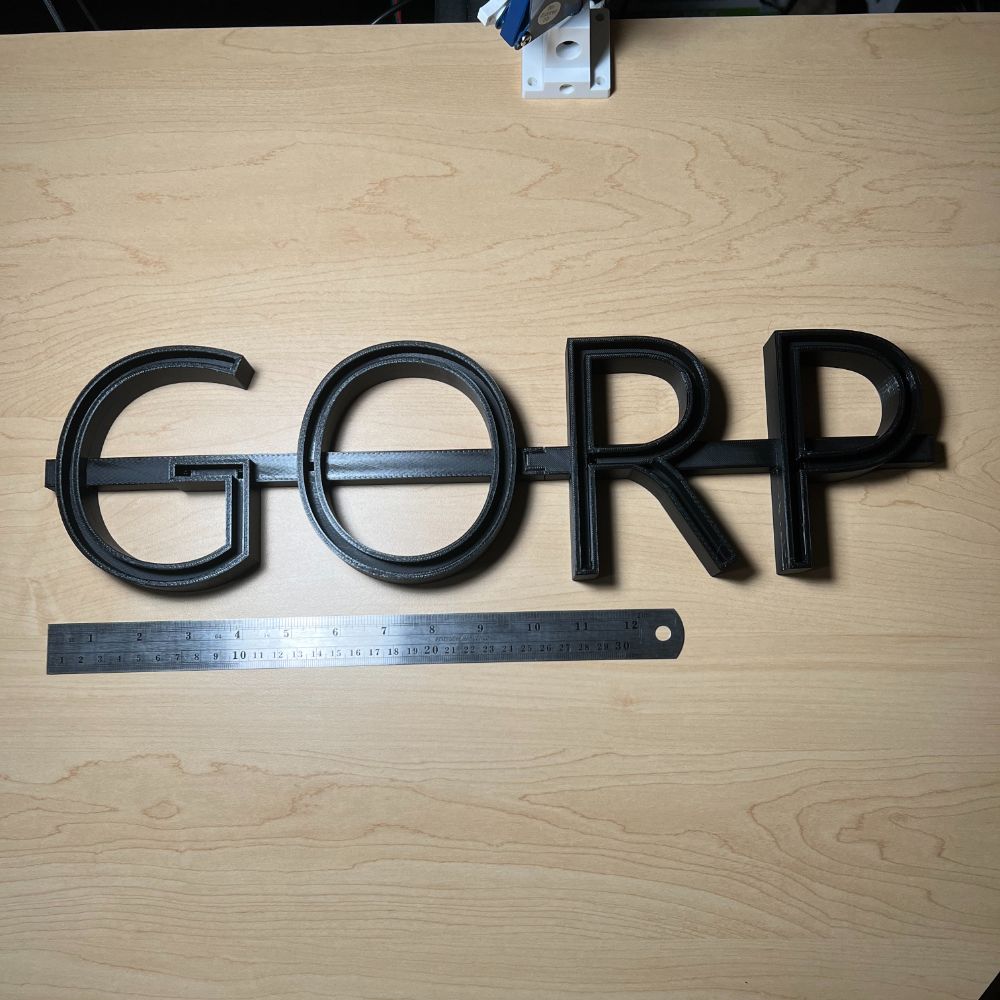
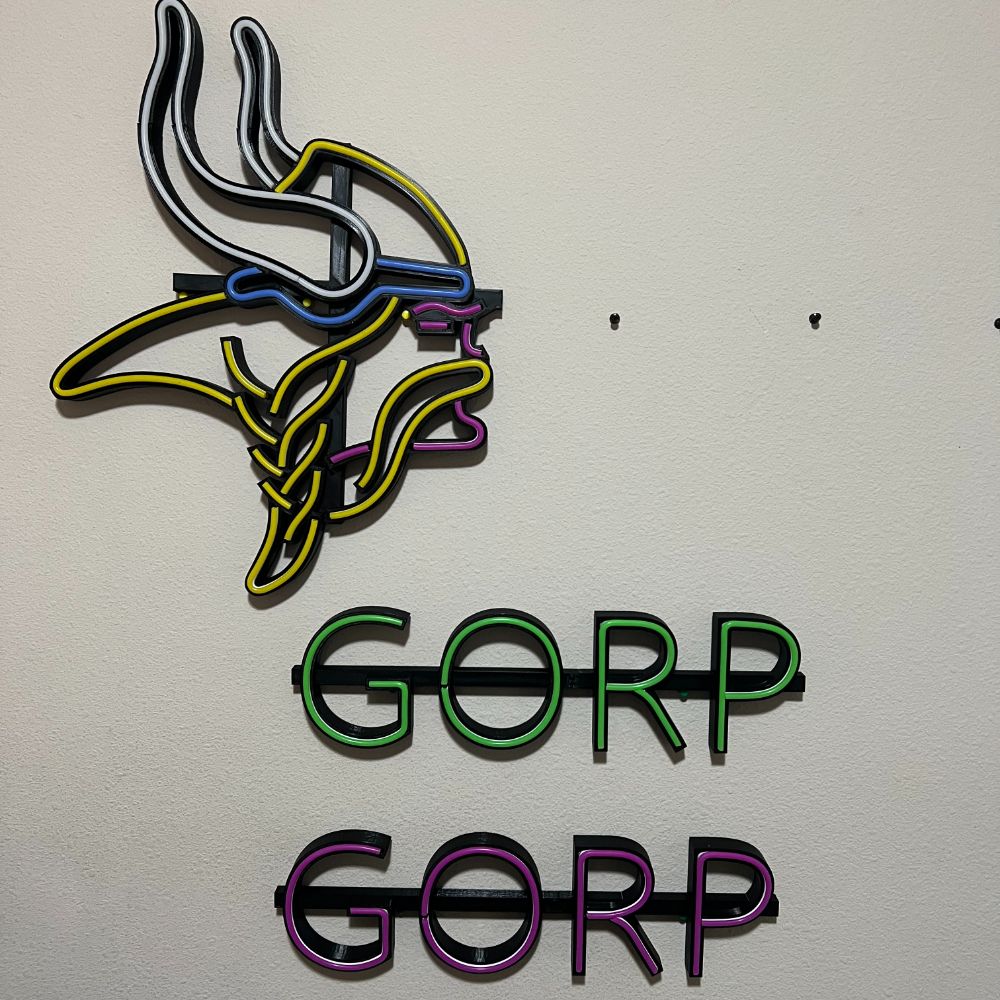
Total time ~5 hours GORP Design PATH & RAIL 20 mins CUT & TRIM 20 mins HOLE & WALL 20 mins SECTIONING 5 mins
Total time 65 mins Notes original path profile was bugged and created BILLIONS of issues down the line namely need to find a way to ensure that all joined surfaces on top level are actually in agreement idk if it’s because the path gets twisted when i rotate the profile or not. do i need to rebuild the profile every time? idk i also don’t know why sometimes my perspective flips around when i start a sketch, nor why the profile is flipped unclear what causes it but some subtractive extrusions cause the body to break entirely. if the surface layer is removed and it reveals a hollow shape it means the body is actually a surface/mesh and it completely broken. had to undo until it went away
thinking about trying to design things ground up instead of sweeping by using offsets from path primary gonna give it a try on GORP offset method works well and is pretty clean might be worthwhile to get a little more streamlined on it it’s really grindy, repetitive though no crashing but tons of offsetting you can’t offset several things at once lots of projection up between the layers too a critical difference is you can’t do the arc’d ceiling this way too it has to be a flat 2mm roof furthermore, in order to latch the sections together, it’s necessary to do sweep extensions anyway it has its uses. I think it’ll be really useful in extremely curved areas that I can’t beat with sweep or guide rail in which case I’ll have to go through the whole building process, but it’ll probably be faster and cleaner when all is said and done new tool in the arsenal
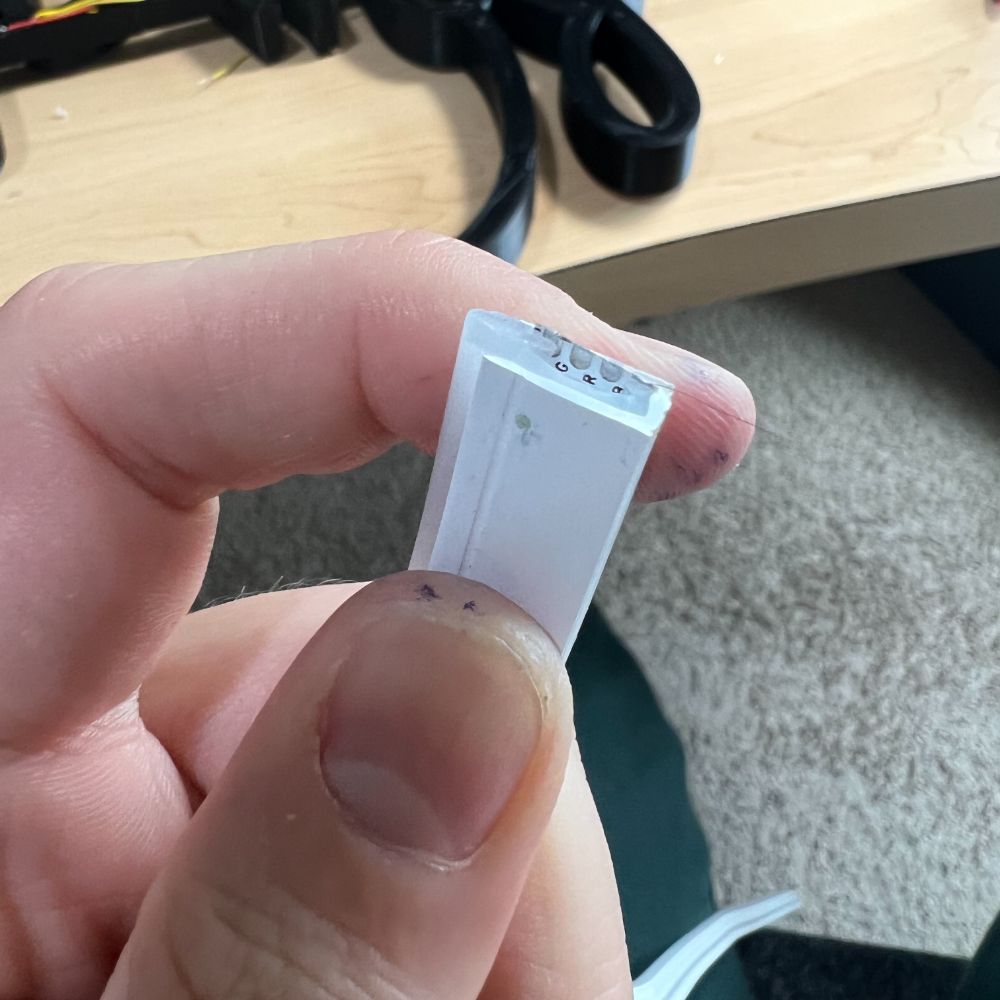
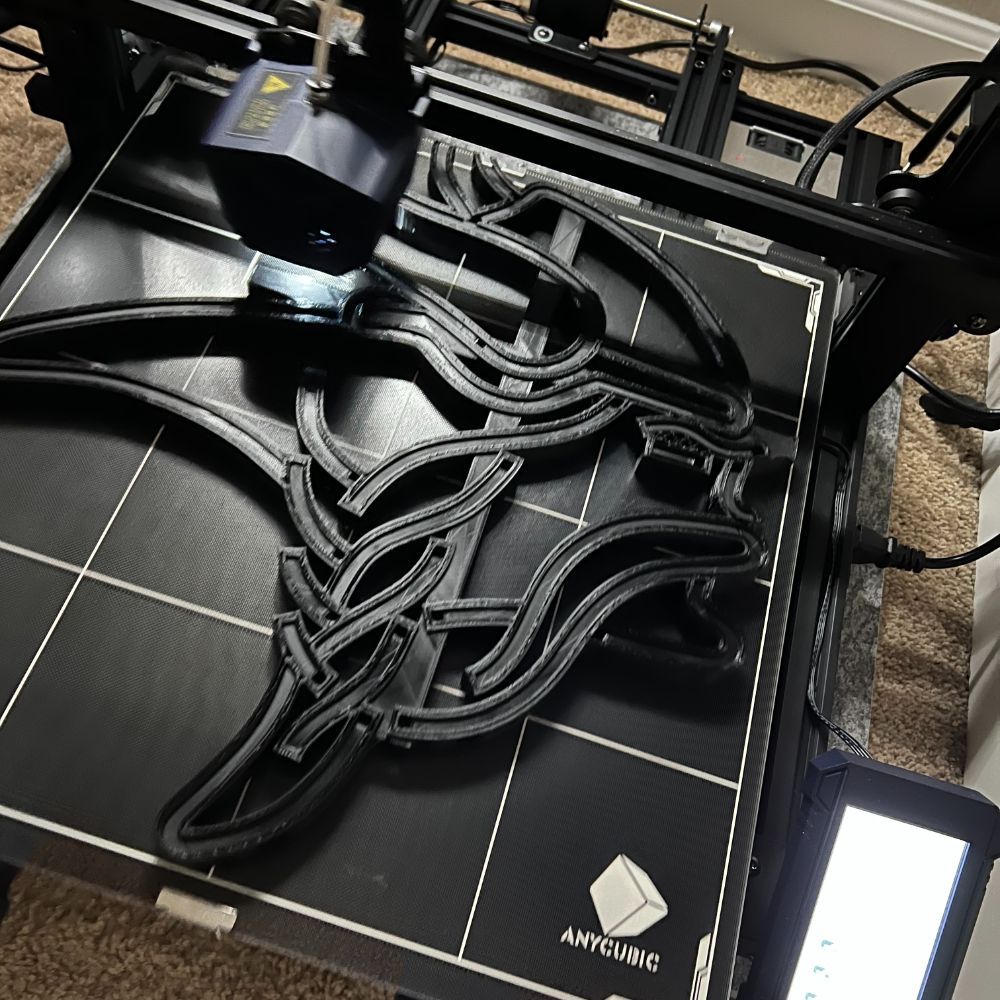
first large print in the new printer went well 19 hours section 1 of ramona 2 things 1 – the print and bed are so large that thermal contraction when the print finishes causing plastic snapping noises that ultimately result in the print disconnecting from the bed. so rather than being super stuck, it actually takes itself off for you! pretty nice 2 – the squish at bottom layer causes the thin wire channels to be too small. I can pass over them with a soldering iron to get them wide enough, since the walls are thin it doesn’t affect things much. up the standard slot size to 2mm to play nice. it’s already there so a little wider won’t hurt
i can take broken STLs from rough models and pass them through the prusa slicer I can repair all the broken triangles using one utility, and then simplify the model with another both processes changed the file size and then you can export the stl and then pipe that stl into Cura free
new curve tech when fixing extreme curves and smoothing them out draw a spline that matches the curve of the channel as you’d like it offset 5.25 for the channel and again at 8.75 for the outer wall and cut and extrude until the curves match that shape if it fails to compute, just delete the original curve and then replace it with a reverse offset of the derivative curves Lab X AoE Ch2 Review Rocket Research Grind out Neon Signs